
Related Manuals for Memphis Beale Street BGSS26


Summary of Contents for Memphis Beale Street BGSS26
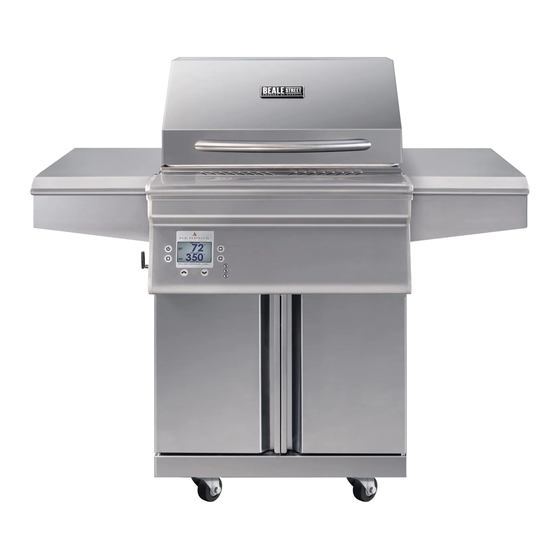
- Page 1 MODEL NUMBER: BGSS26 Contents Page Clearance to Combustible Materials Physical Setup Instructions Wi-Fi Setup Instructions Wiring Diagram 10-12 Revision 3.1...
-
Page 2: Clearance To Combustible Materials
CLEARANCE TO COMBUSTIBLE MATERIALS YOUR BEALE STREET GRILL MUST MAINTAIN THE SPECIFIED CLEARANCE TO COMBUSTIBLE MATERIALS WHILE OPERATING THE GRILL OR WHILE THE GRILL IS HOT! SIDE VIEW FRONT VIEW Below are some guidelines to ensure safe A MAJOR CAUSE OF FIRES IS operation of your Beale Street Grill FAILURE TO MAINTAIN •... -
Page 3: Bill Of Materials
Required Tools : Phillips Screw Driver and Cut Resistant Gloves USE CAUTION DURING ASSEMBLY. METAL EDGES MAY BE SHARP. Bill of Materials BOM # Part Name Qty. Shelf Body Right BOM # Part Name Qty. Grease Tray Upper Grate Savorizer Cabinet Front Bracket Main Grates Caster and Hardware Kit... -
Page 4: Cabinet Assembly
Unboxing Remove packaging materials and set aside BOM items for use later. Remove plastic protective film from all parts before continuing. After grill is used, this film will melt and is impossible to remove cleanly. Cabinet Assembly Open caster and hardware box (#3). Set aside power cord wrap (#18) for later use. Attach 4x casters (#4) to cabinet bottom (#9) using 4x M6 Phillips Screws (H2) and 4x Split Lock Washer (H5) per caster. - Page 5 Cabinet Assembly Continued SEE NOTE BELOW Assemble cabinet sides and back using 6x M6 Phillips Screws (H2). Attach cabinet front bracket to sides using 4x M5 Phillips Screws (H1). NOTE: The cabinet front bracket should be oriented with the magnetic catches towards the cabinet bottom.
- Page 6 Cabinet Assembly Continued Align mounting holes of grilling chamber with cabinet slots. Attach cabinet and grill head using 2x M6 Phillips Screws (H2) per side. Tilt, then slide 2x Grease Trays (#15) into place. Repeat for opposite side. Tilt door into Door Bottom Pivot (H4), then push down spring loaded upper pivot on door while rotating door underneath the grill head.
-
Page 7: Shelf Assembly
Shelf Assembly Tighten 3x Tool Holders (H3) per shelf into place as shown. Use 4x M5 Phillips Screws (H1) per shelf to attach shelf front to shelf body. Repeat for other side shelf. Tighten screws carefully to avoid stripping out thread or Phillips drive Thread 2x M6 Phillips Screws (H2) into the outer top shelf mounting holes as shown. -
Page 8: Final Assembly
Final Assembly Place Savorizer (#16) back into original packaged position. Place 4x Main Grates (#17) back into grill. Place upper grates (#1) onto either of the upper grate holders Secure the tool holder to the left side panel using 2x M5 Phillips screws (H1) Secure WiFi Antenna (#19) onto WiFi connector... - Page 9 MEMPHIS WI-FI SET UP GUIDE ON YOUR GRILL CONTROLLER: 1) A Wi-Fi connection can be set up in minutes on your Memphis Wood Fire Grill. First power the grill on pressing the upper left button on the controller, and from the home screen press the lower left button “MENU”, then the bottom right button “DOWN ARROW”, and then the...
- Page 10 Nickname is not case sensitive. Nickname is not case sensitive. If this is the first time adding the grill and the nickname shows Memphis on the grill If this is the first time adding the grill and the nickname shows Memphis on the grill it will ask for a new grill nickname.
- Page 12 Load and Neutral wires. Fuse holder MOV + Fuse Holder black shrink wrap. Fuse holder is that accepts cylindrical and white plastic. CONTACT YOUR DEALER OR MEMPHIS GRILLS TECHNICAL SERVICE WITH ANY QUESTIONS. TECHNICAL SERVICE NUMBER: 1-888-883-2260...
Need help?
Do you have a question about the Beale Street BGSS26 and is the answer not in the manual?
Questions and answers