Table of Contents
Advertisement
Quick Links
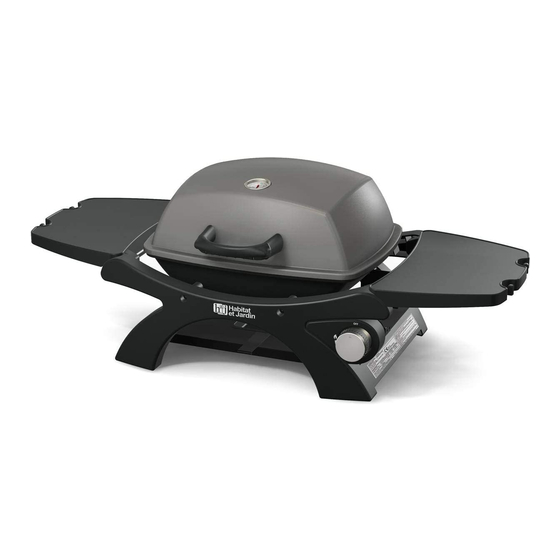
Gas BBQ For Outdoor Use
WARNING
Improper installation,
adjustment, alteration, service or
maintenance can cause injury or
property damage.
Read the installation, operation
and maintenance instructions
thoroughly before installing or
servicing this equipment.
DANGER
Failure to follow these
instructions could result in fire
or explosion that could cause
property damage, personal
injury or death.
DANGER
DO NOT use gas grill for indoor
cooking or heating. TOXIC fumes
can accumulate and cause
asphyxiation. DO NOT use in or on
boats or recreational vehicles.
WARNING
FOR YOUR SAFETY:
For Outdoor Use Only
(Outside any enclosure)
SAVE THESE INSTRUCTIONS FOR FUTURE REFERENCE.
IF YOU ARE ASSEMBLING THIS UNIT FOR SOMEONE
ELSE, GIVE THIS MANUAL TO HIM OR HER TO SAVE FOR
FUTURE REFERENCE.
1
MODEL# HF1814A
Advertisement
Table of Contents

Related Manuals for Gasmate HF1814A


Summary of Contents for Gasmate HF1814A
- Page 1 MODEL# HF1814A Gas BBQ For Outdoor Use WARNING Improper installation, adjustment, alteration, service or maintenance can cause injury or property damage. Read the installation, operation and maintenance instructions thoroughly before installing or servicing this equipment. DANGER Failure to follow these...
- Page 2 Grill Operation 1-2-3 Before Grilling Step 1 Keep your grill a safe distance away from your property.* Step 2 Always perform a Leak Test on all connections * Step 3 Keep children away from the grill. During Grilling (To avoid tripping safety valves, please follow these instructions carefully.) Step 1 First open lid and connect LPG cylinder slowly.
-
Page 3: Table Of Contents
Table of Contents Technical Specifications........................4 For Your Safety ..........................4 Illustrated Part List..........................7 Assembly Instructions........................9 Operating Your Grill...........................18 Connecting & Disconnecting LPG Cylinder..................18 Regulator and Hose..............................19 Checking for Leaks..........................19 Lighting Your Grill..........................20 Care and Maintenance........................22 Troubleshooting............ -
Page 4: Technical Specifications
Technical Specifications MODEL NO.: HF1814A DESCRIPTION: OUTDOOR GAS BARBECUE GRILL TOTAL HEAT INPUT: 0063-18 (ALL APPLIANCE 3.2kW(232.7g/h) PIN NO.0063CS7068 CATEGORIES) □I □I □I □I APPLIANCE CATEGORY: 3+(28-30/37) 3B/P(30) 3B/P(50) 3B/P(37) TYPES OF GAS: BUTANE PROPANE BUTANE, PROPANE OR THEIR MIXTURES... - Page 5 Always open the grill lid carefully and slowly as heat and steam trapped within the grill could cause severe burns. Always place your grill on a hard and level surface far away from combustible materials and structures. An asphalt or blacktop surface may not be acceptable for this purpose. Do not leave a lit grill unattended.
- Page 6 Never attempt to move this grill while it is in operation or while it is still hot to prevent possible personal injury. Never store or use gasoline or other flammable or volatile substances in the vicinity of this grill or in the vicinity of any other heat-generating appliance because of the danger of starting a fire.
-
Page 7: Illustrated Part List
Illustrated Parts List Part Description Part Description Part Description Connecting Bar 4pcs Bottom Left Hinge Bottom Right Thermometer Side Shelf 2pcs Hinge Top Handle Trolley Burner Support 2pcs Cast Iron Cooking 2pcs Grease Box Main Valve Grill Trolley Bottom Heat plate Knob Panel U Burner... - Page 8 Parts List Part Part 10PCS 2PCS M6x12 M6 Nut 14PCS 2PCS M4x12 R Pin 4PCS 2PCS M6x30 Hinge Pin 10PCS M4 Nut Wrench 10PCS Washer Screwdriver...
-
Page 9: Assembly Instructions
Assembly Instructions Remove all contents from the carton packaging. Make sure all parts are present before attempting assembly. Once the grill is fully assembled, go back and check to make certain all the bolts are secure. Tighten again using the screwdriver provided if necessary. - Page 10 Step 3 a) Align the hole on the Bottom Right Hinge (P) with the hole on the Bowl (G). b) Screw one M4x12 bolt (BB) to the pre-drilled hole along with one washer (EE) and M4 nut (DD). So as the other hole.
- Page 11 a) Align the hole on the bowl (G) with the hole on connecting bar (H). b) Insert one M6x12 bolt (AA) through the hole of the bowl into the bar, screw it tightly. c) Do the same with the other 3 connecting bars (H). Step 6 a) Align the holes on the Trolley (J) with the holes on the connecting bars (H).
- Page 12 Step 7 a) Take out the U burner (F) with igniting needle pre-assembled already, make sure the igniting needle is pointed right to the small gas hole of the U burner (F). b) Put the U burner (F) through the hole of the bowl, connect it with the Main Valve (S). Make sure the valve nozzle is inserted to the U burner.
- Page 13 Step 9 a) Take the washer and nut off from the thermometer (B). b) Put the thermometer (B) through the hole of the lid, seal with the washer and nut which you take off just now. c) Make sure the indicated scale is right to your direction, lock the thermometer (B) tightly. Step 10 a) Insert the pre-assembled bolt on the lid handle(C) to the hole of the lid, seal with washer (EE) and M6 nut (FF).
- Page 14 Step 11 c) Insert the pre-assembled bolt on the Name Plate (V) to the hole of the lid, seal with M4 nut (DD). d) Screw them tightly. (As fig below) Step 12 a) Put the assembled top lid on the bowl, align the holes on top hinges to the bottom hinges, insert the hinge pin (HH) from outside to the inside.
- Page 15 Step 13 a) Put the Heat plate (E) vertically to the support place in the bowl. Step 14 Put the cooking grills (D) onto the fire bowl. (As fig below) Step 15 Insert both side shelves (I) into the Trolley. (As fig below).
- Page 16 Step 16 Insert the knob (U) into the Trolley. (As fig below). Step 17 Put the Grease box (K) into the hole of the trolley bottom panel (L).
-
Page 17: Operating Your Grill
Fully Assembled View Left Side Right Side Operating Your Grill CAUTION: Use only the regulator provided. If a replacement is necessary, call our customer service center. The use of unauthorized parts can create an unsafe condition and environment. Connecting & Disconnecting the LPG Cylinder LPG gas Supply Connection &... -
Page 18: Regulator And Hose
13. LPG cylinder: a common camping LPG cylinder with a fill weight of 3,5 or 11 kg(e.g. grey camping LPG cylinder). These are available at DIY shops or LPG gas suppliers. 14. Pressure regulator: preset and CE approved pressure regulator,max.1.5kg/h, operating pressure suitable for the LPG cylinder used. -
Page 19: Lighting Your Grill
Lighting Your Grill DANGER: Failure to open lid while igniting the grill’s burners or not waiting five minutes to allow gas to clear if the grill does not light, may result in an explosion, which could cause serious bodily injury or death. WARNING: To prevent possible bodily injury, never stand with your head directly over the grill when preparing to light the main burners. -
Page 20: Care And Maintenance
“Flare-ups” sometimes occur when food drippings fall onto the hot heat plate or burner and ignite. Some flaring is normal and desirable as it helps impart the unique flavors associated with grilled foods. Controlling the intensity of the flare-ups is necessary, however, in order to avoid burned or unevenly cooked foods and to prevent the possibility of accidental fire. -
Page 21: Troubleshooting
Trouble shooting Problem Possible Cause Prevention/Cure Check if LPG cylinder is empty. If empty, No gas flow. replace. Obstruction of gas flow. Clear burner tube. Burner will not light using Disengagement of burner to valve. Reengage burner and valve. a match. Spider webs or insect nest in venturi.
Need help?
Do you have a question about the HF1814A and is the answer not in the manual?
Questions and answers