
Related Manuals for Lightspeed Systems Lightspeed Rocket

Summary of Contents for Lightspeed Systems Lightspeed Rocket
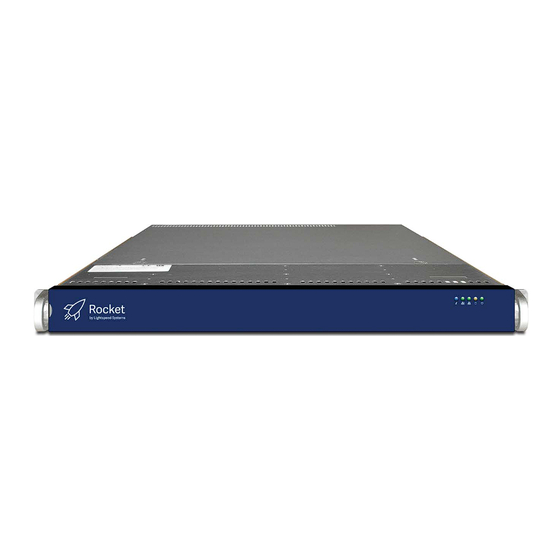
- Page 1 Lightspeed Rocket Hardware Installation Guide 2500 Bee Cave Road, Building 1, Suite 350, Austin, TX 78746 • Tel: 661.716.7600 • Toll Free: 877.447.6244 • www.lightspeedsystems.com...
-
Page 2: Table Of Contents
Lightspeed Rocket Web Filter and Web Filter 1Gb - Rear Panel Connections ... Section 10D Lightspeed Rocket Web Filter - 1Gb Fiber Rear Panel Connections ....Section 10E Lightspeed Rocket Web Filter - 10Gb Fiber Rear Panel Connections . -
Page 3: Safety Notice And Warnings
This notice is required by California Code of Regulations, Title 22, Division 4.5, Chapter 33: Best Management Practices for Perchlorate Materials. This product/part includes a battery that contains perchlorate material. Ratings AC input voltage: 100 - 240V~ Input frequency range: 50/60 Hz Rated input current: 6.1-2.6A (x2) Lightspeed Rocket Hardware Installation Guide... -
Page 4: Site Preparation
Install near appropriate AC outlets, and Ethernet hubs or individual jacks. Be sure to install an AC Power Disconnect for the entire rack assembly. The Power Disconnect must be clearly marked. Ground the rack assembly properly to avoid electrical shock. Lightspeed Rocket Hardware Installation Guide... -
Page 5: Unpacking The 4-Post Rack Installation Assemblies
A pair of 4-post rack sliding chassis rail rack assemblies that attach directly to the rack. Rack rail assembly, inside view Adjustable front rack rail assembly Adjustable rear rack rail assembly (attaches to the front of the rack) (attaches to the rear of the rack) Rack rail assembly, outside view Lightspeed Rocket Hardware Installation Guide... -
Page 6: Installing The Rails In The 4-Post Rack
Make sure the rack rail assemblies and Empty screws are aligned in the rack not only in hole the front and back, but are level in height on the left and right sides for proper alignment for appliance installation. Lightspeed Rocket Hardware Installation Guide... -
Page 7: Installing The Appliance In The 4-Post Rack
Phillips flat-head screws (attached prior to shipment) will need to press down on the locking tab in order to release it from the rack. Carefully slide it out supporting the unit on both sides at all times. Lightspeed Rocket Hardware Installation Guide... -
Page 8: Unpacking The 2-Post Rack Installation Hardware
Inside front view Outside front view A pair of 2-post rack assemblies that attach directly to the rack 2 Post Rack rail assembly, inside view 2 Post Rack rail assembly, outside view Lightspeed Rocket Hardware Installation Guide... -
Page 9: 2-Post Rack Installation
Tighten each of the single screws on the small fixed brackets (located on either side of the rack) to secure the brackets in the rack and ensure appliance stability. Lightspeed Rocket Hardware Installation Guide... -
Page 10: Installing The Appliance In The 2-Post Rack
Carefully slide it out supporting the unit on both sides at all times. Lightspeed Rocket Hardware Installation Guide... -
Page 11: Lightspeed Advanced Reporting Bottle Rocket - Rear Panel Connections
Local The LED operation is defined in the table below. Area Network. This port will require Internet access. Step 3 Please review the latest Lightspeed Systems Rocket Web Filter Product Manual on the Lightspeed Systems Community Site at (http://community.lightspeedsystems.com/ documentation/web-filter3/). -
Page 12: Lightspeed Web Filter Policy Parent Rear Panel Connections
Local The LED operation is defined in the table below. Area Network. This port will require Internet access. Step 3 Please review the latest Lightspeed Systems Rocket Web Filter Product Manual on the Lightspeed Systems Community Site at (http://community.lightspeedsystems.com/ documentation/web-filter3/). -
Page 13: Lightspeed Rocket Web Filter And Web Filter 1Gb - Rear Panel Connections
10C. Lightspeed Rocket Web Filter and Web Filter 1 Gb - Rear Panel Connections Power Cords Power Cor r d Network Interface Network Interface Connectors Connectors Power Good LEDs Power Good LEDs Video Port ideo Port Management Management anagement Port... -
Page 14: Lightspeed Rocket Web Filter - 1Gb Fiber Rear Panel Connections
10D. Lightspeed Rocket Web Filter - 1Gb Fiber Rear Panel Connections Power Cords Power Cor r d Network Interface Connectors Network Interface Connectors Power Good LEDs Power Good LEDs Management Management anagement Video Port ideo Port Port Port Internal n n a... -
Page 15: Lightspeed Rocket Web Filter - 10Gb Fiber Rear Panel Connections
10E. Lightspeed Rocket Web Filter - 10Gb Fiber Rear Panel Connections Power Cords Power Cor r d Network Interface Connectors Network Interface Connectors Power Good LEDs Power Good LEDs Management Management anagement Video Port ideo Port Port Port Internal n n a... -
Page 16: Lightspeed Rocket Traffic Bridge - 10Gb Fiber Rear Panel Connections
*NOTE: Please install the SFP (Small Form-factor Pluggable) prior to powering on the appliance. 10F. Lightspeed Rocket Traffic Bridge - 10Gb Fiber Rear Panel Connections Power Cords Power Cor r d Network Interface Connectors Network Interface Connectors Power Good LEDs... -
Page 17: Lightspeed Rocket Web Filter - Dual Bridge 1Gb Fiber Rear Panel Connections
10G. Lightspeed Rocket Web Filter - Dual Bridge 1Gb Rear Panel Connections Power Cords Power Cor r d Network Interface Network Interface Connectors Connectors Power Good LEDs Power Good LEDs Video Port ideo Port Internal 1 Inte na a l 1... -
Page 18: Front Panel Operation And End User License Agreement (Eula)
Reg No: 05336060 England and Wales Corporate Phone Tel: +44 (0) 1277 240 630 Tel: 661.716.7600 Fax: +44 (0) 1277 240 631 Fax: 661.716.8600 Toll Free: 877.447.6244 Support: 800.444.9267 www.lightspeedsystems.com Copyright ©2017 Lightspeed Systems, Inc. All rights reserved. Lightspeed Rocket Hardware Installation Guide...
Need help?
Do you have a question about the Lightspeed Rocket and is the answer not in the manual?
Questions and answers