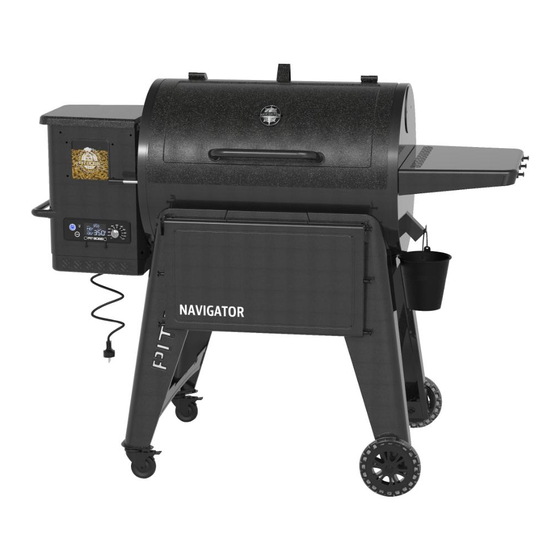
Pit Boss Navigator PB850G Assembly Manual
Wood pellet grill & smoker
Hide thumbs
Also See for Navigator PB850G:
- Assembly manual (128 pages) ,
- Owner's manual (346 pages) ,
- Quick start manual (16 pages)
Table of Contents
Advertisement
WOOD PELLET GRILL & SMOKER
IMPORTANT, READ CAREFULLY, RETAIN FOR
FUTURE REFERENCE. MANUAL MUST BE READ
BEFORE OPERATING!
For outdoor and household use only. Not for commercial use.
WARNING: Please read the entire manual before installation
and use of this electric, pellet fuel-burning appliance.
Failure to follow these instructions could result in property
damage, bodily injury or even death. Contact local building
or fire officials about restrictions and installation inspection
requirements in your area.
ITEM: 172778
MODEL : PB850G
PART : 10710
TM
ASSEMBLY
GUIDE
Advertisement
Table of Contents

Related Manuals for Pit Boss Navigator PB850G


Summary of Contents for Pit Boss Navigator PB850G
- Page 1 ITEM: 172778 MODEL : PB850G PART : 10710 WOOD PELLET GRILL & SMOKER ASSEMBLY IMPORTANT, READ CAREFULLY, RETAIN FOR GUIDE FUTURE REFERENCE. MANUAL MUST BE READ BEFORE OPERATING! For outdoor and household use only. Not for commercial use. WARNING: Please read the entire manual before installation and use of this electric, pellet fuel-burning appliance.
-
Page 2: Table Of Contents
TABLE OF CONTENTS Parts & Specs ..............3 Assembly Preparation ............5 Assembly Instructions Securing Feet To Support Legs ..........5 Securing Support Plates and Caster Wheels ......5 Securing Support Plates and Wheels ........6 Securing Support Plate To Support Legs For Wheels ...6 Securing Support Plate To Support Legs For Casters ...6 Mounting Main Barrel To The Cart ........... -
Page 3: Parts & Specs
PARTS & SPECS Part# Description Part# Description Lid Stopper (x1) Screw (x18) Lid Handle (x1) Washer (x18) Lid Handle Bezel (x2) Locking Washer (x18) Main Barrel/Hopper Assembly (x1) Screw (x30) Flame Broiler Adjusting Bar (x1) Screw (x4) Flame Broiler Adjusting Bar Handle (x1) Wheel Axle Pin (x2) Flame Broiler Slider (x1) Wheel Cotter Pin (x2) - Page 4 PARTS & SPECS...
-
Page 5: Assembly Preparation
ASSEMBLY PREPARATION Parts are located throughout the shipping carton, including underneath the grill. Inspect the grill, parts, and hardware blister pack after removing from the protective shipping carton. Discard all packaging materials from inside and outside of the grill before assembly, then review and inspect all parts by referencing the parts list. If any part is missing or damaged, do not attempt to assemble. -
Page 6: Securing Support Plates And Wheels
3. SECURING SUPPORT PLATES AND WHEELS Parts Required: Right Front Leg (#11) Right Back Leg (#12) Right Bottom Support Plate (#17) Short Support Plate (#19) Wheel (#16) Screw (#D) Wheel Axle Pin (#F) Wheel Cotter Pin (#G) Wheel Washer (#H) Installation: •... -
Page 7: Mounting Main Barrel To The Cart
6. MOUNTING MAIN BARREL TO THE CART Parts Required: Main Barrel (#4) Cable Clips (#31) Power Cord (#32) Screw (#A) 12 x 12 x Washer (#B) 12 x Locking Washer (#C) Installation: • Place the Cable Clips on the Power Cable. Insert the power cord into a groove at the bottom of the hopper. -
Page 8: Installing The Flame Broiler Components
9. INSTALLING THE LID HANDLE Parts Required: Lid Handle (#2) Lid Handle Bezel (#3) Installation: • Remove the pre-installed screws from the Lid Handle. From inside the barrel lid, insert one screw protrude to the outside. Add a Bezel on the screw. -
Page 9: Securing The Front Shelf Brackets
12. INSTALLING THE SIDE SHELF Parts Required: Side Table (#26) Screw (#A) Washer (#B) Locking Washer (#C) Installation: • Loosen the two pre-installed screws from the side of the Main Barrel. Hook up the Side Shelf on the screws first then secure the two pre- loosened screws into place. -
Page 10: Installing The Grill Cooking Components
Ensure it is level to avoid grease spills. • The unit is now completely assembled. 17. CONNECTING TO A POWER SOURCE NOTE: Before plugging your Pit Boss into any electrical outlet, ensure ® FAST-BLOW FUSE, the temperature dial is in the OFF position. - Page 12 IMPORTANT For all questions, inquiries, or customer support, please contact Genesis International Corporation Pty Ltd. +61 8 9248 9822 | service@genesiscorp.com.au WARNING: This product can expose you to chemicals including carbon monoxide, which is a combustion by-product known to cause cancer, birth defects or other reproductive harm. For more information, go to: WWW.PRODUCTSAFETY.GOV.AU/NEWS/CARBON-MONOXIDE-SAFETY 480200424AUM MADE IN CHINA...
Need help?
Do you have a question about the Navigator PB850G and is the answer not in the manual?
Questions and answers