
Subscribe to Our Youtube Channel
Related Manuals for AGA EC 2 OVEN


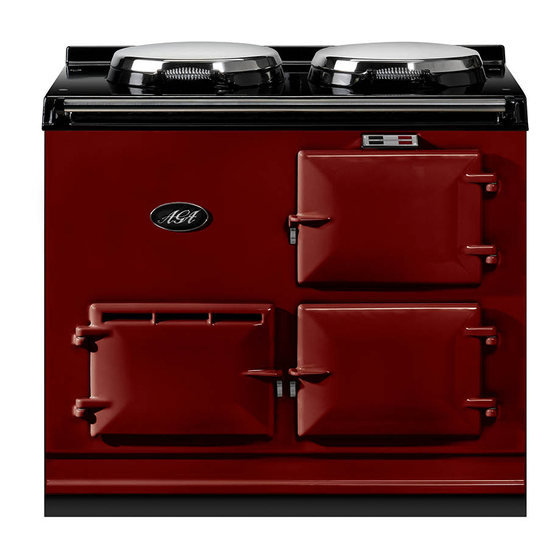
Summary of Contents for AGA EC 2 OVEN
- Page 1 AGA ELECTRIC COOKER (EC & EE) (2 & 4 OVEN) OWNERS MANUAL Comprising Installation & Users Instructions PLEASE READ THESE INSTRUCTIONS BEFORE USING THIS APPLIANCE AUSTRALIA 08/15 EINS 514200...
- Page 2 Remember, when replacing a part on this appliance, use only spare parts that you can be assured conform to the safety and performance specification that we require. Do not use reconditioned or copy parts that have not been clearly authorised by AGA.
-
Page 3: Important Safety Instructions
IMPORTANT SAFETY INSTRUCTIONS INCORRECT USE OF THIS RANGE CAN INCREASE THE RISK OF FIRE, ELECTRIC SHOCKS OR INJURY TO PERSONS. PLEASE READ THE FOLLOWING PRECAUTIONS TO REDUCE THESE RISKS. The appliance and its accessible parts become hot during use. Care should be taken to avoid touching heating elements. -
Page 4: Installation Section
PLEASE READ THE ACCOMPANYING WARRANTY Any alteration that is not approved by AGA could invalidate the approval of the appliance, operation of the warranty and could also affect your statutory rights. In the interests of safety and effective use, please read the following before using your new AGA appliance. - Page 5 Installation must be to Local and National Wiring Regulations/Codes in force, and carried out by a Qualified Engineer. Product Approved for Australia to AS/NZ 560335.2.6 : 2002 Electrical Safety Queensland Q 050049. NOTE: The main AGA cooker is delivered ex-works unassembled. Assembly is undertaken on site by an authorised AGA Distributor.
- Page 6 PRODUCT DIMENSIONS - AGA EC (2 Oven) THIS HOLE IF REQUIRED FOR OVEN VENT PIPE IS TO BE CUT ON SITE IN THE LEFT OR RIGHT HAND SIDE PANEL. mm 987 889 851 679 1330 756 1125 698 484 816 52 790 873 55 699 662 Fig.
- Page 7 PRODUCT DIMENSIONS - AGA EE (4 Oven) THIS HOLE IF REQUIRED FOR OVEN VENT PIPE IS TO BE CUT ON SITE IN THE LEFT OR RIGHT HAND SIDE PANEL. Fig. 1A mm 1487 889 851 679 1330 756 1125 698 484 816...
-
Page 8: Electrical Test Procedure
Hand this Owners Manual to the User for retention and instruct in the safe operation of the appliance. Also advise the user that, for continued efficient and safe operation of the appliance that servicing is carried out at intervals recommended by the AGA distributor. ELECTRICAL TEST PROCEDURE... -
Page 9: Oven Vent Pipe Connection Options
OVEN VENT PIPE CONNECTION OPTIONS Fig. 3 DESN 513987... -
Page 10: Oven Venting Systems
OVEN VENTING SYSTEMS See Figs. 4, 5 & 6 Pre-site visiting will have determined where and how the layout of the oven vent pipework should be designed and installed. It is then necessary to check that the pipework design and the pipework resistance are within the parameters possible. - Page 11 Fig. 4 DESN 513937 Fig. 5 DESN 513938 Fig. 6 DESN 516111...
-
Page 12: The Aga Cooker
1 AGA book 1 Plain shelf A full description of cooking with your AGA is given in the AGA Book. For the most effective operation of the cooker the following points should be carefully observed: 1. Close the insulating lids whenever the hotplates are not in use. -
Page 13: The Heat Indicator
Since the purpose of the heat indicator is to show that the AGA contains the full amount of stored heat it is best to refer to it first thing the morning or after a period of several hours during which no cooking has been done. -
Page 14: Thermostat Control
Once the correct setting has been confirmed, the control will operate automatically to maintain the cooker at its correct temperature and need not be adjusted. SERVICING For continued efficient and safe operation of the appliance it is important that servicing checks are carried out at intervals recommended by your authorised AGA specialist. Fig. 8 DESN 513936... -
Page 15: Operating Your Aga
When first used, your AGA will emit an odour for a short while. Do not worry, this is simply due to protective oil burning off the hotplates. If the inside of the hotplate lids are wiped whilst the AGA is heating up it will avoid a film of this oil being deposited on the inside of the lids. -
Page 16: Fitting Of Oven Shelves
FITTING OF OVEN SHELVES If this is the first time you have used this type of oven shelf, go through the procedure of changing it with the aid of Figs. 9 to 12. Fig. 9 DESN 514201 Fig. 10 DESN 514202 REMOVAL OF OVEN SHELVES Fig. -
Page 17: Cleaning And Caring For Your Aga
Top Plate and Front Plate The easiest way to clean the AGA top plate and front plate is to mop up spills as they happen. Baked-on food is more difficult to clean but can usually be removed with proprietary vitreous enamel cleaners or mild cream cleaners using a cloth, or, if necessary, a nylon scouring pad. -
Page 18: Guide To Aga Cooking
GUIDE TO AGA COOKING As the AGA Cooker is heated differently from an ordinary cooker, exact conversions are not possible. Look in the Aga Book for a similar recipe. Below is a quick guide to oven usage. 2 = TWO OVEN AGA... - Page 20 For further advice or information contact your local AGA Specialist With Aga Rangemaster's policy of continuous product improvement, the Company reserves the right to change specifications and make modifications to the appliance described and illustrated at any time. Manufactured by...
Need help?
Do you have a question about the EC 2 OVEN and is the answer not in the manual?
Questions and answers