
Related Manuals for WimTec SanTec PROOF U8 Series


Summary of Contents for WimTec SanTec PROOF U8 Series
- Page 1 PROOF U8 Montage- und Bedienungsanleitung Installation and operating instructions...
-
Page 2: Allgemeine Hinweise
3 mm Kontaktöffnung zu führen und mit maximal 6 A abzusichern! Bei der Planung und Errichtung von Sanitäranlagen sind die entsprechenden örtlichen, nationalen und internationalen Nor- men und Vorschriften zu beachten! Es gelten die „Allgemeinen Installationsbedingungen“ gemäß www.wimtec.com. Urinalsteuerung SanTec PROOF U8... -
Page 3: Technische Daten
PROOF U8 Technische Daten SanTec PROOF U8 230 V: Betriebsspannung: 230 V / 50 Hz Leistungsaufnahme: ca. 3 VA SanTec PROOF U8 9 V: Batterie: Alkali 9 V Batterielebensdauer: 100.000 Spülungen (max. 2 Jahre) Weitere technische Daten: Magnetventil: Kartusche 6 V Ansprechbereich: ca. - Page 4 PROOF U8 Montage Netzbetrieb Leitung spülen, danach Vorabsperrung schließen Adapter auf Magnetventil stecken. Blindstopfen entfernen und Magnetventil einsetzen, nur handfest anziehen! Netzspannung abschalten! Netztrafo an Stomversorgung anschließen, Netzstecker einstecken. Netzstecker und Netzteil einbauen. Magnetventil anschließen. Stecker vom Netzteil auf E-Modul stecken und Netzspannung einschalten.
- Page 5 PROOF U8 Montage Batterie Leitung spülen danach Vorabsperrung schließen Adapter auf Magnetventil stecken Magnetventil einsetzen, nur handfest anziehen! Batteriefach einschrauben Stecker Magnetventil einstecken Batteriestecker einstecken Elektronikmodul anschrauben Hinweis: Bei Steckverbindungen auf korrekte Polarität achten! Urinalsteuerung SanTec PROOF U8...
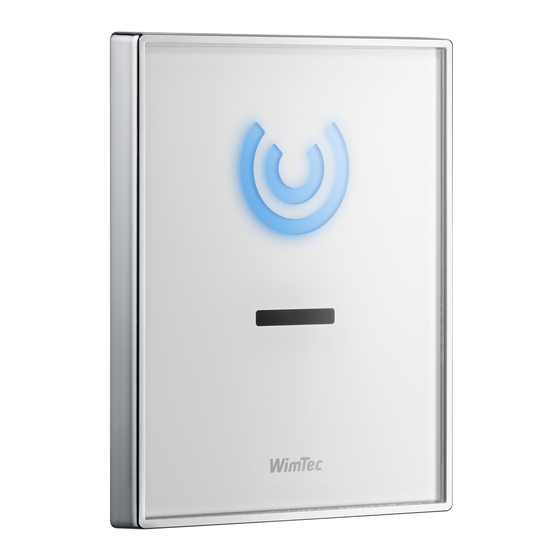
- Page 6 PROOF U8 Inbetriebnahme Netzbetrieb Urinalsteuerung SanTec PROOF U8...
- Page 7 PROOF U8 Inbetriebnahme Netzbetrieb Elektronikmodul anschrauben. Vorabsperrung öffnen. Netzspannung einschalten, LED am Netzteil leuchtet. Spülzeit einstellen Ggf. Wasser sparen! Spülzeit je nach Fließdruck und Spülmenge einstellen. (1 - 15 s einstellbar / 5 s voreingestellt) Als Funktionskontrolle nach Inbetriebnahme blinkt die rote Led 1 min bei Nutzererkennung.
- Page 8 PROOF U8 Inbetriebnahme Batterie Urinalsteuerung SanTec PROOF U8...
- Page 9 PROOF U8 Inbetriebnahme Batterie Elektronikmodul anschrauben. Vorabsperrung öffnen. 9 V-Alkalibatterie einsetzen (Polarität beachten). Spülzeit einstellen Ggf. Wasser sparen! Spülzeit je nach Fließdruck und Spülmenge einstellen. (1 - 15 s einstellbar / 5 s voreingestellt) Als Funktionskontrolle nach Inbetriebnahme blinkt die rote Diode 1 min bei Nutzererkennung Frontplatte aufsetzen und Funktionsprüfung durchführen 7./8.
- Page 10 PROOF U8 Servicehinweis - Magnetventil reinigen Vorabsperrung schließen Magnetventilstecker trennen, Magnetventil ausschrauben Filter abspülen, ggf. mit weicher Bürste reinigen Magnetventil einsetzen, nur handfest anziehen Batteriewechsel Rote Diode blinkt dauernd bei niedrigem Batteriestand Frontplatte abnehmen 9 V Alkalibatterie tauschen Urinalsteuerung SanTec PROOF U8...
- Page 11 PROOF U8 Ersatzteile 112504 113 020 231 205 231 212 113 013 (Netz) 119 824 (Batterie) 112 986 112 993 113 006 230 611 230 086 No.: Bezeichnung 112 504 SanTec OCEAN Urinal Rohbauset 113 020 Magnetventil Adapter 231 205 Magnetventil 6 V 113 013 Montagerahmen mit Elektronikmodul (Netz)
-
Page 12: General Notes
6 A! When planning and installing sanitary systems, the relevant local, national and international standards and regulations must be complied with! The “general installation conditions” at www.wimtec.com are valid. Urinal control SanTec OCEAN U8... -
Page 13: Technical Specifications
PROOF U8 Technical specifi cations SanTec PROOF U8 230 V: Operating voltage: 230 V / 50 Hz Power consumption: approx. 3 VA SanTec PROOF U8 9 V: Battery: Alkaline 9 V Battery life time: 100.000 fl ushings (max. 2 years) Further technical specifi... - Page 14 PROOF U8 Installation mains supply Flush the pipes, close shut-off valve afterwards. Connect adapter to magnetic valve. Remove blank plug and insert magnetic valve, pull tight only by hand! Switch off power supply! Connect transformer to power supply, insert power plug. Install power plug and power supply.
- Page 15 PROOF U8 Installation battery Flush the pipes and close the shut-off valve afterwards. Connect adapter to magnetic valve. Insert magnetic valve, pull tight only by hand! Screw on battery box. Attach plug of magnetic valve. Attach plug of battery. supply. Screw on electronic module.
- Page 16 PROOF U8 Start of operation (mains supply) Urinal control SanTec OCEAN U8...
- Page 17 PROOF U8 Start of operation (mains supply) Screw on electronic module. Open shut-off valve. Switch on power supply, led on power supply is shining. Adjust flushing time if necessary. Save water! Adjust flushing time according to flow pressure and flushing quantity. (1 –...
- Page 18 PROOF U8 Start of operation (battery) Urinal control SanTec OCEAN U8...
- Page 19 PROOF U8 Start of operation (battery) Screw on electronic module. Open shut-off valve. Connect 9 V alkaline battery (pay attention to correct polarity). Adjust flushing time if necessary. Save water! Adjust fushing time according to flow pressure and flushing quantity. (1 - 15 s adjustable / 5 s pre-adjusted).
-
Page 20: Battery Change
PROOF U8 Service hint – clean magnetic valve Close shut-off valve Separate magnetic valve plug, screw out magnetic valve Wash filter, clean with soft brush if necessary Insert magnetic valve, pull tight only by hand Battery change When battery is low. red led fushes constantly. Remove front plate. -
Page 21: Spare Parts
PROOF U8 Spare parts 112504 113 020 231 205 231 212 113 013 (Netz) 119 824 (Batterie) 112 986 112 993 113 006 230 611 230 086 No.: Description 112 504 SanTec OCEAN urinal wall recess mounted box 113 020 Magnetic valve adapter 231 205 Magnetic valve 6 V... - Page 22 PROOF U8 Notes Urinal control SanTec OCEAN U8...
- Page 23 PROOF U8 Notes Urinal control SanTec OCEAN U8...
- Page 24 WIMTEC Elektronische Steuerungs- u. Meßgeräte GmbH p: A - 3325 Ferschnitz, Freidegg 50, AUSTRIA t: +43 (0) 7473 5000 f: +43 (0) 7473 5000 - 500 m: verkauf@wimtec.com i: www.wimtec.com...
Need help?
Do you have a question about the SanTec PROOF U8 Series and is the answer not in the manual?
Questions and answers