Advertisement
Table of Contents
Advertisement
Table of Contents

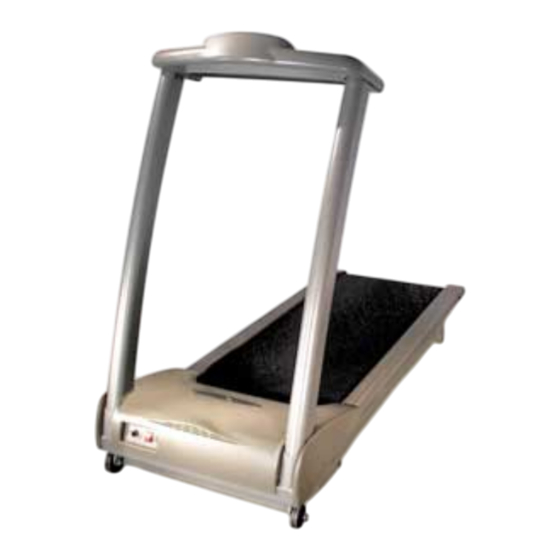
Summary of Contents for Vision Fitness T9000
- Page 1 A s s e m b l y G u i d e T9100 T9000 PLATFORM TREADMILLS...
- Page 2 Also, during each assembly step, ensure that ALL screws are in place and partially threaded in before completely tightening any ONE screw or bolt. STEP STEP STEP A s s e m b l y G u i d e T9100 T9000 PLATFORM TREADMILLS STEP...
- Page 3 TOOLS & PARTS INCLUDED Allen Wrench PARTS BOX Water Bottle, Qty: 1 Color-coded Hardware Bags Owner’s Guide Assembly Guide Warranty Card Screwdriver L-Shaped Wrench...
- Page 4 HARDWARE INCLUDED ORANGE BAG M8 x 65L Screw Quantity: 6 M8 x 20L Screws Quantity: 2 BLUE BAG M8 x 20L Screws Quantity: 4 PINK BAG M5 x 20L Panhead Screw Quantity: 4...
- Page 5 STEP STEP STEP STEP ORANGE BAG • Insert one of the console supports into the console support bracket and secure with three bolts (M8x65L) in the side of the console support bracket. • Secure the rear of the console support using bolt (M8x20L) •...
- Page 6 STEP • Plug the large data cable into the large plug connection on the lower control board. Plug the small data cable into the small plug connection on the lower control board. • Install the motor cover. Secure the motor cover using the four (M5x20L) STEP screws.
-
Page 7: Belt Tension
STEP 500 South CP Avenue • P.O. Box 280 • Lake Mills. WI 53551 toll free 1.800.335.4348 • phone 1.920.648.4090 • fax 1.920.648.3373 www.visionfitness.com 2002 Vision Fitness. All Rights Reserved. 10.03 Part #Z90TM78-AG18.27PRD AG18.27PRD REV2 BELT TENSION • If the running belt slips when used,...


Need help?
Do you have a question about the T9000 and is the answer not in the manual?
Questions and answers