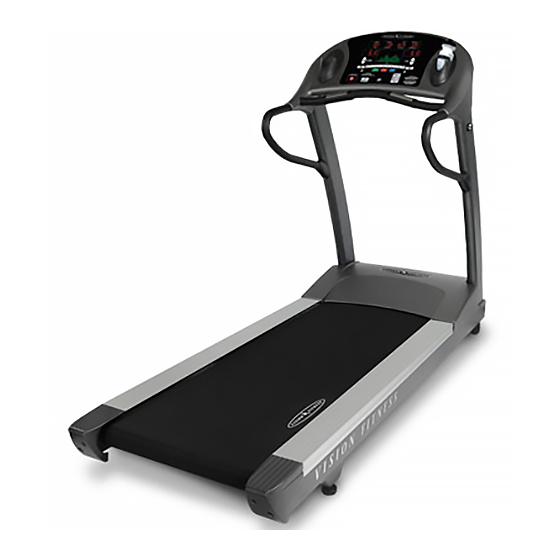
Vision Fitness T9800 Series Assembly Manual
Treadmills
Hide thumbs
Also See for T9800 Series:
- Owner's manual (64 pages) ,
- Assembly manual (3 pages) ,
- Owner's manual (51 pages)
Advertisement
Table of Contents
Advertisement
Table of Contents

Related Manuals for Vision Fitness T9800 Series


Summary of Contents for Vision Fitness T9800 Series
- Page 1 A s s e m b l y G u i d e T9800 Series TREADMILLS...
- Page 2 A s s e m b l y G u i d e T9800 Series TREADMILLS To avoid possible damage to this Platform Treadmill, please follow these assembly steps in the correct order. Before proceeding though, find your new Platform Treadmill’s 2 serial numbers, located on the underside of the main frame, and on the bottom of the...
- Page 3 TOOLS, HARDWARE, & PARTS INCLUDED 8mm T-Shaped Wrench 6mm L-Shaped Wrench 5mm L-Shaped Wrench Screwdriver PARTS BOX Water Bottle, Qty: 1 Handlebars, Qty: 2 Handlebar Covers, Qty: 2 Power Cord, Qty: 1 Color-coded Hardware Bags...
- Page 4 HARDWARE INCLUDED BLUE BAG ORANGE BAG M8 x 15L Socket Head M10 x 20L Bolt M8 x 15L Socket Head Quantity: 4 Quantity: 4 Quantity: 8 8.2x19x2T Flat Washer 10.2x19x2T Flat Washer 8.2x19x2T Flat Washer Quantity: 4 Quantity: 4 Quantity: 8 PINK BAG 6x20x2T Flat Washer Quantity: 4...
- Page 5 ORANGE BAG STEP • Remove motor cover screws and take off the motor cover. • Insert the right console mast to the right console mast bracket. First, fasten the inside of the console mast to the console mast bracket by securing four bolts (M8x15L socket head) and four washers (8.2x19x2T).
- Page 6 PINK BAG STEP • Insert the handlebar cover onto the handlebar. Insert the right handlebar by holding the handlebar sideways toward the treadmill and inserting the top into the console. Rotate the handlebar into the bracket located on the console mast. Fasten with a bolt (M5x12L), and a bolt (M6x15L socket head) &...
- Page 7 AUTO-CALIBRATION STEP DO NOT STAND ON THE BELT WHEN PERFORMING AUTO-CALIBRATION You need to access User Engineering Mode to run the auto-calibration. With the safety key in place , please hold down SPEED DOWN and SELECT for 5 seconds. When in the User mode, “USER ENG MODE” appears in the alphanumeric window.
- Page 8 -turn at a time until the belt remains centered during use. 500 South CP Avenue • P.O. Box 280 • Lake Mills, WI 53551 toll free 800.335.4348 • phone 920.648.4090 • fax 920.648.3373 www.visionfitness.com ©2006 Vision Fitness. All Rights Reserved. 2.06 AG18.39PRD REV5...
Need help?
Do you have a question about the T9800 Series and is the answer not in the manual?
Questions and answers