Table of Contents
Advertisement
Quick Links
Advertisement
Table of Contents

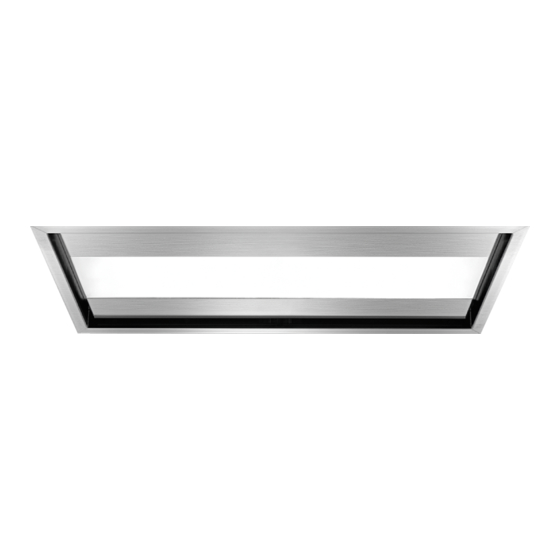
Summary of Contents for FALMEC Nuvola Series
- Page 1 INSTALLATION MANUAL Nuvola falmecau.com...
- Page 2 CONGRATULATIONS Congratulations and thank you for choosing a Falmec rangehood. To avoid the risks that are always present when you use an electrical appliance it is important that the rangehood is installed correctly and that you read the safety in- structions carefully to avoid misuse and ha- zards.
- Page 3 INSTALLATION WITH MOTOR ON THE HOOD 973 - 1358 NUVOLA 90: 32 KG 925 - 1310 NUVOLA 140: 45 KG HOLE SIZES 940 - 1325...
- Page 4 INSTALLATION WITH SLIM MOTOR 973 - 1358 NUVOLA 90: 31 KG 925 - 1310 NUVOLA 140: 44 KG HOLE SIZES 940 - 1325...
- Page 5 INSTALLATION WITH CONVEYOR KIT AND REMOTE MOTOR 973 - 1358 NUVOLA 90: 24 KG 925 - 1310 NUVOLA 140: 37 KG HOLE SIZES 940 - 1325...
- Page 6 INSTALLATION WITH REMOTE MOTOR 973 - 1358 925 - 1310 NUVOLA 90: 22 KG NUVOLA 140: 35 KG HOLE SIZES 940 - 1325...
- Page 7 MEASUREMENTS FOR INSTALLATION ø9 mm...
-
Page 8: Preliminary Operations
PRELIMINARY OPERATIONS Cutting the plasterboard (1), inserting the supporting frame (2) √ double adhesive... - Page 9 PRELIMINARY OPERATIONS Fixing the mandatory safety chains to the ceiling. Ø9...
- Page 10 PRELIMINARY OPERATIONS Open the panel, remove the filters (4) and gas piston (5).
- Page 11 INSTALLATION WITH MOTOR ON THE HOOD Remove the flange from the hood (1) and the motor (2). If the air outlet is upward, see (3). For other directions, see (4) and (5). INLET...
- Page 12 INSTALLATION WITH MOTOR ON THE HOOD Side movement of the air exhaust OUTLET 180° 90°...
- Page 13 INSTALLATION WITH MOTOR ON THE HOOD...
- Page 14 INSTALLATION WITH MOTOR ON THE HOOD Fixing the motor support brackets(7) Positioning the motor on the support frame (8)
- Page 15 INSTALLATION WITH MOTOR ON THE HOOD Fitting the suction pipe and electrical connection (9). 1100 ø 15 150mm...
- Page 16 SLIM MOTOR Remove the flange from the hood (1). Detach pre-cut elements and position the slim motor bracket...
- Page 17 SLIM MOTOR INSTALLATION Fixing the motor support brackets (3). S L I M (x4) (x8)
- Page 18 SLIM MOTOR INSTALLATION Positioning the motor on the support frame (4). Fitting the suction pipe and electrical connection (5). SLIM...
- Page 19 INSTALLATION WITH CONVEYOR KIT AND REMOTE MOTOR Remove the lange from the hood (1). Fixing the brackets onto the rectangular connection (2). (x4) (x4) ( x 8 ) (x8)
- Page 20 INSTALLATION WITH CONVEYOR KIT AND REMOTE MOTOR Positioning the rectangular connection on the support frame (3). Fitting the suction pipe (4).
-
Page 21: Remote Motor Installation
REMOTE MOTOR INSTALLATION Fitting the non-return valve (1). 150mm 200 mm KAC L . 396 O P T I O N A L N O V A L V E... - Page 22 REMOTE MOTOR INSTALLATION Fixing the suction pipe (3). REMOTE EXTERNAL MOTOR REMOTE MOTOR...
-
Page 23: Final Operations
FINAL OPERATIONS Passing the chains through, passing the control cable through. (x2) - Page 24 FINAL OPERATIONS Closing the holding brackets. Disassembly!
- Page 25 FINAL OPERATIONS Fixing the motor (or rectangular connection) (3), electrical connection and tensioning the safety chains (4). ( x 4 ) ( x 8 ) ( x 8 )
- Page 26 FINAL OPERATIONS Repositioning of the front glass, filters and side glass panels...
-
Page 27: Safety Instructions And Warnings
SAFETY INSTRUCTIONS If the equipment is sold or transferred to another person, make sure that the booklet is also supplied so that the new user can be made aware of the hood's operation and relative AND WARNINGS warnings. After the stainless steel hood has been installed, it will need to be cleaned to remove any residues remaining from the protection adhesive as well as any grease and oil stains which, if Installation operations are to be carried out by skilled and qualiied in- not removed, can cause irreversible damage to the hood surface. -
Page 28: Operation
ELECTRICAL CONNECTION OPERATION (only intended for qualiied personnel) WHEN TO TURN ON THE HOOD? Switch on the hood at least one minute before starting to cook to direct fumes and vapours Disconnect the equipment from electrical mains power supply before carry- towards the suction surface. -
Page 29: Maintenance
METAL ANTI-GREASE FILTERS RADIO CONTROL CODE CHANGE It is advised to frequently wash the metal ilters (at least once a month) leaving them to With only one radio control, go directly to point 2. soak in boiling water and cleaning solution for 1 hour, taking care not to bend them. With several radio controls in the same room, a new code can be created by following the Do not use corrosive, acid or alkaline detergents. -
Page 30: Warranty
All FALMEC rangehoods come with a 5 year parts and labour warranty. PR Kitchens & Washrooms will correct, free of charge, any defects in material or workmanship for the Outdoor BBQ models MUST only have the specified 2010 m3/hr motor installed in period of 5 years, subject to the terms of our warranty stated below. - Page 31 NOTE - NOTES...
- Page 32 PR Kitchen & Washroom Systems NZ P.O. Box 53171, Auckland Airport Auckland — 2150 New Zealand +09 964 0400 info@prks.com.nz Falmec S.p.A via dell’Artigianato, 42 z.i. 31029 Vittorio Veneto Treviso — Italy falmec.com Codice / Code Matricola / Serial Number...


Need help?
Do you have a question about the Nuvola Series and is the answer not in the manual?
Questions and answers