Advertisement
......................................................
1
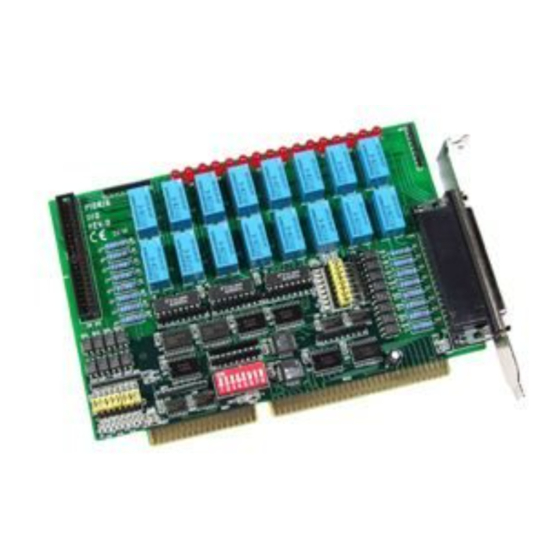
What's on your package?
One P8R8DIO/P16R16DIO series card
One companion ISA CD (V2.1 or later)
One Quick Start Guide(This document)
......................................................
2
Installing Windows Driver
Follow those steps:
1. Setup the Windows driver. You can get the driver from:
CD:\NAPDOS\ISA\DIO\DLL\
http://ftp.icpdas.com/pub/cd/iocard/isa/napdos/isa/dio/dll/
2. Click "Next >" button to start installation.
3. Click "Next >" button to install driver into the default folder.
4. Click "Install" button to continue installation.
Select
5.
"NO, I will restart my computer later" and
Windows driver only support windows 98/NT/2000 and
XP/2003/vista 32-bit versions.
P8R8DIO/P16R16DIO
Language
Version
Update
- 1 -
English
V1.2
Nov.2008
click
"Finish".
Advertisement
Table of Contents

Related Manuals for ICP DAS USA P8R8DIO


Summary of Contents for ICP DAS USA P8R8DIO
- Page 1 Version V1.2 Nov.2008 Update ……………………………………………… What’s on your package? One P8R8DIO/P16R16DIO series card One companion ISA CD (V2.1 or later) One Quick Start Guide(This document) ……………………………………………… Installing Windows Driver Follow those steps: 1. Setup the Windows driver. You can get the driver from: CD:\NAPDOS\ISA\DIO\DLL\ http://ftp.icpdas.com/pub/cd/iocard/isa/napdos/isa/dio/dll/...
- Page 2 ……………………………………………… I/O Address & Jumper Setting The base address switch is preset at value need for you. (Default value 300Hex) P8R8DIO P16R16DIO SW1: Default 300 Hex SW1: Default 300 Hex P16R16DIO P8R8DIO ( * ) Default Setting ( * ) Default Setting...
- Page 3 Setting jumper, see the list of jumper number and It’s corresponding digital input channel. P8R8DIO JP1~JP8 P16R16DIO JP1~JP8 DC (*)Default With AC Filter Without Filter For AC Signal For DC Signal PJ9~PJ16 (*)Default P8R8DIO P16R16DIO Jumper Input Channels Jumper Input Channels...
- Page 4 ……………………………………………… Adding Hardware Adding hardware is used on Windows 2000/XP/2003/Vista 32 only. Windows 9X/Me/NT users can skip it. 7. Add Hardware 7-1 Open the “Control Panel” by click the item “Start / Settings / Control Panel”. 7-2 Double-click the item “Add/Remove Hardware” and click “Next >” button. 7-3 Select the item “Add/Troubleshoot a device”...
- Page 5 ……………………………………………… Pin Assignments CN1/ CON2 pin assignments of the P8R8DIO/ P16R16DIO connector. (See Figure 6-1) CN1 pin assignments of the P16R16DIO connector. (See Figure 6-2) P16R16DIO CN1 Pin Assignments P8R8DIO CN1/ P16R16DIO CON2 (Figure 6-2) Pin Assignments (Figure 6-1) COM0...
- Page 6 2. Use DN-37 to connect the board CN1 and than CN1.NO0 with CN1.DI 0+. (pin1 connect to pin12) 3. Use DP-665 V24+ connect to DN-37 CN1.COM0 and then DP-665 GND connect to DN-37 DI 0-. (V24+ connect to pin2, GND connect to pin30). P8R8DIO P16R16DIO +24V CON2 DN-37 I/O...
- Page 7 4. Run the P8R8DIO/P16R16DIO sample program. Get the file from(Default path): C:\DAQPro\DIO_WinXXX\Demo\ 5. Check number of the P8R8DIO/ P16R16DIO, and test DIO function. 1. The one 2. Select the board P8R8DIO/P16R16DIO number for the had successfully installed to PC. P8R8DIO/P16R16DIO.
- Page 8 ……………………………………………… Additional Information P8R8DIO/P16R16DIO Series Card Product page: http://www.icpdas.com/products/DAQ/pc_based/p8r8dio.htm http://www.icpdas.com/products/DAQ/pc_based/p16r16dio.htm DN-37(Optional) page: http://www.icpdas.com/products/DAQ/screw_terminal/dn_37.htm DP-665(Optional) page: http://www.icpdas.com/products/Accessories/power_supply/dp-665.htm Documents: CD:\NAPDOS\ISA\DIO\manual http://ftp.icpdas.com/pub/cd/iocard/isa/napdos/isa/DIO/manual/ Software: CD:\NAPDOS\ISA\DIO http://www.icpdas.com/download/isa/dio/index.htm The ICP DAS Web Site http://www.icpdas.com Technical support Supplies and ordering information Ways to enhance your device Application story Contact Us Service@icpdas.com...
Need help?
Do you have a question about the P8R8DIO and is the answer not in the manual?
Questions and answers