Sign In
Upload
Download
Table of Contents
Contents
Add to my manuals
Delete from my manuals
Share
URL of this page:
HTML Link:
Bookmark this page
Add
Manual will be automatically added to "My Manuals"
Print this page
×
Bookmark added
×
Added to my manuals
Manuals
Brands
RIKA Manuals
Stove
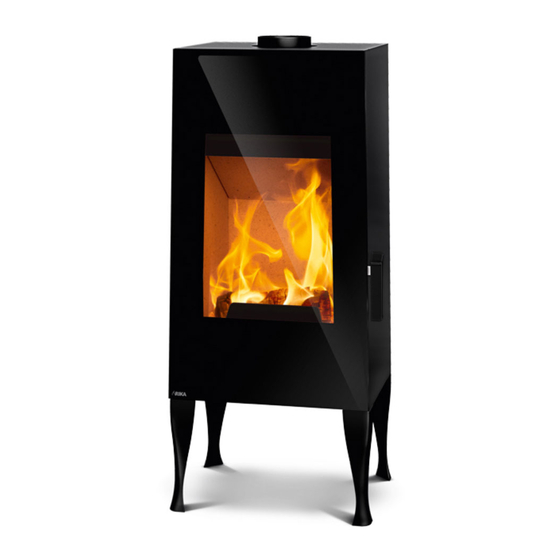
LOOK RLU
Operating manual
RIKA LOOK RLU Operating Manual
Hide thumbs
Also See for LOOK RLU
:
Assembly manual
(28 pages)
,
Assembly manual
(45 pages)
1
Table Of Contents
2
3
4
5
6
7
8
9
10
11
12
13
14
15
16
17
18
19
20
21
22
23
24
page
of
24
Go
/
24
Contents
Table of Contents
Bookmarks
Table of Contents
Table of Contents
1 Preface
Explanations to Symbols
Spare Part Overview - Exploded Diagram
Spare Part Overview - Article Numbers
Dimensions
Amount of Fuel
Technical Data
Packaging
Electrical Connection (RIKATRONIC3)
2 Important Information
General Warning and Safety Information
First Heating
Safety Distances
Prior to Set
3 Brief Information on Combustible - Logs
Suitable Fuels and Fuel Amounts
Wood Types
Output Controlling
Clean Combustion
4 Installing the Stove
General Information
Connection to the Chimney
Connecting to a Steel Chimney
Combustion Air
Feeding in External Combustion Air
5 Assembly Options
Converting to Rear Flue Pipe Connection
6 Operation - Rikatronic3
RIKA Firelighter
Heating Instructions
Correct Heating up
Adding Wood
ECO Operation
Complete Closing of the Air Flaps
Power Failure
Manual Regulation
Status Displays
Warnings and Malfunction Messages
7 Manual Operation
RIKA Firelighter
Combustion Air Regulation
Correct Heating up
Refilling
8 Cleaning and Maintenance
Basic Information
Cleaning the Combustion Chamber
Empty the Ash Drawer
Cleaning the Flame Temperature Sensor
Combustion Air - Intake
Cleaning the Door Glass
Cleaning Painted Surfaces
Cleaning the Flue Pipes
Checking Door Seal
9 Problems - Possible Solutions
Problem 1
Problem 2
Problem 3
Notes
10 Warranty
Advertisement
Quick Links
Download this manual
LOOK RLU
LOOK
RIKATRONIC3
Operating manual
Table of
Contents
Previous
Page
Next
Page
1
2
3
4
5
Advertisement
Table of Contents
Need help?
Do you have a question about the LOOK RLU and is the answer not in the manual?
Ask a question
Questions and answers
Related Manuals for RIKA LOOK RLU
Wood stove RIKA Look RLU Assembly Manual
(45 pages)
Stove RIKA Look RLU Assembly Manual
(28 pages)
Stove RIKA LOOK Operating Manual
(16 pages)
Stove RIKA Look Assembly Manual
(32 pages)
Stove RIKA STEP Operating Manual
(24 pages)
Stove RIKA LOOK RIKATRONIC3 Operating Manual
(24 pages)
Stove RIKA Vitra Passivehouse Instruction Manual
(20 pages)
Stove RIKA NEX Operating Manual
(16 pages)
Stove RIKA Memo Gsm Operating Manual
(40 pages)
Stove RIKA Topo II Operating Manual
(32 pages)
Stove RIKA DOMO Manual
Cover ah / rao (41 pages)
Stove RIKA DOMO II RAO Installation And Operating Manual
(40 pages)
Stove RIKA DOMO MULTIAIR Assembly Instructions Manual
(49 pages)
Stove RIKA ANIMO ADUO Operating Manual
(28 pages)
Stove RIKA ADUO Operating Manual
(40 pages)
Stove RIKA ECO Manual
(20 pages)
This manual is also suitable for:
Look rikatronic3
Table of Contents
Print
Rename the bookmark
Delete bookmark?
Delete from my manuals?
Login
Sign In
OR
Sign in with Facebook
Sign in with Google
Upload manual
Upload from disk
Upload from URL


Need help?
Do you have a question about the LOOK RLU and is the answer not in the manual?
Questions and answers