Table of Contents
Advertisement
Advertisement
Table of Contents

Related Manuals for Craftsman CMXEMAX69434501


Summary of Contents for Craftsman CMXEMAX69434501
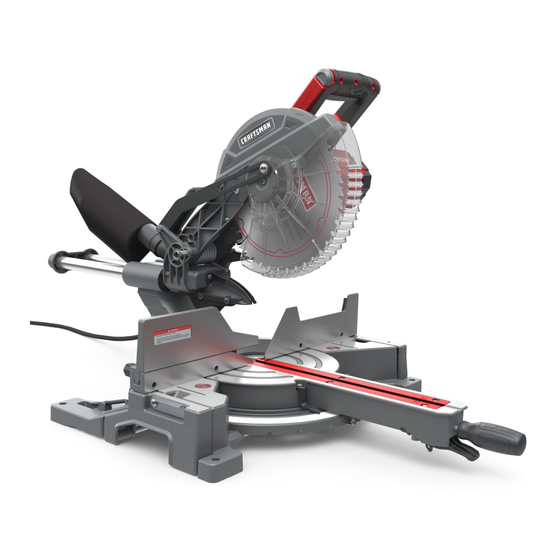
- Page 1 INSTRUCTION MANUAL | MANUAL DE INSTRUCTIONES 10" Sliding Compound Miter Saw Sierra Ingleteadora Compuesta Deslizante de 254 mm (10 pulgados) CMXEMAX69434501 IF YOU HAVE QUESTIONS OR COMMENTS, CONTACT US. SI TIENE DUDAS O COMENTARIOS, CONTÁCTENOS. 1-888-331-4569 WWW.CRAFTSMAN.COM...
- Page 3 ENGLISH De nitions: Safety Alert Symbols and Words This instruction manual uses the following safety alert symbols and words to alert you to hazardous situations and your risk of personal injury or property damage. DANGER: Indicates an imminently hazardous situation which, if not avoided, will result in death or serious injury. WARNING: Indicates a potentially hazardous situation which, if not avoided, could result in death or serious injury.
- Page 4 WARNING: Never modify the product or any part of it. Damage or personal injury could result. WARNING: To reduce the risk of injury, read the instruction manual. If you have any questions or comments about this or any product, call CRAFTSMAN toll free at: 1-888-331-4569.
- Page 5 Save all warnings and instructions for future reference. NEVER use this power tool in a manner that has not been The term “power tool” in the warnings refers to your mains- speci cally recommended by CRAFTSMAN. operated (corded) power tool or battery operated (cordless) power tool.
- Page 6 ENGLISH protected supply. Use of an GFCI reduces the risk of power tool’s operation. If damaged, have the power tool electric shock. repaired before use. Many accidents are caused by 3) Personal safety poorly maintained power tools. a) Stay alert, watch what you are doing and use common f) Keep cutting tools sharp and clean.
- Page 7 ENGLISH fence and table along the line of the cut. Bent or of the saw may cause the saw head to be suddenly pulled warped workpieces can twist or shift and may cause downward, causing a risk of injury. binding on the spinning saw blade while cutting. There should be no nails or foreign objects in the workpiece.
- Page 8 ENGLISH DOUBLE INSULATION GUIDELINES FOR EXTENSION CORDS Double insulation is a concept in safety in electric power tools, Use a proper extension cord. Make sure extension cords are in which eliminates the need for the usual three-wire grounded good condition. When using an extension cord, be sure to use power cord.
- Page 9 ENGLISH GLOSSARY OF TERMS Detent Override: allows the miter table to move freely to any desired angle. With the miter lock handle loosened and the The safe use of this product requires an understanding of the miter latch lever squeezed (step. 1), pull the detent override information on the tool and in this operator’s manual as well up (step.
- Page 10 ENGLISH SPECIFICATIONS • Raise the saw head by the handle. Hand pressure should remain on the switch handle to prevent sudden rise Motor............120 V~ 60 Hz, 15 A upon release of the head lock pin. Speed (no load)........4500 RPM •...
- Page 11 ENGLISH Unlocking and locking the saw head • Loosen the miter lock handle by turning it counter- clockwise and squeeze the miter latch lever , move the (Fig. 5a-5c) table to 0°, release the miter latch lever tighten the miter lock handle . Unlocking the saw head: Fig.
- Page 12 ENGLISH WARNING: Carefully check the workbench or stand Fig. 6a after mounting to make sure that no movement can occur during use. If any tipping, sliding, or walking is noted, secure the workbench or stand to the oor before operating. Adjusting leveling foot (Fig.
- Page 13 ENGLISH Fig. 8 Fig. 10 Remove and install sliding fence (Fig. 11) WARNING: In some operations, the workpiece clamp Remove sliding fence: assembly may interfere with the operation of the • Loosen the fence lock knob counter-clockwise. blade guard assembly. Always make sure there is no •...
- Page 14 ENGLISH Remove and install the table insert Removing and installing the blade (Fig. 13) (Fig. 14a-14c) CAUTION: The miter saw comes with the table insert WARNING: Only use a 10" (254 mm) diameter blade. already installed. These instructions are for replacing Never use a blade that is too thick to allow the outer or adjusting either insert side.
- Page 15 ENGLISH Squaring the blade to the fence WARNING: Make sure the anges are clean and properly arranged. Lower the blade into the lower (Fig. 15a-15b) table and check for any contact with the metal base or the miter table. • Unplug the saw.
- Page 16 ENGLISH Bevel stop adjustment (Fig. 16a-16c) Fig. 16c WARNING: To avoid injury from an accidental start, make sure the switch is in the OFF position and the plug is not connected to the power source outlet. 90° (0°) Bevel adjustment (Fig. 16a-16b) •...
- Page 17 ENGLISH Depth stop adjustment (Fig. 18) WARNING: Never use another person as an additional support for a workpiece that is longer or wider than When used, the depth stop limits the downward travel the miter table, or to help feed, support, or pull the of the blade when doing non-through cuts.
- Page 18 ENGLISH Use of precision blade guide systems • With the power switch OFF, bring the saw blade down to the workpiece to see the cutting path of the blade. ON/OFF switch (Fig. 20) • Squeeze trigger switch to start saw. •...
- Page 19 ENGLISH Using the workpiece clamp (Fig. 23) To remove the sliding fence, refer to the section “Remove and install sliding fence”. • Turn the knob on the workpiece clamp , adjust WARNING: DRY RUN — It is important to know the workpiece clamp upward or downward to the where the blade will intersect with workpiece during desired position.
- Page 20 ENGLISH place the convex side against the fence. If the concave Fig. 24b edge of a board is placed against the fence, the board could collapse on the blade at the end of the cut, jamming the blade. (See Fig. 34a-34b) •...
- Page 21 ENGLISH • Place the workpiece flat on the miter table with one Fig. 26b edge securely against the fence. If the board is warped, place the convex side against the fence. If the concave edge of a board is placed against the fence, the board could collapse on the blade at the end of the cut, jamming the blade.
- Page 22 ENGLISH • Align cutting line on the workpiece with the edge of • Release the switch trigger and allow the saw blade to saw blade. stop rotating before raising the blade out of workpiece • Turn the precision blade guide systems ON/OFF switch and removing the workpiece from the miter table.
- Page 23 ENGLISH out backward rotate it a 1/4 turn in either direction Fig. 29b and releasing it in that position (A in Fig. 29a). Bevel angles can be set from 0° to 48°. Move the saw head assembly to the desired angle. •...
- Page 24 ENGLISH angles can be set from 0° to 48°. Move the saw head Fig. 30b assembly to the desired angle. • To use the quick pre-set stops, pull the lock button out backward until the saw head assembly can be moved and then release the lock button.
- Page 25 ENGLISH Cutting grooves (Fig. 31a-31b) Fig. 31b Cut these grooves Using a wood chisel and the depth adjustment knob, it is with saw possible to make a cutting grooves. Always make a practice cut on scrap wood. A groove should be cut as a slide cut. •...
- Page 26 ENGLISH Cutting crown molding Fig. 33 The compound miter saw does an excellent job of cutting crown molding. In general, compound miter saws do a better job of cutting crown molding than any other tool. In order to t properly, crown molding must be compound mitered with extreme accuracy.
- Page 27 ENGLISH Nesting crown molding against the miter Bevel Angle Type of Cut Setting fence (Fig. 36a-36b) Left side, inside corner 1. Top edge of molding against fence NOTICE: Do not attempt to cut molding that is larger than 0° 2. Miter table set right 45° 5-1/4 in.
- Page 28 DO NOT touch the sharp points on the blade CRAFTSMAN Authorized Service Center. with ngers or hands while performing any Consult CRAFTSMAN Authorized Service Center if for maintenance. any reason the motor will not run. WARNING: Always wear eye protection with side...
- Page 29 FOR YOUR SAFETY: Registering your product will allow us to contact you in the unlikely event a safety noti cation is required under the Federal Consumer Safety Act. Register online at www.craftsman.com/registration THREE-YEAR LIMITED WARRANTY • This compound miter saw is warranted to the original purchaser from the original purchase date for three (3) years subject to the warranty coverage described herein.