Table of Contents
Advertisement
Quick Links
Advertisement
Table of Contents

Related Manuals for Kogan F600


Summary of Contents for Kogan F600
- Page 1 4000 LUMENS FULL HD PROJECTOR (F600) KAF600PRXA...
-
Page 3: Safety And Warnings
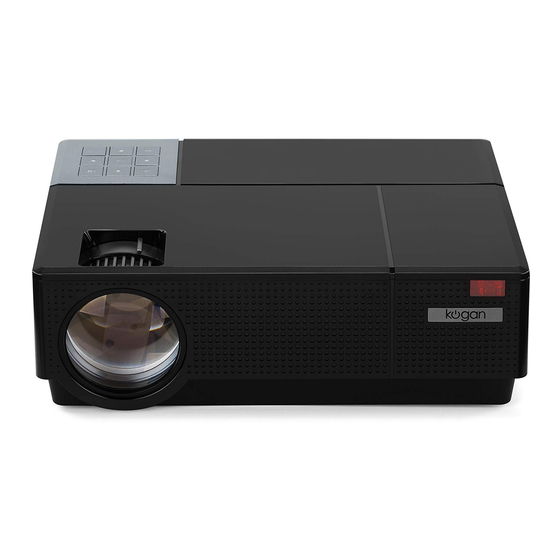
Do not attempt to repair this product yourself. If the product or its power supply experiences any malfunction or damage, stop using it immediately and contact Kogan.com to arrange a repair. • It is recommended to power off the projector after 6 hours of continuous operation. - Page 4 OVERVIEW Antenna socket (optional) VGA input socket USB input port (USB2 output 5V) AC socket IR receiver HDMI input port AV input jack Filter cover (removable) AV input jack Source Menu Focus Keystone Return Power Note: ▲ ▲ Press the key to turn on the Brightness Shortcut function.
- Page 5 Lens Support base The projector is adjustable 1~3° from the standard position.
- Page 6 Remote Control Power Mute Keystone Brighten Home/Play Arrow keys Enter Menu Source Return Volume- Volume+ Note • The remote control must directly face the projector’s IR remote control sensor or be within 30° to function correctly. • Remove the battery if the remote control will not be in use for an extended period.
- Page 7 Projection Distance and Size Follow the data in the chart below to adjust the image size and the distance between the lens and screen. 50 inches 72 inches 100 inches 120 inches Aspect ratio 16:9 1.75m 2.4m 3.3m 3.9m Note: The image size depends on the distance between projector and screen.
-
Page 8: Operation
OPERATION Connect the projector to a power outlet. The indicator light will illuminate in red. Press the power button (� � � ) on the control panel or remote control to turn the projector Keep the projector straight and level with the screen. Follow the diagram below to adjust trapezoid correction if the image does not appear correctly. -
Page 9: Keystone Adjustment
Keystone Adjustment Method 1: Move the keystone to the left or right to adjust the trapezoid of the image. The adjustable angle is ±15°. Note: If the keystone adjustment fails to correct the image shape, reduce the vertical height of the projector in relation to the centre of the screen. - Page 10 Focus The projected image may be blurry or difficult to see due to a lack of focus adjustment with the lens. If this is the case, twist the focus ring to adjust the image as shown below: Note: It is normal for an image to be sharp in the centre, but blurrier on the edges.
-
Page 11: Hdmi Connection
Multimedia Connection When connecting with different devices, the correct signal source will need to be selected to view the image. Press the Source button to select from the available connections: (The picture is for reference only; ATV is an optional function) USB connection Insert a USB flash drive into the USB port and choose USB1 or USB2. -
Page 12: Specifications
SPECIFICATIONS Support File Extension Unsupported Image JPEG, PNG, BMP, .jpg / .png / .bmp format .avi / .ts / .dat / .vob MPEG1, MPEG2, Dolby AC3 / AAC, DTS, Audio / .wav / .mkv / .mp3 format LPCM, MP3 WMA, DivX, VC1, etc / .mp4 / .m4a .dat / .ts / .mp4 / .mpg MPEG1, MPEG2,... - Page 13 NOTES...
- Page 16 Need more information? We hope that this user guide has given you the assistance needed for a simple set-up. For the most up-to-date guide for your product, as well as any additional assistance you may require, head online to help.kogan.com...
Need help?
Do you have a question about the F600 and is the answer not in the manual?
Questions and answers