Advertisement
Quick Links
Advertisement

Subscribe to Our Youtube Channel
Related Manuals for Kogan M900


Summary of Contents for Kogan M900
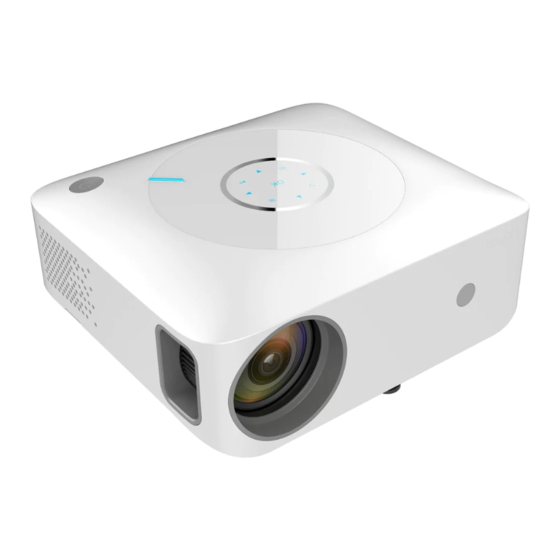
- Page 1 5500 LUMENS FHD WI-FI PROJECTOR M900 KAM900PRRA...
-
Page 2: Table Of Contents
Safety and warnings Components Overview Operation Specifications Notes... -
Page 3: Safety And Warnings
Do not attempt to repair this product yourself. If the product or its power supply experiences any malfunction or damage, stop using it immediately and contact help.Kogan.com for assistance. • Ensure the projector is a safe distance from other heat-emitting devices or the service life of the projector may be shortened. -
Page 4: Components
COMPONENTS Projector Remote Control Power Cable 3-in-1 Video Cable HDMI Cable Lens Cover User Guide Warranty Card... -
Page 5: Overview
OVERVIEW Directional Button Menu Source Back Confirm Play/Pause Standby Lens IR Receiver Focus Ring Removable Filter... - Page 6 HDMI 1 HDMI 2 AV Port USB Port Audio output (3.5mm) Micro SD / TF Card slot IR Receiver Power port...
- Page 7 Remote Control Standby Mute Source Play/Pause Menu Directional Buttons Confirm Direction right / Direction left Volume + / Volume − Fast Forward Back Rewind Previous Next...
-
Page 8: Operation
OPERATION Getting Started Remove all packaging material including the plastic protective film on the surface of the projector's touch panel. Connect the projector to a power outlet using the supplied cable, the indicator light on will turn RED. Press the Standby button on the projector or remote control, the projector will turn on and the indicator light on will turn BLUE. - Page 9 Digital Keystone Adjust the 4D Keystone Correction setting. Horizontal Calibration Vertical Calibration Rotate Calibration Auto Adjust Auto Adjust With Auto Adjust turned on, the projector will automatically adjust the picture to a regular rectangle. As it is automated, it may not be as perfect as a manually configured setup.
- Page 10 Focus Adjust the focus ring until the display is clear and crisp. Focus Ring Connect Input Devices Use the source button to select the desired signal source (USB, HDMI 1, HDMI 2, AV, Micro SD/TF Card). HDMI2 USB Micro SD Screen HDMI1 / TF Card...
- Page 11 Connect projector to a PC using HDMI cable. Select “HDMI” on the input select screen. MacBook or MacBook Air Connect projector to a Mac using either a Type-C to HDMI adapter to connect your MacBook or a Mini Display to HDMI adapter to connect with your MacBook Air (Adapter not included).
- Page 12 Soundbar Use the supplied AV cable to connect to a soundbar. Turn on both the projector and the soundbar. The projector will output all audio to the soundbar. Connect the projector to your AV device using supplied 3-in-1 composite AV cable to the projector.
- Page 13 Game Console Connect the game console to HDMI port of the projector. Turn on both the projector and game console. Choose ''HDMI'' on the input select screen. Wireless Connection (Android device only) Select “Screen Mirror” on the input source screen. Ensure your Android device is connected to the internet.
- Page 14 HDMI CEC CEC (Consumer Electronics Control) allows users to control multiple HD devices that support CEC with one remote control, eliminating the need to use multiple remotes to control your devices. Connect device(s) which support CEC to the projector by HDMI. Choose SETTING>...
- Page 15 Search for and select the device(s). Ceiling Mount Installation This projector is compatible with most universal wall mounts (sold separately). Install the ceiling mount following the instructions supplied with the mount. Enter MENU > PICTURE > Projection Direction and select the correct projection mode.
-
Page 16: Specifications
SPECIFICATIONS Imaging System Light Source Colour 16.8 full colour Projection Distance 1-4m Projection Size 30-150” Aspect Ratio 16:9 / 4:3 Keystone Correction ±50° 4D Digital / Auto Power 110W Dimension 23.3 x 20.8 x 9.5cm Resolution Native 1920 x 1080 Input Interface USB / HDMI x2 / Micro SD Card / Audio In Zoom Function... - Page 17 Projection Size and Distance Optimum projection distance: 2-2.5m Distance Screen Size 1.2m 35” 1.5m 50” 72” 100” 3.5m 120” 4.5m 150”...
-
Page 18: Notes
NOTES... - Page 20 Need more information? We hope that this user guide has given you the assistance needed for a simple set-up. For the most up-to-date guide for your product, as well as any additional assistance you may require, head online to help.kogan.com...
Need help?
Do you have a question about the M900 and is the answer not in the manual?
Questions and answers