Advertisement
Quick Links
Advertisement

Related Manuals for Kogan KAPRLS01PEA


Summary of Contents for Kogan KAPRLS01PEA
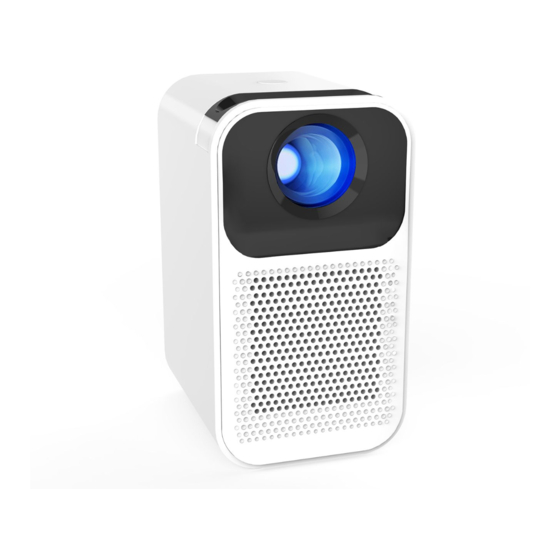
- Page 1 KOGAN HD SMART PROJECTOR KAPRLS01PEA...
-
Page 3: Safety And Warnings
• Do not repair this product yourself. If the product or its power supply experiences any malfunction or damage, cease use immediately and contact help.Kogan.com for support. • This product does not contain any user serviceable parts. Do not disassemble or modify this product in any way. -
Page 4: Components List
COMPONENTS LIST • Kogan HD Smart Projector • Remote control • Power adapter • User guide... - Page 5 OVERVIEW Back View 3 4 5 HDMI port USB port 3.5mm audio port Charging port Audio/AV in Infrared receiver...
- Page 6 Front View Lens Outlet...
- Page 7 Top View Lens focusing ring Power button...
- Page 8 Bottom View Foot pad Support screw hole...
- Page 9 Remote Control Menu Mute Power Volume - Volume + Left Right Down Return Signal source Focus + Focus - YouTube Prime Video Home...
-
Page 10: Operation
OPERATION Power On/Off • Plug one end of the adapter into the projector and the other end into an electrical outlet. • Press the power button on the projector or the remote to turn the projector on and off. • The indicator will illuminate red when the projector is on and stop illuminating when the projector is off. - Page 11 Image Focusing Adjust the lens focusing ring until the projected picture is clear. Lens focusing ring Connect to Wi-Fi Use the remote control to enter the Settings menu. Go to ‘Network Settings’. Select the Wi-Fi network you want to connect to. Enter the password and press the ‘OK’...
- Page 12 Input Source HDMI: Connect the projector and the device (such as computer, DVD player, etc.) using an HDMI cable (not provided). Press the signal source button on the remote control or select ‘Source’ on the main menu. Change the signal source to HDMI. Audio: Plug the device (speaker, earphones, etc.) into the audio port on the projector.
- Page 13 Android Device Screen Mirroring Ensure the projector and the device are connected to the same Wi-Fi network. Select ‘Cast’ on the main menu. Select ‘Android screen projection software’. Go to Bluetooth settings on your Android device and select ‘Smart_FB2C’. iOS Device Screen Mirroring Ensure the projector and the device are connected to the same Wi-Fi network.
- Page 14 OSD Menu • Ensure the projector is connected to a device. • Press the menu button on the projector to open the OSD menu. • Press the buttons to select a sub-menu and press ‘OK’ to enter. • Press the buttons to select a setting and press ‘OK’...
- Page 15 Manual Trapezoidal Correction Horizontal and vertical keystone correction: When the projected image is not rectangular, it can be adjusted using 4-point keystone correction. Use the remote control to enter the Settings menu. Select ‘Projection’. Select ‘Horizontal/Vertical Correction’. Press the direction buttons on the remote control to adjust the projected image.
- Page 16 Four-point Trapezoid Correction Use the remote control to enter the Settings menu. Select ‘Projection’. Select ‘Four-point Trapezoid Correction’ and press ‘OK’ to select a corner to adjust. Press the direction buttons on the remote control to adjust the selected corner. Press the menu button on the remote control to reset if needed.
- Page 17 Other Settings Setting Description Set image display mode (Standard, Bright, Energy Saving, Video, Image mode Sports, Games, Custom). Colour Adjust image display colour temperature (Cool, Warm, Standard, temperature Custom). Sound mode Adjust the sound (Standard, Music, Video, Sports, Custom). Adjust the aspect ratio (only scan, video, 4:3/16:9) [it is recommended Aspect ratio to change the software to automatic, 4:3, 16:9].
- Page 18 NOTES...
- Page 20 Need more information? We hope that this user guide has given you the assistance needed for a simple set-up. For the most up-to-date guide for your product, as well as any additional assistance you may require, head online to help.kogan.com...
Need help?
Do you have a question about the KAPRLS01PEA and is the answer not in the manual?
Questions and answers