Sign In
Upload
Download
Table of Contents
Contents
Add to my manuals
Delete from my manuals
Share
URL of this page:
HTML Link:
Bookmark this page
Add
Manual will be automatically added to "My Manuals"
Print this page
×
Bookmark added
×
Added to my manuals
Manuals
Brands
Void Manuals
Speakers
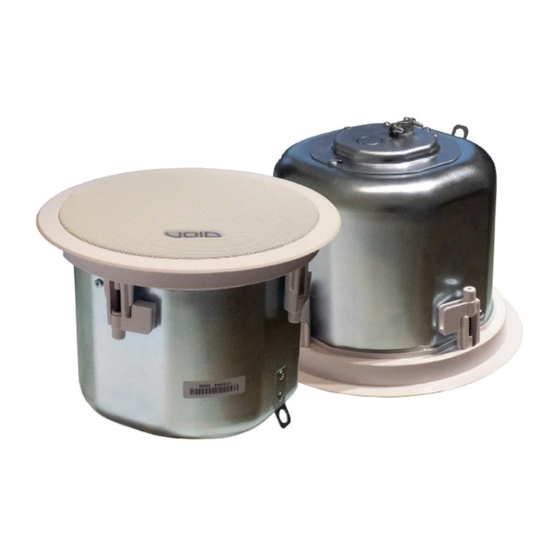
Cirrus 4.1
User manual
Void Cirrus 4.1 User Manual
Hide thumbs
1
2
Table Of Contents
3
4
5
6
7
8
9
10
11
12
13
14
15
16
17
18
19
20
page
of
20
Go
/
20
Contents
Table of Contents
Bookmarks
Table of Contents
Table of Contents
1 Safety and Regulations
Important Safety Instructions
Limitations
EC Declaration of Conformity
WEEE Directive
2 Limited Warranty
3 Unpacking and Checking
4 About
Welcome
Cirrus Series Overview
5 Specifications and Dimension
Cirrus
Key Features
Cirrus 4.1 Specifications
Cirrus 4.1 Dimensions
Cirrus
Key Features
Cirrus 6.1 Specifications
Cirrus 6.1 Dimensions
6 Voltage and Power Settings
7 Mounting
Installation Safety
Mounting Instruction
8 Service
Advertisement
Quick Links
Download this manual
Cirrus 4.1/6.1
User Guide V1.0
Table of
Contents
Previous
Page
Next
Page
1
2
3
4
5
Advertisement
Table of Contents
Need help?
Do you have a question about the Cirrus 4.1 and is the answer not in the manual?
Ask a question
Questions and answers
Related Manuals for Void Cirrus 4.1
Speakers Void STASYS 4 Owner's Manual
Loudspeaker (8 pages)
Speakers Void Stasys 4 User Manual
(24 pages)
Speakers Void Incubus System User Manual
(30 pages)
Speakers Void Airten User Manual
(34 pages)
Speakers Void Airten V3 User Manual
Big impact, small footprint (26 pages)
Speakers Void IMPULSE t SERIES Owner's Manual
(9 pages)
Speakers Void Mycro 8 Owner's Manual
(8 pages)
Speakers Void Cyclone 8 User Manual
(21 pages)
Speakers Void Air Vantage User Manual
Dual purpose loud speaker (36 pages)
Speakers Void Arcline Series User Manual
(22 pages)
Speakers Void Digidrive V2 User Manual
(36 pages)
Speakers Void MYCRO X Owner's Manual
(8 pages)
Speakers Void AIRTEN Owner's Manual
Compact high output dual 10" loudspeaker (8 pages)
Speakers Void AXSYS 12 Owner's Manual
(8 pages)
Speakers Void Air 8 User Manual
(21 pages)
Speakers Void Venu 208i User Manual
(28 pages)
This manual is also suitable for:
Cirrus 6.1
Table of Contents
Print
Rename the bookmark
Delete bookmark?
Delete from my manuals?
Login
Sign In
OR
Sign in with Facebook
Sign in with Google
Upload manual
Upload from disk
Upload from URL


Need help?
Do you have a question about the Cirrus 4.1 and is the answer not in the manual?
Questions and answers