Advertisement
Quick Links
Advertisement

Related Manuals for Body Sculpture BC-1720-H


Summary of Contents for Body Sculpture BC-1720-H
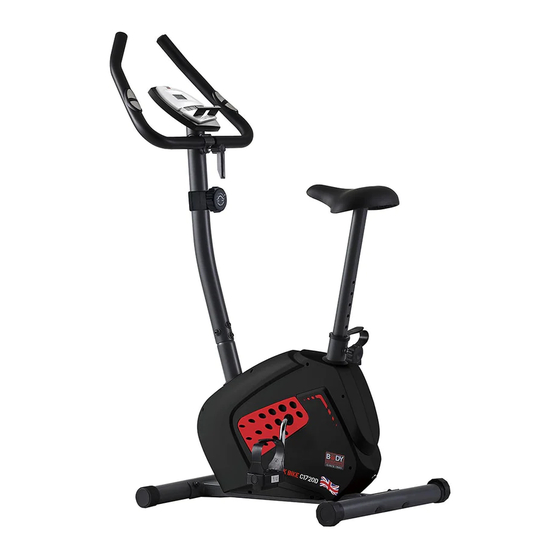
- Page 1 BC-1720-H MAGNETIC BIKE...
- Page 2 Important Safety Information …………………… Exploded-View Assembly Drawing …..……………….. Parts List ……………………………………………….… Assembly Instructions ……………………………..…… Exercise Instructions …………………………………..… ………………….…………………… Exercise Computer Trouble Shooting …………………………………………...
- Page 3 Please keep this manual in a safe place for reference. 1. It is important to read this entire manual before assembling and using the equipment. Safe and efficient use can only be achieved if the equipment is assembled, maintained and used properly. It is your responsibility to ensure that all users of the equipment are informed of all warnings and precautions.
-
Page 5: Part List
PART LIST PART NO. DESCRIPTION Main frame Front stabilizer Carriage bolt(M8*60) End cap Rear stabilizer Rear end cap (Angle adjustable) Crank arm(L + R) Chain cover (right) Chain cover (left) Domed nut (M8) Curved washer (Ø8) Front post Upper cable wire Lower cable hook Computer sensor wire Lower computer sensor wire... - Page 6 Attach the Front Stabilizer (pt. 2) and Rear Stabilizers (pt. 5) to the Main Frame (pt. 1) using 4 sets of M8 Domed Nuts (pt. 10), Ø8 Curved Washers (pt. 11) and M8 x 60mm Carriage Bolts (pt. 3). 10 11 Take the Front Post (pt.12) and join the Upper Computer Wire (pt.15) with Lower Wire (pt.16).
- Page 7 Fix the Seat (pt.19) to the Seat post (pt.20) by using 3 sets of Ø8 Washers (pt.22) and M8 Lock Nuts (pt.21) located under the seat. NOTICE! This line mark on the seat post is for “STOP” position. STOP Insert the Seat Post (pt.20) into the Seat Post housing and line up the holes (The correct height adjustment can be made when the bike is fully assembled) Secure the seat in position with the...
- Page 8 Plug the upper computer Sensor Wire (pt.15) to the back of Computer (pt.31), and then slide the Computer (pt.31) onto the Computer bracket (pt.30) and then fixing with 2 x M5 Screw (pt.28). If your computer has the function of HANDPULSE (Optional function); please plug the Pulse Sensor Wire (pt.29) into the back of Computer (pt.31) Turn the tension knob by clockwise to increase the resistance.
- Page 9 This stage helps get the blood flowing around the body and the muscles working properly. It will also reduce the risk of cramp and muscle injury. It is advisable to do a few stretching exercises as shown below. Each stretch should be held for approximately 30 seconds, do not force or jerk your muscles into a stretch - if it hurts, STOP.
-
Page 10: E X E R C I S E C O M P U T Er
Functions and Operations 1. Batteries Installation Please install 1 pieces of AAA 1.5V batteries in the battery case on the back of monitor. (Whenever Batteries are removed, all the functions values will be reset to zero.) 2. Auto On/Off While the user starts to do exercise, the Display will show out the workout value automatically. -
Page 11: Troubleshooting
Note: If the computer displays abnormally, please re-install the battery and try again. Battery Spec: 1.5V AAA (1PCS). 3. The batteries must be removed from the appliance before it is scrapped and that they are disposed of safety. WARNING! Heart rate monitoring systems may be inaccurate. Over exercise may result in serious injury or death. - Page 12 Use this space to record your own exercise routine results.
- Page 13 COPYRIGHT ©2011 BY BODY SCULPTURE INTERNATIONAL EUROPE LTD ALL RIGHTS RESERVED.UNAUTHORIZED DUPLICATION IS A VIOLATION OF LAW.
Need help?
Do you have a question about the BC-1720-H and is the answer not in the manual?
Questions and answers