Table of Contents
Advertisement
Quick Links
Advertisement
Table of Contents

Related Manuals for Vertiv VP7557


Summary of Contents for Vertiv VP7557
- Page 1 Instruction Manual Basic Rack PDU VP7557 VertivCo.com/geist...
-
Page 2: Table Of Contents
Basic Rack PDU VP7557 Instruction Manual Page 2 Contents Specifications ................................ 3 1.1. Overview ................................ 3 1.2. Environmental ..............................3 1.2.1. Temperature ............................3 1.2.2. Humidity .............................. 3 1.2.3. Elevation .............................. 3 1.3. Electrical ................................. 3 1.4. Receptacle Ratings ............................3 Installation ................................ -
Page 3: Specifications
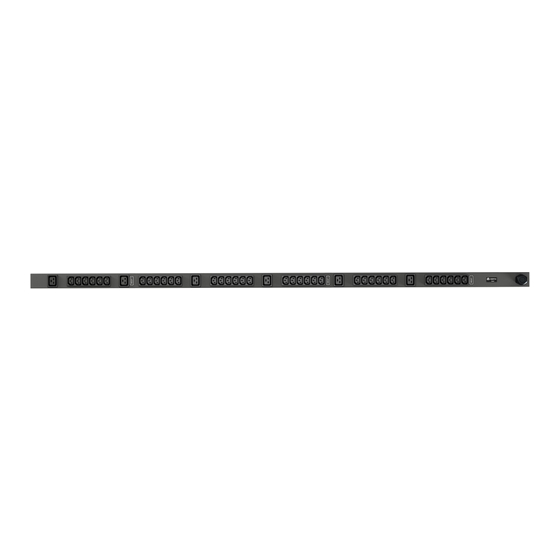
1. SPECIFICATIONS 1.1. OVERVIEW The VP7557 is a Power Distribution Units (PDU) intended for connection to a 16 Amp AC Mains cir- cuit. The PDUs are designed to be powered by a three phase WYE 230/400 Volt AC input circuit. 230 Volt AC (Line-Neutral) single phase output power is distributed through the output receptacles to connected equipment. - Page 4 Basic Rack PDU VP7557 Instruction Manual Page 4 ** Receptacle ratings give nameplate component voltage and current ratings. All Y Series PDUs have output receptacles wired for 230 Vac, Line-Neutral Output...
-
Page 5: Installation
Basic Rack PDU VP7557 Instruction Manual Page 5 2. INSTALLATION 2.1. INSTRUCTIONS Using appropriate hardware, mount PDU to rack (see Mounting section for additional instruc- tions) Plug PDU into de-energized 20 or 30 Amp branch circuit receptacle.*** Connect devices into PDU’s output receptacles. It is recommended that the devices are turned off until all devices are connected to PDU Turn on branch circuit to energize PDU. -
Page 6: Mounting
Basic Rack PDU VP7557 Instruction Manual Page 6 3. MOUNTING Full Length Bracket Using the full length bracket, mount PDU to rack as shown Mini "L" Brackets (SLB-4) Using the mini “L” brackets, attach PDU to rack as shown... - Page 7 Basic Rack PDU VP7557 Instruction Manual Page 7 Vertical Extension Brackets (VCB-1) Using the vertical extension brackets, attach PDU to rack as shown Toolless Mounting Hardware (11621) Secure toolless mounting buttons to PDU as shown. Use toolless buttons with key-holed slots built into...
- Page 8 Basic Rack PDU VP7557 Instruction Manual Page 8 Toolless Full Length Bracket (TLFL) Using full length toolless bracket and toolless mounting buttons, attach PDU to rack as shown Single Side Mount 2 Unit Brackets (TSMX2) Using single side mount 2 unit brackets and toolless mounting buttons, attach PDU to rack as shown...
- Page 9 Basic Rack PDU VP7557 Instruction Manual Page 9 Offset/Side Mount Brackets (EZB-1) Using the offset/side mount brackets, attach PDU to rack as shown. 7" Extension Brackets (XB-7) Using the 7” extension brackets, attach PDU to rack as shown...
-
Page 10: Service/Tech Support
Basic Rack PDU VP7557 Instruction Manual Page 10 4. SERVICE/TECH SUPPORT 4.1. SERVICE AND MAINTENANCE No service or maintenance is required. Do not attempt to open the PDU or you may void the war- ranty. No serviceable parts inside. It is recommended that power be removed from the unit before installing or removing any equipment. - Page 11 Basic Rack PDU VP7557 Instruction Manual Page 11 KEYWORD INDEX No index entries found.
- Page 12 Basic Rack PDU VP7557 Instruction Manual Page 12 Thank You For Purchasing Your Vertiv Product VertivCo.com/geist...
Need help?
Do you have a question about the VP7557 and is the answer not in the manual?
Questions and answers