Table of Contents
Advertisement
Quick Links
Included Equipment
Power cable (1)
Note: Power cables may
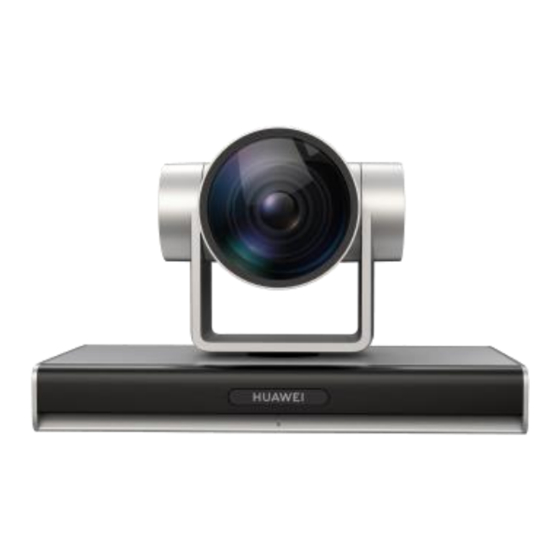
Camera 200 (1)
Power adapter (1)
vary by country.
USB 3.0 cable (1)
HDMI cable (1)
Quick Start Guide (1)
Mounting bracket (1)
Certificate of Compliance &
Remote control (1)
1/4"-20UNC screw (1)
Safety Precautions
AAA batteries (2)
Expansion bolts (4)
&Warranty Card (1)
M6 × 30 Philips screws (4)
http://www.huawei.com
Issue: 02 (2019-11-28)
Copyright © Huawei Technologies Co., Ltd. 2019. All rights reserved.
1
Advertisement
Table of Contents

Related Manuals for Huawei 200


Summary of Contents for Huawei 200
- Page 1 Certificate of Compliance & Remote control (1) 1/4"-20UNC screw (1) Safety Precautions AAA batteries (2) Expansion bolts (4) &Warranty Card (1) M6 × 30 Philips screws (4) http://www.huawei.com Issue: 02 (2019-11-28) Copyright © Huawei Technologies Co., Ltd. 2019. All rights reserved.
- Page 2 Appearance Port Description Lens 12x optical zoom Steady green: normal operation Blinking green: remote control is in use Steady orange: sleep mode Status indicator Blinking orange: camera upgrade Blinking red: 1. Fault detected 2. Upgrading Single Chip Micyoco Infrared receiver Receives infrared signals, supports NEC protocol Power button Powers camera on or off...
-
Page 3: Installation
If the display is thicker than 170 mm or wall-mounted, the Camera 200 cannot be installed on top of the display. If the display is 170 mm or thinner, the Camera 200 can be mounted on top of a display or placed horizontally with an additional L-shaped bracket (not included). - Page 4 Requires: Wall- Included: wall mounting bracket (1), 1/4"-20UNC screw (1), Expansion bolts Mounted (4), M6 × 30 Philips screws (4). Not included: hammer drill (1), electric screwdriver (1), hammer (1), and Phillips screwdriver (1). First, drill four holes in the wall for mounting the bracket, each with a diameter of 8 mm (0.31 in.) and depth of 35–40 mm (1.38–1.57 in.).
- Page 5 holes must be level for correct installation, then install. Installation Procedure. The camera can be mounted both on top and on bottom of the bracket as shown below. Requires: Ceiling- Not included: ceiling bracket (1), 1/4"-20UNC screw (recommended) Mounted Bracket Requirements:...
-
Page 6: Connecting The Cables
200. The distance between the screw hole on the bracket and location pillar must be 14.5 mm (0.57 in.) to match the holes of the Camera 200. If the bracket has a front side and back side, the location pillar must be placed on the front, and the screw hole on the back. - Page 7 HDMI port is available for direct connection with the camera. Insert the supplied HD-VI to DVI/COM adapter into the Box 500's HD-VI port. Connect it to the DVI-HDMI adapter (not included) and to the Camera 200's HDMI port, and then connect the COM cable to the Camera 200's RS232-IN port.
-
Page 8: Powering The Camera On
Matched CloudLink Meeting PC Client Directly connect the Camera 200 to a PC with a USB cable after it is turned on. Start the Huawei CloudLink Meeting PC client. Go to the menu and go to Settings > Media > Video Device and select HUAWEI Camera 200. -
Page 9: Controlling The Camera
RS232 cable connection must be configured. In addition the following configurations must be performed: For configurations (1) and (2), the camera is also controllable by the Huawei Touch included with the HD video device: when the device is idle, go to Setting > Camera to >... -
Page 10: Ir Remote Control
Control the camera individually using the IR remote control included with the Camera 200. Use the Menu button to hide or display the On-Screen Display (OSD) configuration screen. There you can set the image output format, image parameters, and image inversion mode. - Page 11 Buttons Description # + # + 3: 1080p 50 FOCUS+ or FOCUS-: Adjust focus (only in manual mode) ZOOM+ or ZOOM-: Zoom in or zoom out AUTO: Auto focus mode MANUAL: Manual focus mode * + # + AUTO: Start auto rotation mode # + * + AUTO: Stop auto rotation mode Set preset: Press SET PRESET + 0–9: to set number preset Call preset: Press 0–9 to call a saved preset...
-
Page 12: Specifications
Buttons Description Reserved buttons Specifications Category Item Specifications 8.51-megapixel and 1/2.5'' SONY IMX274 Imaging component imaging chip Lens Optical zoom Focal length: f = 3.85–43.06 mm ± 5%; Focal length and aperture Aperture: F1.8–F3.56 ± 5% HDMI output format 4K model : 4K30, 4K25, 1080p60, 1080p50, 1080p30, and 1080p25 ... -
Page 13: Safety Precautions
Category Item Specifications 1/25 seconds to 1/10000 seconds Shutter speed Up to 254. Remote control supports presets Local camera presets from 0 to 9 Range: ± 110˚ Speed: 1.7˚/s (Tele) to 80˚/s (Wide) Repositioning accuracy: ± 0.1˚ capability Range: ± 30˚ Speed: 0.7˚/s (Tele) to 28˚/s (Wide) Tilt Repositioning accuracy: ±... - Page 14 During installation and commissioning, properly ground the camera, and do not insert or remove the camera video cables when the camera is powered on. Keep the device dry and prevent collision damage during storage, transportation, and operations. Do not attempt to dismantle the device. Contact an authorized maintenance center to address any faults.
- Page 15 Why does the display fail (no video or black screen) after the camera has worked for a period of time? Check the camera working environment. For example, check the cable connection, voltage, and heat dissipation. IR remote control for configuration check: Go to Menu > Camera > Exposure to check whether the aperture is off or the shutter value is too high, resulting in underexposure.
- Page 16 The Huawei Camera 200 supports the Video System Control Architecture (VISCA) protocol and therefore can be cascaded. Connection method: Use a keyboard with the VISCA protocol to connect the cameras. Connect the RS232-IN port of the first camera to the VISCA keyboard.
-
Page 17: Pin Assignment
Pin Assignment Pin (RS232-IN) Pin (RS232-OUT) IR OUT...
Need help?
Do you have a question about the 200 and is the answer not in the manual?
Questions and answers