Table of Contents
Advertisement
Cautions
Precautions and maintenance
For indoor use only
To avoid risk of fire or electric shock, do not expose the unit to moisture or
condensation.
To avoid overheating, do not block the ventilation holes on the back of the Digital Photo
Frame.
Keep the Digital Photo Frame out of direct sunlight.
Do not dismantle the Digital Photo Frame. There is a risk of electric shock and there are
no user-serviceable parts inside. Dismantling the Digital Photo Frame will void your
warranty.
Cleaning the LCD Screen
Treat the screen carefully. Because the screen of the Digital Photo Frame is made of glass
and it would easily be broken or scratched.
If fingerprints or dust accumulate on the LCD screen, we recommend using a soft,
non-abrasive cloth such as a camera lens cloth to clean the LCD screen.
Moisten the cleaning cloth with the cleaning solution and apply the cloth to the screen.
To reduce the risk of fire or electric shock, do not expose this appliance to
rain or moisture.
Note: This Device is for private use only and not designed for commercial
utilization.
WARNING:
1
English
Advertisement
Table of Contents

Related Manuals for Rollei Pissarro DPF-80


Summary of Contents for Rollei Pissarro DPF-80
- Page 1 English Cautions Precautions and maintenance For indoor use only To avoid risk of fire or electric shock, do not expose the unit to moisture or condensation. To avoid overheating, do not block the ventilation holes on the back of the Digital Photo Frame.
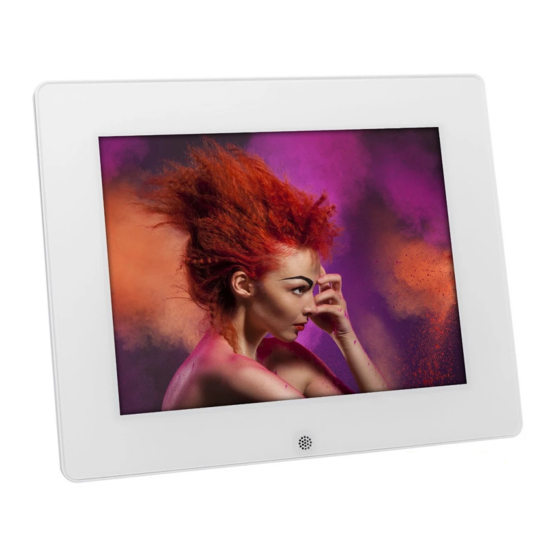
- Page 2 Introduction: Thank you for your purchase of the Digital Photo Frame. It is designed to allow quick and easy view of photos taken from your digital camera, mobile phone, or from a memory storage card. Please read this User Manual carefully to learn the correct way to use the Digital Photo Frame.
-
Page 3: Table Of Contents
CONTENTS 1. Product Diagram ........................4 1.1 Remote Control ......................4 1.2 Back side Buttons ......................5 1.3 Left Side of Frame ......................5 2. Installing & Replacing the Battery ..................5 3. Getting Started ........................5 4. Operating Instruction ......................6 4.1 Card and USB ......................... -
Page 4: Product Diagram
1. Product Diagram 1.1 Remote Control 1) POWER — Switch On/Off. 2) SETUP — Go to Setup mode. 3) ROTATE — Counterclockwise 90°In the picture pause mode each time — Functional selection button from the bottom to the top cursor 5) ZOOM —... -
Page 5: Back Side Buttons
1.2 Back Side Buttons 1. Power on/off 2. Menu 3. Play/pause 4. Left 5. Right 6. Return 1.3 Left Side of Frame 1. SD/SDHC /MS/ MMC Card 2. USB Host Port 3. Power cable connector 2. Installing & Replacing the Battery Place the upside of the remote control down, press down on the ridged area of the battery cover and pull towards you to remove the tray. -
Page 6: Operating Instruction
4. Operating Instruction Power on the unit for the first time it will show the startup logo first, then a interface with a 16-languages selection appears on the screen. Press choose and press OK to select the language. The unit will start an auto slideshow with pictures of the internal Memory. -
Page 7: Photo Mode
4.2 Photo Mode Press RETURN to choose Storage Device. Press “OK” to enter into the main menu, choose Photo and press OK to start slideshow , press Return to enter into the 9-Pictures Mode, use to choose the picture and press OK to play.It will auto slideshow. -
Page 8: Calendar
5. Calendar Select Calendar in the Main Menu, press OK to enter. It will show calendar with a window on the left with slideshow. Supported files must be stored in the selected storage device. Adjust date with If you want to set the date/time, press Setup, You can enter into the Calendar Setup menu, press OK to enter the sub-menu items. -
Page 9: Setup
7. Setup Select Setup in the main menu,press OK to enter the Setup interface and press highlight the main item and press OK to enter the sub-menu items. Press to set the Value and press to Confirm. Note: After you set an item and enter into the next item, the set mode/data will auto saved. -
Page 10: Troubleshooting Guide
10. Troubleshooting Guide If you are having problems with your player, please consult both this guide and manual.If you need further assistance, please contact Technical Support. No power: Please check whether the plug is inserted correctly. Remote control no function: Please check whether the battery has power (the battery can be used for half a year in normal conditions).
Need help?
Do you have a question about the Pissarro DPF-80 and is the answer not in the manual?
Questions and answers