Skywalker SWGM100 Assembly, Maintenance & User Manual
Hide thumbs
Also See for SWGM100:
- User manual (11 pages) ,
- Assembly, maintenance & user manual (36 pages)

Related Manuals for Skywalker SWGM100


Summary of Contents for Skywalker SWGM100
- Page 1 ASSEMBLY, MAINTENANCE, & USER MANUAL MODEL #SWGM100 WARNING Read all precautions and instructions in this manual before using this equipment. Skywalker Holdings LLC Save this manual for future reference. P.O. Box 574, Brigham City, UT 84302...
- Page 2 TABLE OF CONTENTS Part List...................................3 Part Identification..............................4 Assembly..................................5-10 Maintenance and Care Information......................xx Limited Warranty..............................xx STOP EVERYTHING YOU'RE DOING AND REGISTER YOUR TRAMPOLINE Find our warranty registration online by typing in: www.skywalkertrampolines.com You'll need to have the following information handy: • Name •...
- Page 3 BEFORE YOU BEGIN Thanks for choosing Skywalker Trampolines! We’re just as excited as you are to help your family live an active (but most importantly FUN) lifestyle. This model is one of our favorites, and we’re confident you’ll love it too. To make things easier for you, we’ve listed important information that you (and your little outdoor adventurers) need to know.
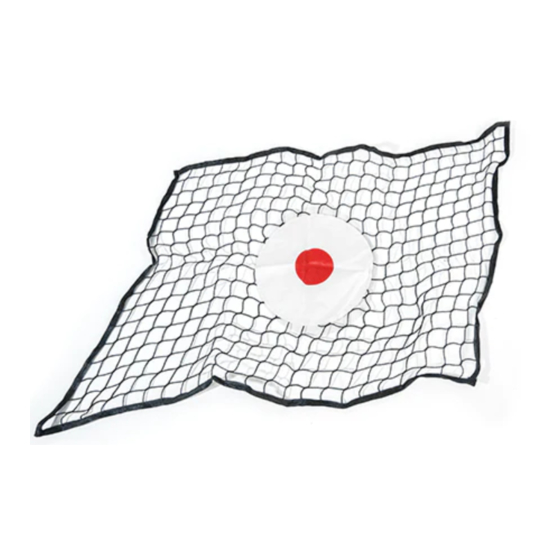
- Page 4 PART IDENTIFICATION Before you begin, take a look at the drawings below to make sure you have all the parts! The numbers in the squares to the left (key numbers) will help you identify the parts during assembly. Bounce Back (x1) Connect net (x2) Elastic cord 1 (x4) Elastic cord 2 (x8)
- Page 5 ASSEMBLY STEP 1 The Bounce Back (1) fits different size of trampoline. Please refer below picture to choose the correct hole for your trampoline. Please count the correct hole. Bounce Back (x1) 3 2 1 holes for 15ft round & 14x16ft oval trampoline holes for 16ft round trampoline holes for 15x17ft oval trampoline...
- Page 6 ASSEMBLY STEP 2 Follow below steps to assemble. Connect net elastic cord 1 Bounce Back (x2) (x4) (x1) Wrap the PVC on Connect net (2) around the leg as show. Insert the Elastic cord 1 (3) into the hole on back PVC.
- Page 7 ASSEMBLY Insert the Elastic cord 1 (3) into the correct hole on Bounce Back (1) as show. (Please refer to step 1 to find the correct hole) Insert the Elastic cord 1 (3) into the front PVC. Insert the Elastic cord 1 (3) into the correct hole on Bounce Back (1) as show.
- Page 8 ASSEMBLY Insert the Elastic cord 1 (3) into the hole on back PVC as show. Then insert the cord into the button to fasten the elastic cord. Repeat above steps and choose the correct holes on Bounce Back (1) to attach the remainning three elastic cord 1 (3).
- Page 9 ASSEMBLY STEP 2 Now, tie the net to leg with straps on connect net as show. The length of net just fit the 15x17ft oval trampoline well. And for other trampolines, you may need to wrap the net on legs. 15x17ft oval trampoline 15ft round trampoline 16ft round trampoline...
- Page 10 ASSEMBLY STEP 3 Next, tie the net to frame with straps on connect net (2) as show. STEP 4 Attach the Bounce Back (1) to leg and frame with Elastic cord 2 (4) as show. Elastic cord 2 (x8)
- Page 11 All warranty coverage extends only to the original retail purchaser from the date of purchase. Skywalker Holdings, LLC obligation under this warranty is limited to replacing or repairing, at Skywalker Holdings, LLC option, the product at one of this authorized service centers. All products for which a warranty claim is made must be received by Skywalker Holdings, LLC at one of its authorized locations.
Need help?
Do you have a question about the SWGM100 and is the answer not in the manual?
Questions and answers