Advertisement
Table of Contents
- 1 Hardware Overview
- 2 Front Panel Ports
- 3 Back Panel
- 4 Installation Requirements
- 5 Site Environment
- 6 Mounting the Switch
- 7 Desk Mounting
- 8 Rack Mounting
- 9 Grounding the Switch
- 10 Connecting the Power
- 11 Connecting the Management Ports
- 12 Connecting the Console Port
- 13 Connecting the USB Port
- 14 Troubleshooting
- 15 Support and Other Resources
- 16 Product Warranty
- Download this manual
Advertisement
Table of Contents

Subscribe to Our Youtube Channel
Related Manuals for FS S5800-48F4SR


Summary of Contents for FS S5800-48F4SR
- Page 1 S 5 8 0 0 - 4 8 F 4 S R S 5 8 0 0 - 4 8 T 4 S S5800-48F4SR/S5800-48T4S MANAGED L2/L3 ROUTING SWITCHES Quick Start Guide V1.0...
- Page 2 S 5 8 0 0 - 4 8 F 4 S R ID SYS S5800-48F4SR S 5 8 0 0 - 4 8 T 4 S ID SYS...
-
Page 3: Hardware Overview
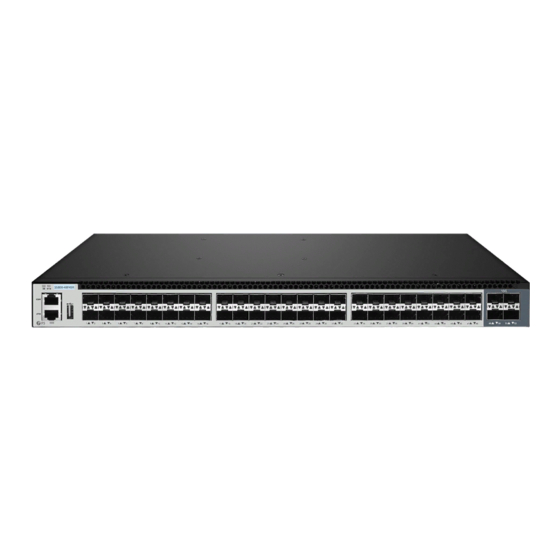
Hardware Overview Front Panel Ports S5800-48F4SR SFP+ S 5 8 0 0 - 4 8 F 4 S R ID SYS S5800-48T4S RJ45 SFP+ S 5 8 0 0 - 4 8 T 4 S ID SYS 10/100/1000 BASE-T Ports... - Page 4 Front Panel LEDs S5800-48F4SR SFP+ S 5 8 0 0 - 4 8 F 4 S R ID SYS S5800-48T4S RJ45 SFP+ S 5 8 0 0 - 4 8 T 4 S ID SYS 10/100/1000 BASE-T LEDs Status Description Blue ID indication function enable.
-
Page 5: Back Panel
Back Panel S5800-48F4SR/S5800-48T4S 3 Fixed Fans 2 Hot-swappable Power Supplies Grounding Point Installation Requirements Before you begin the installation, make sure that you have the following: Phillips screwdriver. Standard-sized, 19" wide rack with a minimum of 1U height available. Category 5e or higher RJ45 Ethernet cables for connecting the network devices. -
Page 6: Mounting The Switch
S 5 8 0 0 - 4 ID SY S 8 F 4 S R CO N Mounting the Switch ET H Desk Mounting S 5 8 0 0 - 4 8 ID SYS F 4 S R 1. Attach four rubber pads to the bottom. 2. -
Page 7: Grounding The Switch
10 G 2. Attach the switch to the rack using four M6 screws and cage nuts. Grounding the Switch S 5 8 0 0 - 4 ID SY S 8 F 4 S R CO N ET H 1. Connect one end of the grounding cable to a proper earth ground, such as the rack in which the switch is mounted. -
Page 8: Connecting The Power
Connecting the Power 1. Plug the AC power cord into the power port on the back of the switch. 2. Connect the other end of the power cord to an AC power source. Connecting the SFP/SFP+ Ports 10 G 1. Plug a compatible SFP/SFP+ transceiver into the SFP/SFP+ port. 2. -
Page 9: Connecting The Management Ports
Connecting the Management Ports Connecting the Console Port S 5 8 0 0 - 4 ID SY S 8 F 4 S R CO N ET H 1. Insert the RJ45 connector of the console cable into the RJ45 console port on the front of the switch. 2. -
Page 10: Connecting The Usb Port
Connecting the USB Port S 5 8 0 0 - 4 ID SY S 8 F 4 S R CO N ET H 10 G Insert the Universal Serial Bus (USB) ash disk to the USB port for software and con guration backup and o ine software upgrade. - Page 11 Step 3: Open a browser, type http://192.168.1.1, and enter the default username and password, admin/admin. Step 4: Click sign in to display the web-based con guration page. Con guring the Switch Using the Console Port Step 1: Connect a computer to the switch's console port using the supplied console cable. Step 2: Start the terminal simulation software such as HyperTerminal on the computer.
-
Page 12: Troubleshooting
Troubleshooting Loading Failure Troubleshooting After loading fails, the system will keep running in the original version. At this time, users should re-check if physical port connections are good rstly. If some ports are not connected, then re-connect them to ensure that physical connections are correct, and begin re-loading. If physical connections are correct, then check the loading process information displayed on the super terminal to verify if there are input errors. -
Page 13: Support And Other Resources
Product Warranty FS ensures our customers that any damage or faulty items due to our workmanship, we will o er a free return within 30 Days from the day you receive your goods. This excludes any custom made items or tailored solutions.
Need help?
Do you have a question about the S5800-48F4SR and is the answer not in the manual?
Questions and answers