Blodgett SN-3E Installation, Operation And Maintenance Manual
Blodgett corp. electric convection steamer installation, operating and maintenance instruction sn-3e, sn-5e
Hide thumbs
Also See for SN-3E:
- Specifications (2 pages) ,
- Parts list (7 pages) ,
- Installation operation & maintenance (15 pages)
Table of Contents
Advertisement
Quick Links
Advertisement
Table of Contents

Related Manuals for Blodgett SN-3E


Summary of Contents for Blodgett SN-3E
- Page 1 SN-3E and SN-5E ELECTRIC CONVECTION STEAMER INSTALLATION – OPERATION – MAINTENANCE BLODGETT OVEN COMPANY IMPORTANT NOTES FOR INSTALLATION AND OPERATION www.blodgett.com 44 Lakeside Avenue, Burlington, Vermont 05401 USA Telephone: (802) 658-6600 Fax: (802) 864-0183 S00059 Rev C (7/10)
-
Page 2: Important Notes For Installation And Operation
IMPORTANT NOTES FOR INSTALLATION AND OPERATION This is the safety alert symbol. It is used to alert you to potential personal injury hazards. Obey all safety messages that follow this symbol to avoid possible injury or death. WARNING: Improper installation, operation, adjustment, alteration, service or maintenance can cause property damage, injury or death. -
Page 3: Table Of Contents
TABLE OF CONTENTS DESCRIPTION PAGE Important Notes For Installation and Operation ... 2 Service Connection ... 4 1.0 Installation Instructions ... 5 2.0 Testing Procedures ... 9 3.0 Operation ... 10 4.0 Cleaning ... 13 5.0 Maintenance ... 14 6.0 Adjustment for High Altitude ... 15 7.0 Troubleshooting ... -
Page 4: Service Connection
SERVICE CONNECTION ELECTRICAL CONNECTION: Ø1 1/8" hole for electrical connection. Rating to be as specified on data plate. DRAIN: 1"IPS to open floor drain. No solid connection. Use copper only, 24" length before open air gap opening (No bends or elbows). GENERATOR WATER: 3/8"... -
Page 5: Installation Instructions
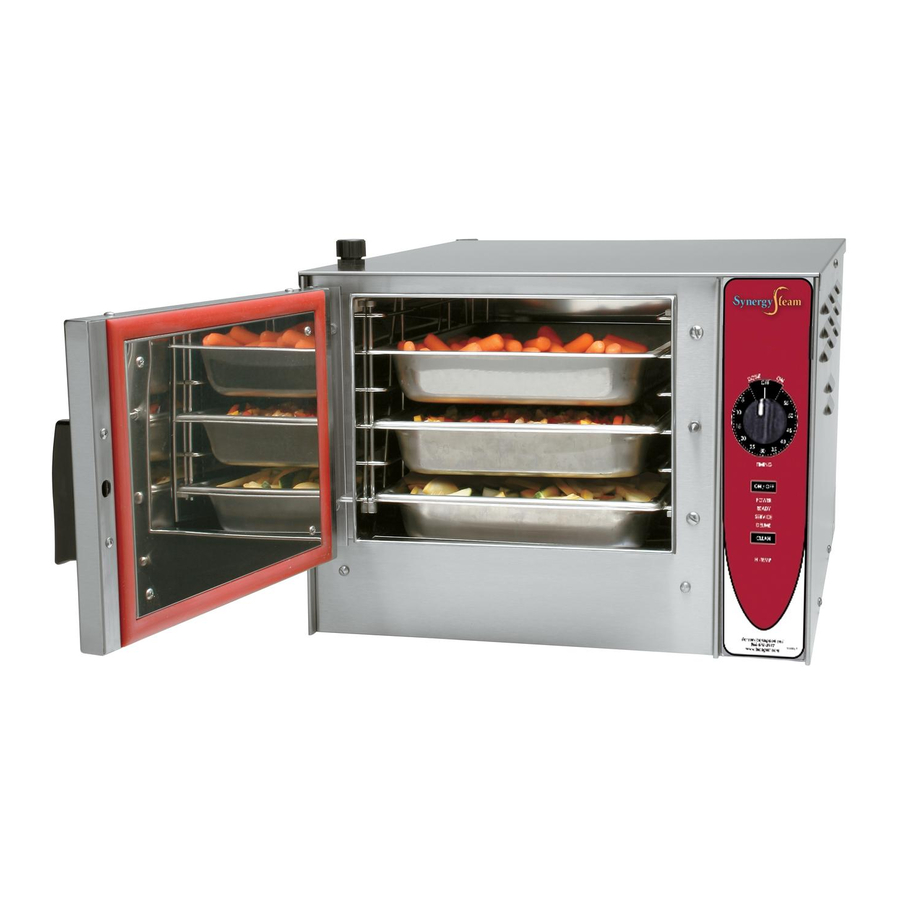
The SN-3E and SN-5E steamers are single compartment electric pressureless steam cookers with an internal electric steam generator that maintains water temperature at approximately 205F. SN-3E is rated 7.5 kW as standard; 10 kW is optional. SN-5E is rated 12 kW as standard; 15 kW is optional. -
Page 6: Anchoring Steamer
ANCHORING STEAMER 1. Place steamer in desired location with level counter top and mark four corners. Remove steamer and drill ½" holes as indicated in Figure 1. 2. Apply a bead of RTV or other equivalent sealant around bottom perimeter edge of steamer. Failure to comply with this requirement will void the NSF label. -
Page 7: Drain Connections
DRAIN CONNECTIONS The drain connection must be 1" IPS vertically down, preferably with one elbow only, and maximum length of 6 feet, piped to an open air gap type drain. CAUTION: In order to avoid any back pressure in the steamer, DO NOT connect solidly to any drain connection. -
Page 8: Stacking Kits
2. The water level probes become coated with scale. Scale bridges across the probe insulator from the metal extension which senses the water level in the steam generator shell. Once this scale becomes wet, the water level control is unable to maintain the proper water level in the steam generator. -
Page 9: Plumbing Connections
ELECTRICAL CONNECTIONS Use copper wire suitable for at least 90 degrees Celsius. The steamer must be grounded. The wiring diagram is located on the right side panel as you face the steamer. PLUMBING CONNECTIONS WARNING: Plumbing connections must comply with applicable sanitary, safety and plumbing codes. -
Page 10: Testing Procedures
2.0 TESTING PROCEDURES WARNING: The steamer and its parts are hot. Use care when operating, cleaning or servicing the steamer. The cooking compartment contains live steam. Stay clear while opening door. Once the steamer is installed and all mechanical connections have been made, thoroughly test the steamer before operation. -
Page 11: Operation
3.0 OPERATION When set to ON, your steamer has been factory set to maintain the generator standby temperature just below the boiling point, approximately 205°F, in READY mode. CONTROLS Ready Light when lit, indicates steam generator has reached 205 degrees Fahrenheit and is ready for the cooking cycle. - Page 12 WARNING: An obstructed drain can cause personal injury or property damage. SHUT DOWN Turn main power switch OFF. The steam generator will automatically drain. CONSTANT STEAM FEATURE - OPTIONAL FEATURE A switch has been added to control this feature. It is located below the timer under the heading “COOKING MODE”.
-
Page 13: Steam Cooking
STEAM COOKING Your steamer efficiently cooks vegetables or other foods for immediate serving. Steam cooking should be carefully time controlled. Keep hot-food-holding-time to a minimum to produce the most appetizing results. Prepare small batches, cook only enough to start serving, then cook additional amounts to meet demand. Separate frozen foods into smaller pieces to allow more efficient cooking. -
Page 14: Cleaning
4.0 CLEANING At the end of each day, or between cooking cycles if necessary: 1. Turn main power switch OFF. 2. Remove pans and racks from compartment and wash in sink. 3. Remove drain screens from inside compartment drains. Using a plastic bottle brush and mild detergent, clean inside the drain opening ensuring there is no food residue or blockage. -
Page 15: Maintenance
5.0 MAINTENANCE COLD WATER CONDENSER The steamer is equipped with a cold water condenser in the rear of the cooking chamber which helps to condense the steam prior to discharge into the drain. The steamer freely vents itself by the negative pressure created by the condensate water drainage. This negative pressure prevents steam leakage around the door gasket and helps draw the steam through the cooking compartment. -
Page 16: Adjustment For High Altitude
7. FLUSH CYCLE: Turn main power switch to ON. When READY light comes on, turn main power switch to OFF to flush generator. Repeat this step three times to completely flush generator. 8. Clean exterior and interior. Use a mild solution of soap and water. Rinse with clean cloth. -
Page 17: Troubleshooting
7.0 TROUBLESHOOTING WATER FLOWS INTO DRAIN DURING SHUTDOWN When steamer is shut down and cold water is running continuously into the open drain, either or both solenoid valves did not close when steamer was turned off. 1. Disassemble solenoid valve(s) and examine for scale or foreign particles lodged in diaphragm or core tube. - Page 18 HEATER ELEMENTS DO NOT COME ON When the steamer is turned ON and heater elements do not activate, and the READY light does not come on, then the contactors may be burned out. If a considerable amount of “chattering” of contactors has been previously experienced, then the thermostat bulb may be coated with scalant and unable to sense water temperature in the boiler accurately, and therefore unable to control the contactors.
Need help?
Do you have a question about the SN-3E and is the answer not in the manual?
Questions and answers