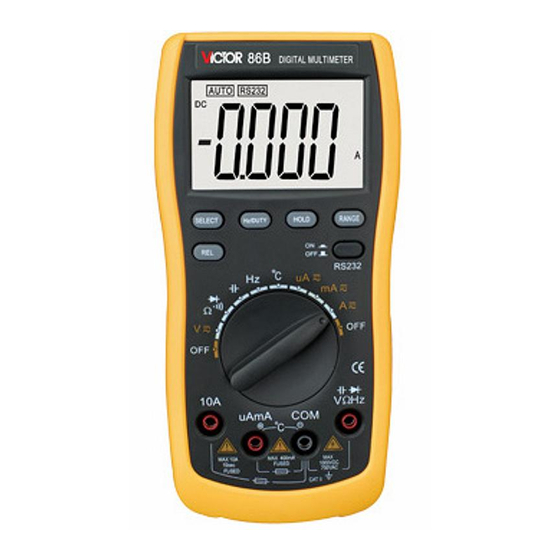
Summary of Contents for Victor 86B
- Page 1 Victor 86B Fuse Replacement Guide So you can avoid the hassles I had the first time I opened mine up! Compliments of Javaphile...
- Page 2 First up is getting the protective yellow sheath off. The yellow sheath is held in place by snapping into two grooves on the front of the meter. This picture shows the location of the two grooves on the face of the meter.
- Page 3 To remove the yellow piece pull it away from the top of the meter (The dark blue arrow.) so it clears the optical output. To get it out of the grooves work on one side at a time starting at the meters widest point (The middle lighter blue arrow on either side.).
- Page 4 Next turn the meter over and using a PH-1 screwdriver/bit remove the battery cover screw (Indicated by the green circle.), the battery cover, and the batteries.
- Page 5 Next up is removing the 4 case screws using a PH-2 screwdriver/bit. With those screws removed the back case half can easily be removed. The optical jack will most likely come out at the same time, set it aside along with the removed case half.
- Page 6 Now comes the main reason for making this guide. Using a PH-1 screwdriver/bit remove the 4 screws circled in green. Do not remove the 7 screws circled in red. I repeat. DO NOT REMOVE THE 7 SCREWS CIRCLED IN RED!
- Page 7 Before removing the circuit board note how the two wires connecting the battery holder to the board are routed. They are routed through a slot in the side of the battery compartment so they aren’t pinched when the rear case half is screwed on and will need to be put back there during reassembly.
- Page 8 Reassembly To reassemble the meter, begin with the front case half laying on its face. Then make sure that the clear plastic piece that protects the LCD is properly seated in the front case piece. Next make sure the 4 liners for the leads jacks are in their appropriate holes.
- Page 9 Note that with the exception of the battery cover screw all other screws are screwed into just plastic. Screw them in snug but do not over-tighten them or you will strip the posts they screw into! Reinstall the 4 screws that hold the circuit board in place. Holding the rear case with the inside facing down pull the battery removal ribbon and the battery holder up through the opening where the battery cover goes.


Need help?
Do you have a question about the 86B and is the answer not in the manual?
Questions and answers