
Related Manuals for Matador RADIANT GO


Summary of Contents for Matador RADIANT GO
- Page 1 BBQ, remove any packaging material within and around the BBQ supplied for protection during transit. RADIANT GO P O R T A B L E C H A R C O A L B B Q Retain manual for further reference.
-
Page 2: Table Of Contents
Hardware list Assembly instructions 13-20 Warranty 21-23 Notes 24-25 CONTACT INFORMATION For spare parts, order from your nearest Bunnings Warehouse. For service and warranty queries, please contact Mayo Hardware at matador@mayohardware.com.au or call; 1300 360 211 (Aus) 09 415 6240 (NZ) -
Page 3: Features & Benefits
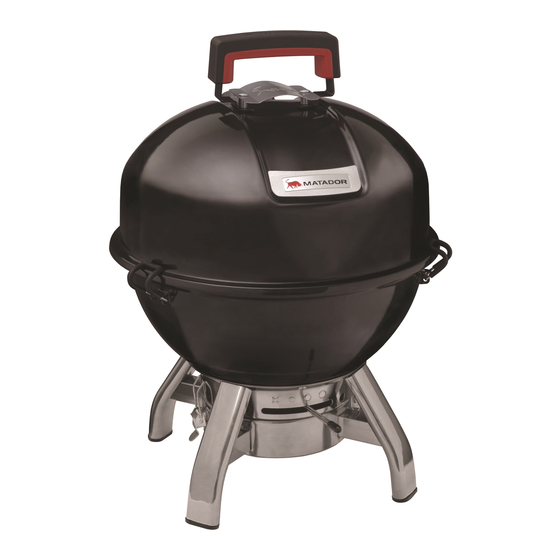
Removable Quick Release Ash Catcher Clips Bottom Charcoal Cooking Non-Scratch Damper Grate Grate Lid Clamps Damper Storage Bag Cool Touch control with Carry Handles settings Strap BARBECUE DIMENSIONS Length Width Height 373 mm 373 mm 510 mm MATADOR INSTRUCTION MANUAL... -
Page 4: Important Safety Information
Important safety information Read the Instruction Manual thoroughly before assembling or using the BBQ. • Use caution and common sense when operating CAUTION: FOR OUTDOOR USE ONLY. your grill. • Estimated assembly time is 30-45 minutes. • Never leave hot coals and ashes in the BBQ •... -
Page 5: Do's & Don'ts
DO NOT attempt to move the BBQ. • Wear protective BBQ gloves. • DO NOT touch any hot BBQ surfaces. • Keep children away from hot surfaces. • DO NOT wear loose clothing or allow hair to come in contact with the grill. MATADOR INSTRUCTION MANUAL... -
Page 6: Positioning The Bbq
Positioning the BBQ • Any enclosure in which the BBQ is used shall • This BBQ should only be used in an above ground, open air situation with natural comply with one of the following: ventilation. • An enclosure with walls on one side, but at least one permanent opening at ground level and no •... -
Page 7: Before You Cook
Step 3 - Roll a few sheets of paper and locate them firmly into the underside of a charcoal chimney starter. Step 4 - Place the chimney starter on top of the charcoal grate inside the BBQ. MATADOR INSTRUCTION MANUAL... -
Page 8: Using The Bbq
There are several techniques of cooking that can your BBQ. This zoning of the BBQ creates one side be applied with your Matador Radiant Go BBQ. with a higher temperature for grilling and searing. See below to choose the one that best suits your Whilst on the opposite side, away from the charcoal, needs. -
Page 9: Adding Fuel During Cooking
Apply a light coat of oil or vegetable oil spray to minimise rusting. vegetable oil or spray to the interior surface to prevent rusting. Do not coat charcoal grate. MATADOR INSTRUCTION MANUAL... -
Page 10: Exploded Parts Diagram
Exploded Parts Diagram... -
Page 11: Part Diagrams
2. Lid Handle Heat Shield 3. Lid Air Vent 4. Lid 5. Cooking Grate 6. Charcoal Grate 7. Fire Bowl 8. Fire Bowl Air Damper 9. Ash Catcher Ring 10. Ash Catcher 10A. Leg Cover 10B. Leg Tube Assembly MATADOR INSTRUCTION MANUAL... -
Page 12: Hardware List
Hardware list Part Name Hardware Image Quantity BOLT SQUARE SHOULDER - M6 X 25 BOLT - M6 X 35 BOLT SQUARE SHOULDER - M6 X 10 BOLT - M5 X 10 WASHER Ø6/12 WASHER Ø9/16 WING NUT - M6 DOME NUT - M6 LOCK NUT - M5 SPACERS WASHER Ø5/10... -
Page 13: Assembly Instructions
SYMBOL: The following symbols will be shown in each procedure for indication of tightening the bolt and nut if necessary. Hand Tighten Only at this stage: Tighten with Tools at this stage: Pay Attention at this stage: MATADOR INSTRUCTION MANUAL... - Page 14 Assembly Instructions Step 1 - Attach the Lid Air Vent Hardware Needed WASHER - Ø9/16 WING NUT - M6 SPRING 1.1 To attach the Lid Air Vent (3), firstly feed the threaded pin through the top of the Lid (4) so the vent is sitting against the lid.
- Page 15 2.4 Keeping the parts attached to the Lid, turn over the assembly and attach the Washer (E) and secure loosely with the Wing Nut (G). 2.5 Once attached, repeat the assembly process for the other side of the Handle Assembly. 2.6 Tighten both Wing Nuts (G) to do a final securing of the Handle Assembly. MATADOR INSTRUCTION MANUAL...
- Page 16 Assembly Instructions Step 3 - Attach the Ash Catcher Ring NOTE: Hardware Needed This stage will require a Phillips head screwdriver and a 10mm BOLT SQUARE socket (or adjustable wrench) to SHOULDER tighten the securing hardware. - M6 X 10 DOME NUT - M6 Pay attention to align the Ash Catcher Ring correctly with the Air...
- Page 17 4.3 To secure the Bottom Damper, insert the Bolt - M5 x 10 (D) through the hole in the centre of the bottom of the Fire Bowl (7), thread on the Washer (M) and then secure with the M5 Lock Nut (K). MATADOR INSTRUCTION MANUAL...
- Page 18 Assembly Instructions Step 5 - Connecting the Legs NOTE: Hardware Needed This stage will require a Phillips head screwdriver to tighten the securing hardware. A short BOLT - M6 X 35 handled screwdriver will give the best adjustment. WASHER Ø6/12 5.1 Take a Leg Cover (10A) and slide it over the securing bracket that is welded to the inside of the Leg Assembly (10B).
- Page 19 7.2 Place the Cooking Grate (5) onto the top edge of the Fire Bowl to locate it in place. 7.3 Position the Lid (4) onto the Fire Bowl and secure in place by locking the three clips over the outside lip. MATADOR INSTRUCTION MANUAL...
- Page 20 ATTENTION: MAKE SURE THE BBQ HAS COOLED DOWN BEFORE STARTING THE STORAGE PROCESS 8.1 The Radiant Go BBQ comes with a convenient storage bag which allows you to store and transport it with ease. 8.2 Before starting, make sure the BBQ has cooled down from being used as residual heat from the fire bowl could be harmful to the handler and cause damage to the Storage Bag.
-
Page 21: Warranty
Thank you for purchasing one of our quality Matador BBQs. YOUR MATADOR BBQ IS COVERED AGAINST BURN THROUGH AND RUST THROUGH OF THE FIRE BOWL AND LID FOR A PERIOD OF 10 YEARS, FOR PARTS AND LABOUR, REPAIR OR REPLACEMENT. - Page 22 To make a claim under warranty, take the product (with proof of purchase) to any Bunnings store (see www. bunnings.com.au for store locations) or contact Mayo Hardware Pty Ltd matador@mayohardware.com.au. Mayo Hardware Pty Ltd bears reasonable, direct, expenses of claiming under warranty. You may submit details and proof to Mayo Hardware Pty Ltd for consideration.
- Page 23 Refer to the troubleshooting section of this operating manual or contact the Mayo Hardware through the below details: Phone (Aus) 1300 360 211 Phone (NZ) 09 416 6240 Email: matador@mayohardware.com.au FOR SPARE PARTS Contact Mayo Hardware through the below details: Phone (Aus) 1300 360 211 Phone (NZ) 09 416 6240 Email: matador@mayohardware.com.au MATADOR INSTRUCTION MANUAL...
-
Page 24: Notes
Notes... - Page 25 Notes MATADOR INSTRUCTION MANUAL...
- Page 26 Visit www.matadorbbqs.com.au For technical and warranty support call 1300 360 211 (AUS) 09 415 6240 (NZ) Your purchase receipt will be required for warranty claims. For Spare Parts contact your local Bunnings Warehouse. PB0080c...
Need help?
Do you have a question about the RADIANT GO and is the answer not in the manual?
Questions and answers