Table of Contents
Advertisement
Quick Links
Advertisement
Table of Contents

Related Manuals for EuroLite LED LASER DERBY


Summary of Contents for EuroLite LED LASER DERBY
-
Page 2: Table Of Contents
Accessories............. 26 D00110324, version 1.1, publ. 08/02/2018 For product updates, documentation, software and support please visit www.eurolite.de. You can find the latest version of this user manual in the product’s download section. © 2018 Eurolite. All rights reserved. No part of this document may be reproduced in any form without the written permission of the copyright owner. -
Page 3: Introduction
INTRODUCTION Welcome to Eurolite! Thank you for choosing one of our products. Eurolite is Experience Eurolite. your connection to the world of show with an unparalleled variety of products, Product videos, suitable both for professionals and beginners. accessories, firmware and software updates,... -
Page 4: Important Safety Instructions
IMPORTANT SAFETY INSTRUCTIONS • If extension cords are used, make sure that the CAUTION! core diameter is sufficient for the required power Operating conditions consumption of the device. All warnings This device has been designed for indoor use concerning the power cords are also valid for only. -
Page 5: Important Information For Laser Products
IMPORTANT INFORMATION FOR LASER PRODUCTS DANGER! Damage caused by laser radiation Avoid direct eye exposure. Never view directly with optical instruments (e.g. magnifying lens or telescope). Laser radiation can cause eye damage and/or skin damage. All protective measures for a safe operation of this laser must be applied. -
Page 6: Operating Determinations
OPERATING DETERMINATIONS • The LED Laser Derby is a showlaser for generating • Keep away from direct insulation and heaters. The laser and LED lighting effects. Control is possible relative humidity must not exceed 50 % with an directly at the unit, via DMX or via IR remote ambient temperature of 45°... -
Page 7: Operating Elements And Connections
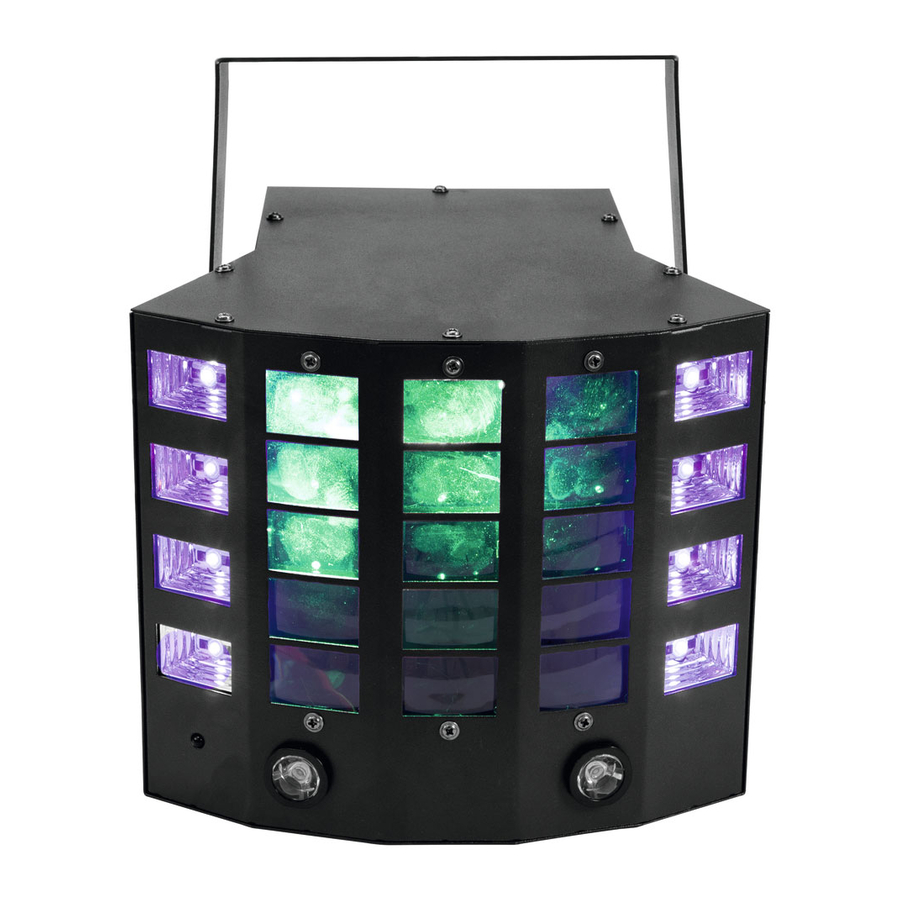
OPERATING ELEMENTS AND CONNECTIONS Front panel Lenses 1 x RGBW LED for rotating, colored beams Laser output aperture Infrared receiver for the remote control Fan output (do not cover to avoid overheating) Rear panel Mounting bracket Safety eyelet Fixation screw Display and operating buttons DMX input Power input... -
Page 8: Installation
INSTALLATION WARNING! Risk of injury caused by falling objects Devices in overhead installations may cause severe injuries when crashing down. Make sure that the device is installed securely and cannot fall down. The installation must be carried out by a specialist who is familiar with the hazards and the relevant regulations. -
Page 9: Making The Connections
MAKING THE CONNECTIONS Connection to the mains The device uses an auto-range power supply that accepts input voltages between 100 und 240 volts. Connect the device via the mains cable to a grounded mains socket. Thus the unit is switched on. To switch off the unit, disconnect the power plug. -
Page 10: Menu Settings
MENU SETTINGS The built-in control panel of the unit features four operating buttons and a display which shows all operation statuses. After connecting the unit to the mains it requires a short initialization process and is then ready for operation. The display indicates the last operating mode. The operating modes can be selected by means of the display and the control buttons. -
Page 11: Interconnecting Several Showlasers (Master/Slave Operation)
Interconnecting several showlasers (master/slave operation) Several showlasers may be interconnected (max. 32). Then all slave units can be synchronized and controlled with the master unit without the need for a DMX controller. The units must be set to the corresponding operating modes. -
Page 12: Dmx Operation
DMX OPERATION Setting the number of DMX channels and the DMX starting address For operation with a controller with DMX512 protocol, the showlaser is equipped with 13 control channels. To be able to operate the showlaser with a DMX controller, the DMX starting address must be set for the first DMX channel. -
Page 13: Cleaning And Maintenance
CLEANING AND MAINTENANCE We recommend a frequent cleaning of the device. The lenses, in particular, should be clean to ensure that light will be emitted at maximum brightness. Please use a soft lint-free and moistened cloth. Never use alcohol or solvents! Before cleaning, disconnect the device from the power supply. - Page 15 Eurolite is a brand of Steinigke Showtechnic GmbH Andreas-Bauer-Str. 5 97297 Waldbüttelbrunn Germany D00110324 Version 1.1 Publ. 08/02/2018...
Need help?
Do you have a question about the LED LASER DERBY and is the answer not in the manual?
Questions and answers