Lennox ELITE Series Installation Instructions
Traditional face kits for use with the ravenna 33/40 and designer gas fireplace inserts
Hide thumbs
Also See for ELITE Series:
- User manual ,
- Installation instructions manual (89 pages) ,
- Installation and operation manual (36 pages)
Advertisement
Quick Links
INSTALLATION INSTRUCTIONS FOR INSTALLING TRADITIONAL FACE KITS FOR
USE WITH THE RAVENNA 33/40 AND DESIGNER GAS FIREPLACE INSERTS
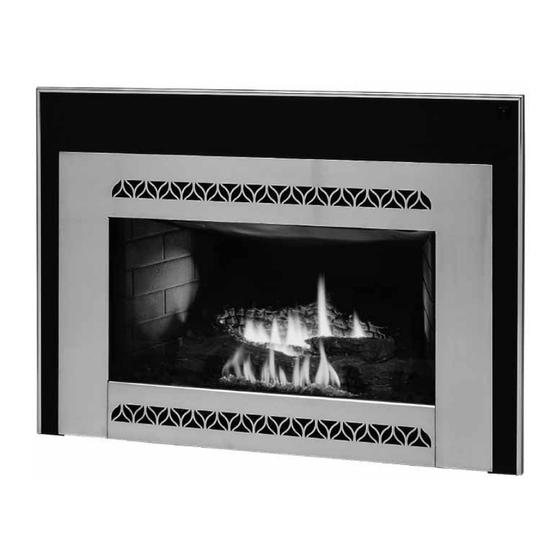
KIT CONTENTS (See Figure 1)
Please ensure that all these parts are included
1 ea. Face
1 ea. Instruction Sheet
f i r e - p a r t s . c o m
Traditional Face Kits
Cat. No.
Model
75167
DBV-RDV F-B G
75168
DBV-RDV F-G
75006
DBV-RDV TRDF-BKN
75045
DBV-RDV TRDF-BN
TOOLS NEEDED
3/8" Nutdriver or Wrench
Phillips Screwdriver
GENERAL INFORMATION
All of these parts may scratch and bend, great care should be used
in handling them.
If you encounter any problems, need clarification of these instructions
or are not qualified to properly install this kit, contact you local distribu-
tor or dealer.
Read this instruction sheet in its entirety before beginning the installation.
ALL WARNINGS AND PRECAUTIONS IN THE INSTALLATION AND
OPERATION MANUAL PROVIDED WITH THE APPLIANCE APPLY TO
THESE INSTRUCTIONS.
TURN OFF THE FIREPLACE AND ALLOW IT TO COMPLETELY COOL
BEFORE PROCEEDING.
775254M
Rev. B, 11/2010
Description
Black Face / Gold Trim
Gold Face
Black Nickel Face
Brushed Nickel Face
NOTE: DIAGRAMS & ILLUSTRATIONS ARE NOT TO SCALE
MODELS RAVENNA™ AND DESIGNER™
Figure 1 - Traditional Face Kit Contents
INSTALLATION INSTRUCTIONS
Installation of the surround assembly is required prior to installing the
Traditional Face Kit. Install the surround assembly per instructions in
the installation and operation manual provided with the fireplace insert.
Step 1. Install the face onto the surround brackets as shown in Figure
2. Each side of the face has a bracket with two (2) hooks. Place
the face on the surround hanging brackets as seen in Figure 2
by placing the hooks on position C.
IMPORTANT: If you have a gold or nickel face, be sure and clean
the face with a soft cloth and household glass cleaner prior to
burning the insert. Finger prints left on the face while burning
will usually remain on the face permanently.
HEARTH PRODUCTS
KITS AND ACCESSORIES
TRADITIONAL FACE KITS
1
Advertisement

Subscribe to Our Youtube Channel
Related Manuals for Lennox ELITE Series


Summary of Contents for Lennox ELITE Series
- Page 1 HEARTH PRODUCTS KITS AND ACCESSORIES TRADITIONAL FACE KITS 775254M Rev. B, 11/2010 MODELS RAVENNA™ AND DESIGNER™ INSTALLATION INSTRUCTIONS FOR INSTALLING TRADITIONAL FACE KITS FOR USE WITH THE RAVENNA 33/40 AND DESIGNER GAS FIREPLACE INSERTS KIT CONTENTS (See Figure 1) Please ensure that all these parts are included 1 ea.
- Page 2 OPERATION. NOTE: DIAGRAMS & ILLUSTRATIONS ARE NOT TO SCALE Lennox Hearth Products reserves the right to make changes at any time, without notice, in design, materials, specifications, prices and also to discontinue colors, styles and products. Consult your local distributor for fireplace code information.
Need help?
Do you have a question about the ELITE Series and is the answer not in the manual?
Questions and answers