Table of Contents
Advertisement
Quick Links
Please Contact Moen First
For Installation Help, Missing or Replacement Parts
(USA)
1-800-BUY-MOEN (1-800-289-6636)
Mon - Fri 8:00 AM to 7:00 PM, Eastern
Sat. 9:00 AM to 3:00 PM Eastern
WWW.MOEN.COM
(Canada)
1-800-465-6130
Mon - Fri 7:30 AM to 7:00 PM, Eastern
WWW.MOEN.CA
Por favor, contáctese primero con Moen
Para obtener ayuda de instalación, piezas
faltantes o de recambio
01-800-718-4345
Lunes a viernes de 8:00 a 20:00 hs.
(Costa Este)
Sáb. 8:00 a 18:30 hs. (Costa Este)
WWW.MOEN.COM.MX
Veuillez d'abord contacter Moen
En cas de problèmes avec l'installation, ou
pour obtenir toute pièce manquante ou de
rechange
1-800-465-6130
Du lundi au vendredi:
de 7 h 30 à 19 h, HE
WWW.MOEN.CA
HELPFUL TOOLS
For safety and ease of faucet replacement, Moen recommends
the use of these helpful tools.
Installation Guide
Guía de Instalación
Guide d'installation
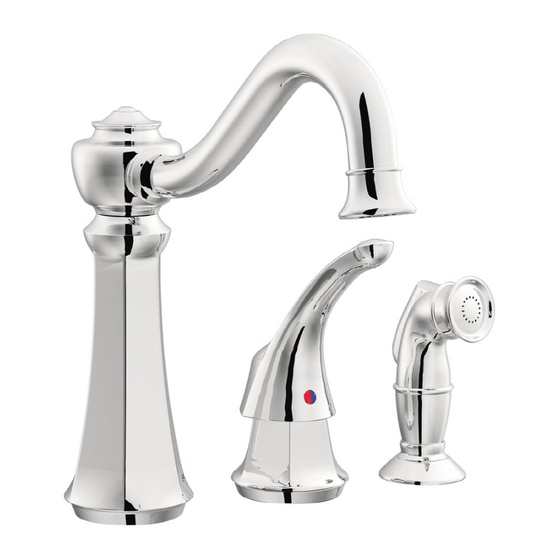
VESTIGE® SPOUT KIT
JUEGO DE SURTIDOR VESTIGE®
TROUSSE DE BEC VESTIGE®
HERRAMIENTAS ÚTILES
Para que el cambio de la llave sea fácil y seguro, Moen le
recomienda usar estas útiles herramientas.
INS10317 - 8/15
OUTILS UTILES
Par mesure de sécurité et pour faciliter l'installation, Moen
suggère l'utilisation des outils suivants.
Advertisement
Table of Contents

Subscribe to Our Youtube Channel
Related Manuals for Moen VESTIGE


Summary of Contents for Moen VESTIGE
- Page 1 HERRAMIENTAS ÚTILES OUTILS UTILES For safety and ease of faucet replacement, Moen recommends Para que el cambio de la llave sea fácil y seguro, Moen le Par mesure de sécurité et pour faciliter l’installation, Moen the use of these helpful tools.
- Page 2 Parts List A. Spout Body E. Mounting Nut B. Diverter Tee F. Installation Tool C. Support Bracket G. Quick Connect Hose D. Washer Lista de piezas A. Cuerpo del surtidor F. Herramienta de B. Derivador en T instalación C. Ménsula de soporte G.
- Page 3 INS10317 - 8/15 If side sprayer, go to Step 2A-2B. See illustration to determine which step is applicable. Cold If no side sprayer, go to Step 3A-3C. See illustration to determine which step is applicable. Frio Froid Si tiene rociador lateral, vaya al paso 2A-2B. Consulte la ilustración para determinar qué paso es aplicable. Si no tiene rociador lateral, vaya al paso 3A-3C.
- Page 4 1. Pinch white tabs on top of Quick Connect Adapter. 1. Press and hold button on Diverter Tee. 1. Push in and hold button Quick Connect Hose. 2. Disconnect Quick Connect Adapter from Spout. Go to 2. Disconnect Diverter Tee from Spout. Go to Step 4B. 2.
- Page 5 INS10317 - 8/15 Viejo Nuevo Vieux Nouveau Option/Opción/Option <1/2" (13mm) Remove existing Spout Body. Install New Spout Body (A). Remove Support Bracket, Mounting Washer and Mounting Nut from Spout Body. Instale el nuevo Cuerpo del surtidor (A). Retire el Cuerpo del surtidor existente. Retire la ménsula de soporte, la arandela de montaje y la Enlever le Corps du bec existant.
- Page 6 Install each end of Quick Connect Hose (G) to both Valve Remove and discard protective cap from Diverter Tee (B). Connect Quick Connect Hose (G) to Diverter Tee (B). Push in Insert Side Spray into Diverter Tee (B). Push in as far as Bodies.
- Page 7 INS10317 - 8/15 Installation with side spray is complete. Install both ends of Quick Connect Hose (G) to Valve Bodies. Install Quick Connect Hose (G) to Spout Body (A). Push in as May have to loop Hose to make connections. Push in on each far as possible until a "click"...
- Page 8 Il suffit d’écrire area code and telephone number. estado a otro o de una provincia o nación a otra. Moen lo à Moen inc. à l’adresse indiquée ci-dessous, pour expli- asesorará en el procedimiento a seguir para hacer válida quer le défaut, d’inclure une preuve d’achat, d’inscrire...
Need help?
Do you have a question about the VESTIGE and is the answer not in the manual?
Questions and answers
What tool do I need to tighten a loose handle on my Vestige 1 handle 8” kitchen faucet ?