AtGames Legends Ultimate Instruction Manual
Hide thumbs
Also See for Legends Ultimate:
- Instruction manual (20 pages) ,
- Instruction manual (22 pages)
Advertisement
Advertisement

Subscribe to Our Youtube Channel
Related Manuals for AtGames Legends Ultimate


Summary of Contents for AtGames Legends Ultimate
- Page 1 INSTRUCTION Manual MODEL NO.: HA8800 www.atgames.net...
-
Page 2: Table Of Contents
Index Assembly Guide Legends Ultimate Features Quick Start Guide HOW TO PLAY GAMES VIA ARCADENETTM BYOG How to Update Firmware Arcade Play Link Featured Games Safety Notice, FCC Statement, Warranty Info P 10... -
Page 3: Assembly Guide P
Assembly Guide Tools Needed • Phillips head screwdriver (not included) Parts Cabinet top Left side panel Right side panel Control panel Back panel Bottom panel Front panel Screws Cord Silver screw #S1 x10 Black screw #S2 x8 Power adapter Anti-Tipping Kit Plastic anchor x2 Screw #S3 x2 Screw #S4 x2... - Page 4 Assembly Steps Step 1. Attach [D] and [F] so that sticker 1 aligns with sticker 1 and sticker 2 aligns with sticker 2 and so on. Insert silver screw [S1] and tighten. Repeat process until all 5 screws are inserted and tightened. Step 3.
- Page 5 Assembly Steps HDMI INPUT OUTPUT CONTROL ANTENNA WORK Step 4. Connect the cables to the matching slots on the control panel [B]. Step 5. Insert control panel to the front of Step 6. Insert all 8 black screws [S2] and tighten. the cabinet.
- Page 6 Assembly Steps Step 7. Drill holes against the wall and Step 8. Tighten screws [S3] on bracket [T] insert plastic anchors [Q] into the against the wall. holes firmly. Step 9. Fasten the cable tie [U] to connect D-Ring bracket and [T] bracket to keep the cabinet from tipping over.
-
Page 7: Legends Ultimate Features P
Legends Ultimate Features • Control Deck JOYSTICK P1 MENU JOYSTICK P2 START P2 SPINNER P1 VOLUME ADJUSTER SPINNER P2 POWER TRACKBALL HDMI PORT REWIND USB PORT START P1 HDMI SWITCH •Front •Rear MARQUEE LIGHT BOX ANCHOR THE CABINET TO PREVENT TIP-OVER ACCIDENTS... -
Page 8: Quick Start Guide P
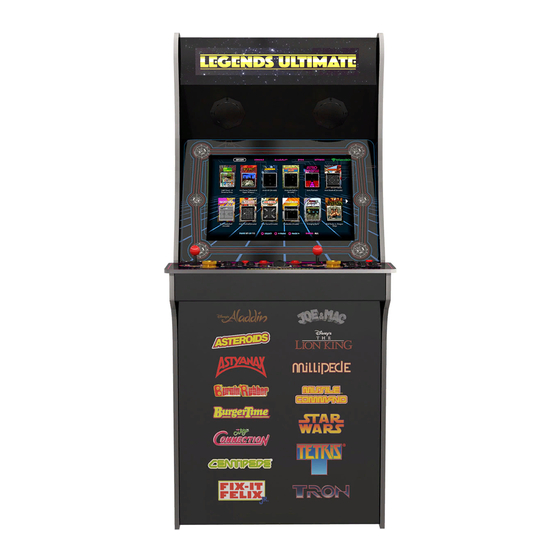
Quick Start Guide All screenshots shown are for illustration purposes only. Actual screens may vary due to product enhancements. Plug in AC adapter and press the Power button to turn on. Move the P1 joystick and select from [Arcade] or [Console] to enjoy 350 pre-loaded games. -
Page 9: How To Play Games Via [ Arcadenettm ] And [ Byog ] P
2018: Activision Flashback Blast! (WD3301), Atari Flashback Blast! Vol.1 (WD3302), Atari Flashback Blast! Vol.2 (WD3303), Legends Flashback Blast! (WD3304), Bandai Namco Flashback Blast! (WD3306). For 2018 Blast!, please follow the instructions shown on the screen at SETTINGS to pair the dongle with Legends Ultimate. -
Page 10: Featured Games P
Yars' Revenge And many more... Acclaim™ is a trademark of CollectorVision Games Inc. and is used under license to AtGames © 2019 CollectorVision Games Inc. ALL RIGHTS RESERVED. CHAMPIONS WORLD CLASS SOCCER © 1993,2019 Throwback Entertainment Inc. All Rights Reserved. -
Page 11: Safety Notice, Fcc Statement, Warranty Info P
(30) days from the original invoice date. Shipping and handling fees are to be paid for by the customer. To make a Warranty claim, please submit a service request here: support@atgames.net... - Page 12 For additional support please email: support@atgames.net © 2019 AtGames Interactive www.atgames.net PO Box 1691, El Segundo, CA 90245 All rights reserved. *Content and images are for reference only and subject to change.
Need help?
Do you have a question about the Legends Ultimate and is the answer not in the manual?
Questions and answers