
Related Manuals for Crosley C10 Series


Summary of Contents for Crosley C10 Series
- Page 1 C10A C10 Turntable Instruction Manual Questions, problems, missing parts? Before returning to the store, call Customer Service 8 a.m. – 8 p.m., EST, Monday – Friday 1-888-CROSLEY www.crosleyradio.com/support...
-
Page 2: Safety Instructions
Anti-skating Weight Drive Belt Assembly Tool Cartridge Alignment Protractor Allen Wrench Power Adaptor Please contact Crosley customer service if there is any accessory missing from the package. Retain the original packaging materials for exchange or return purposes. -
Page 3: Specifications
0.73” Overhang 16.34” x 4.65” x 12.6”, with lid open 16.34” x 14.37” x 16” Product Dimensions(W x H x D) Weight 12.13lbs Needle: Crosley NP9 (Ortofon OM 10) 20Hz – 20kHz Frequency Response Channel Balance <2dB Channel Separation >22dB Output Voltage 47k Ω... -
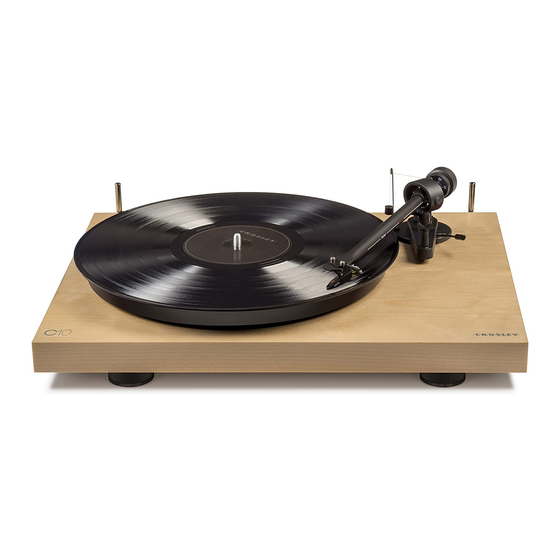
Page 4: Product Description
English Product Description 1. Hinge 12. Tonearm Rest 2. Stepped Drive Pulley 13. Tonearm 3. Drive Belt 14. Headshell 4. Turntable Spindle 15. Power Switch 5. Turntable Hub 16. Ground Connector 6. Turntable Platter 17. RCA Jacks 7. Tonearm Lift 18. - Page 5 English Initial Setup Essential Setup 1. Place the unit on a flat and level surface. The selected location should be stable and free from vibration. 2. Install the turntable lid to the hinges. 3. Remove the tie-wrap that is holding the tonearm. 4.
-
Page 6: Turntable Operation
English Turntable Operation 1. Press the Power Switch to turn on the power. 2. Place the record on the turntable. Use the 45 RPM Adapter if necessary. 3. Remove the stylus protector from the stylus assembly. Note: To avoid stylus damage, make certain the included stylus guard is in place whenever the turntable is being moved or cleaned. 4. -
Page 7: Turntable Maintenance
Note: Do not use cleanser other that contains alcohol, benzene or any other harsh chemicals, which might damage the paint and finish of the turntable. ** Crosley offers a product line of different cleaning accessories. Please ask your retailer or check out our website www.crosleyradio.com for more cleaning product information.
Need help?
Do you have a question about the C10 Series and is the answer not in the manual?
Questions and answers