Makita 1100 Instruction Manual
Hide thumbs
Also See for 1100:
- Instruction manual (49 pages) ,
- Operator's manual (2 pages) ,
- Parts list (4 pages)
Table of Contents
Advertisement
Quick Links
Advertisement
Table of Contents

Related Manuals for Makita 1100


Summary of Contents for Makita 1100
- Page 1 INSTRUCTION MANUAL Power Planer 1100 DOUBLE INSULATION Read before use.
-
Page 2: Specifications
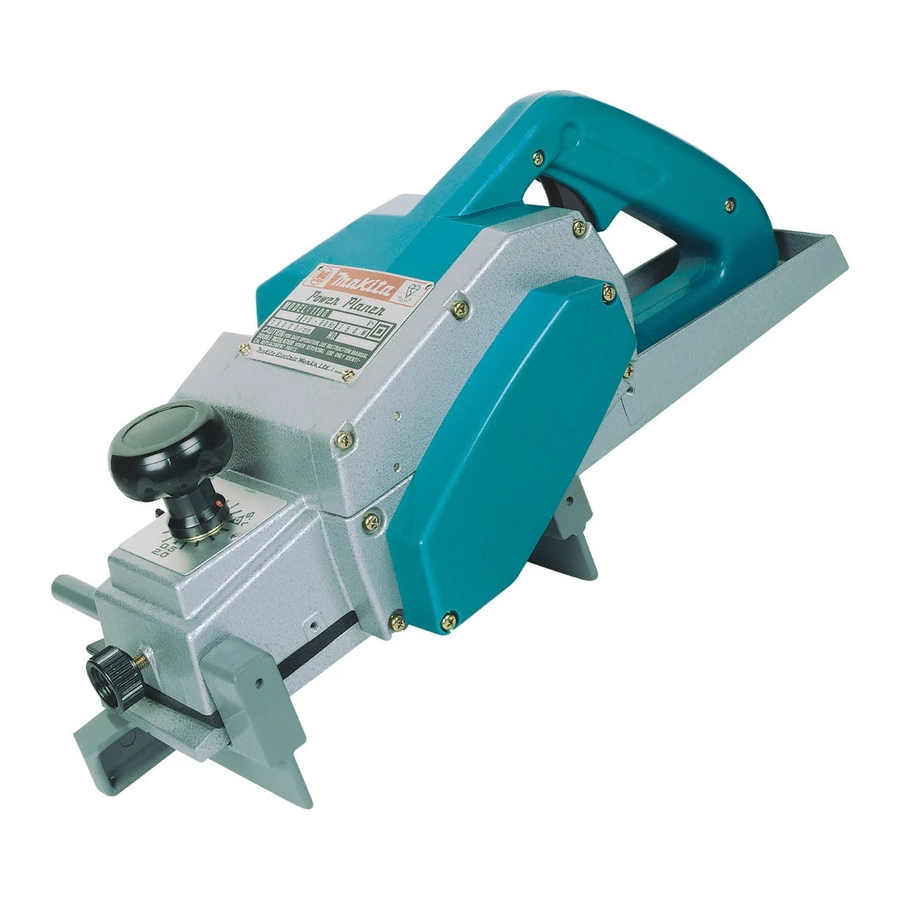
SPECIFICATIONS Model 1100 Planing width 82 mm Planing depth 3 mm Shiplapping depth 20 mm No load speed (min 18,000 Overall length 415 mm Net weight 5.1 kg Safety class • Due to our continuing program of research and development, the specifications herein are subject to change without notice. • Specifications may differ from country to country. • Weight according to EPTA-Procedure 01/2014... -
Page 3: General Power Tool Safety Warnings
Personal Safety General power tool safety warnings Stay alert, watch what you are doing and use common sense when operating a power tool. WARNING: Read all safety warnings, instruc- Do not use a power tool while you are tired or tions, illustrations and specifications provided under the influence of drugs, alcohol or med- with this power tool. -
Page 4: Planer Safety Warnings
Use of the power tool cause vibration and shorten tool life. for operations different from those intended could 17. Use only Makita blades specified in this result in a hazardous situation. manual. Keep handles and grasping surfaces dry, 18. -
Page 5: Functional Description
► 1 . Knob removing or installing the blades. Depth of cut may be adjusted by simply turning the knob • Use only the Makita wrench provided to remove or install the blades. Failure to do so may result on the front of the tool. in overtightening or insufficient tightening of the Switch action installation bolts. This could cause an injury. - Page 6 ► 1 . Bolts 2. Drum 3. Planer blade 4. Drum plate ► 1 . Pan head screw 2. Adjusting plate 3. Planer 5. Adjusting plate blade locating lugs 4. Gauge plate 5. Heel of adjust- ing plate 6. Set plate 7. Inside flank of gauge plate Place the blade on the gauge base so that the blade edge 8.
-
Page 7: Nozzle Cleaning
The blade's lengthwise adjustment will need to be Check the three hex flange head bolts for final manually positioned so that the blade ends are tightness. clear and equidistant from the housing on one side 10. Repeat procedures 1 - 9 for other blade. and the metal bracket on the other. Tighten the three hex flange head bolts (with the socket wrench provided) and rotate the drum to check clearances between the blade ends and the tool body. -
Page 8: Operation
OPERATION WARNING: To reduce the risk of injury to persons, do not operate without nozzle or chip cover in place. Planing operation Hold the tool firmly with one hand on the knob and the other hand on the switch handle when performing the tool. ► 1 . Blade edge 2. Cutting line Draw a cutting line on the workpiece. -
Page 9: Maintenance
Discoloration, deformation or cracks may result. To maintain product SAFETY and RELIABILITY, repairs, carbon brush inspection and replacement, any other maintenance or adjustment should be performed by Makita Authorized or Factory Service Centers, always Chamfering using Makita replacement parts. Sharpening the planer blades To make a chamfering cut as shown in the figure, align the "V"... -
Page 10: Optional Accessories
The use of any other accessories or attachments might present a risk of injury to persons. Only use accessory or attachment for its stated purpose. If you need any assistance for more details regard- ing these accessories, ask your local Makita Service Center. • High-speed steel Planer blade •... - Page 12 Makita Europe N.V. Jan-Baptist Vinkstraat 2, 3070 Kortenberg, Belgium Makita Corporation 3-11-8, Sumiyoshi-cho, Anjo, Aichi 446-8502 Japan 883001H227 www.makita.com 20181126...
Need help?
Do you have a question about the 1100 and is the answer not in the manual?
Questions and answers