Sign In
Upload
Download
Table of Contents
Contents
Add to my manuals
Delete from my manuals
Share
URL of this page:
HTML Link:
Bookmark this page
Add
Manual will be automatically added to "My Manuals"
Print this page
×
Bookmark added
×
Added to my manuals
Manuals
Brands
SonicWALL Manuals
Firewall
ESA 5000
Getting started manual
SonicWALL ESA 5000 Getting Started Manual
Email security appliance
Hide thumbs
Also See for ESA 5000
:
Getting started manual
(42 pages)
1
2
3
4
5
6
7
8
9
10
11
12
13
14
15
16
17
18
19
20
21
22
23
24
25
26
27
28
29
30
31
32
33
34
35
36
37
38
39
40
41
42
43
44
45
46
47
48
Table Of Contents
49
page
of
49
Go
/
49
Contents
Table of Contents
Bookmarks
Table of Contents
Package Contents
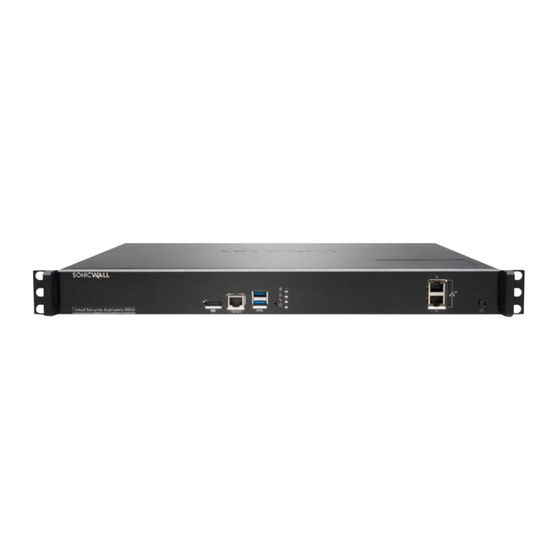
Product Description
Led Indicators
Product Licensing
Using Mysonicwall
Configuration Information
Networking Information
General Information
Front Bezel Control Features
Installation and Setup
Installing Your Appliance
Changing the Default Administrator Password
Registering Your Product
Upgrading Your Firmware
Support and Training Options
Customer Support
User Forums
Knowledge Base
Professional Services
Related Documentation
Additionally Supported Languages
Safety and Regulatory Information
Lithium Battery Warning
Cable Connections
Hinweis zur Lithiumbatterie
Declaration of Conformity
Warranty Information
Advertisement
Quick Links
Download this manual
SonicWall™ Email Security Appliance
5000/ 7 000/ 9 000
Getting Started Guide
ESA 5000 Regulatory Model Number: 1RK34‐0BE
ESA 7000 Regulatory Model Number: 1RK34‐0BF
ESA 9000 Regulatory Model Number: 1RK32‐0B2
Table of
Contents
Previous
Page
Next
Page
1
2
3
4
5
Advertisement
Table of Contents
Need help?
Do you have a question about the ESA 5000 and is the answer not in the manual?
Ask a question
Questions and answers
Related Manuals for SonicWALL ESA 5000
Network Hardware SonicWALL ESA 5000 Getting Started Manual
Email security appliance (42 pages)
Firewall SonicWALL ESA 4300 Getting Started Manual
Email security appliances (34 pages)
Firewall SonicWALL NSA E7500 Getting Started Manual
Network security appliance (76 pages)
Firewall SonicWALL ESA 9000 Getting Started Manual
Email security appliance (49 pages)
Firewall SonicWALL NSA 2650 Getting Started Manual
High availability firewall (60 pages)
Firewall SonicWALL TZ 100 Series Getting Started Manual
Sonicwall network security appliances (44 pages)
Firewall SonicWALL SMA 400 Administration Manual
(44 pages)
Firewall SonicWALL TZ270 Quick Start Manual
(2 pages)
SonicWALL TZ570, TZ570W - Firewalls Quick Start Guide
(article)
Firewall SonicWALL NSA 240 Getting Started Manual
Network security appliances (90 pages)
Firewall SonicWALL NSa Series Getting Started Manual
(39 pages)
SonicWALL TZ300, TZ300 Wireless Manual
(article)
Firewall SonicWALL SOHO Wireless Quick Start Manual
(2 pages)
Firewall SonicWALL NSA Series Getting Started Manual
(62 pages)
Firewall SonicWALL SMA 210 Deployment Manual
Secure mobile access (26 pages)
SonicWALL TZ80, TZ Series Manual
(article)
This manual is also suitable for:
1rk34-0be
1rk32-0b2
Esa 7000
1rk34-0bf
Esa 9000
Table of Contents
Print
Rename the bookmark
Delete bookmark?
Delete from my manuals?
Login
Sign In
OR
Sign in with Facebook
Sign in with Google
Upload manual
Upload from disk
Upload from URL


Need help?
Do you have a question about the ESA 5000 and is the answer not in the manual?
Questions and answers