Advertisement
Quick Links
Using the MX-1's EXTERNAL MIXING Mode
EXTERNAL MIXING Mode
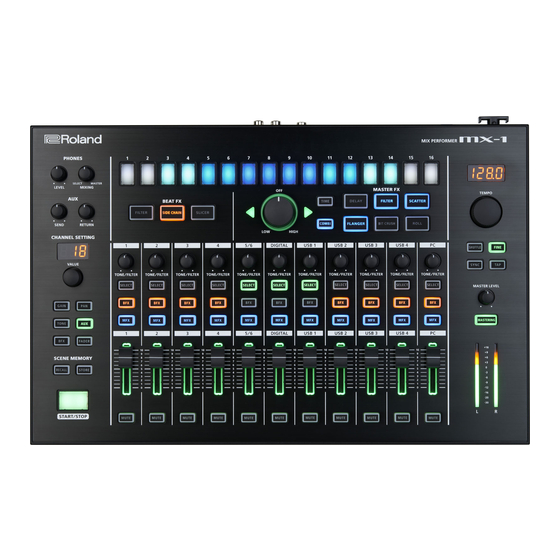
When the MX-1's mixer mode is set to EXTERNAL MIXING mode, the 18 channels of USB audio output are assigned to the faders of the MX-1, allowing you to mix or perform while applying effects.
This EXTERNAL MIXING mode is particularly convenient when used with loop-based DAWs. The following explanation of this mode uses Ableton Live (subsequently called Live) as an example.
Even if you're using other DAW software, you can use the same types of settings to mix and perform in synchronization with the MX-1.
Switching the Mixer Mode
Here's how to switch the MX-1's mixer mode to EXTERNAL MIXING mode.
1.
While holding down the [GAIN] button, turn on the MX-1's power.
2.
Press the [TONE] button.
3.
Turn the [VALUE] knob to set the mixer mode to [EXT].
4.
Press the [START/STOP] button to save the settings.
The settings are saved, and the MX-1 restarts.
Settings in Live
In Live, make settings for synchronization with your audio device.
Audio device settings
1.
Launch Live.
2.
If you're using the Mac version of Live, open [Live]-[Preferences] and then click the
"Audio" tab. If you're using the Windows version of Live, open [Options]-[Preferences],
and then click the "Audio" tab.
3.
Select "MX-1" as the audio input device and audio output device.
4.
Press the [Input Config] button, and make the settings shown below.
5.
Press the [OK] button.
6.
Press the [Output Config] button, and make the settings shown below.
7.
Press the [OK] button.
This completes the audio device settings.
Synchronization settings
Synchronize the tempo of the MX-1 with Live.
7 If you want the MX-1 to be the master
1.
Press the [SYNC] button to make it light.
2.
Turn the [TEMPO] knob to set the MIDI clock master to [InT].
3.
Press the [SYNC] button to confirm the setting.
4.
Press the [SYNC] button to make it go dark.
5.
Launch Live.
6.
Open [Live]-[Preferences], and click the "MIDI Sync" tab.
7.
In "Input: MX-1," turn on the sync.
8.
Turn on the [EXT] button that is shown in the control bar.
When you press the MX-1's [START/STOP] button, Live will also start.
7 If you want Live to be the master
1.
Press the [SYNC] button to make it light.
2.
Turn the [TEMPO] knob to set the MIDI clock master to [PC].
3.
Press the [SYNC] button to confirm the setting.
4.
Press the [SYNC] button to make it go dark.
5.
Launch Live.
6.
Open [Live]-[Preferences], and click the "MIDI Sync" tab.
7.
In "Output: MX-1," turn on the sync.
When you press Live's [PLAY] button, the MX-1 will also start.
Copyright © 2015 ROLAND CORPORATION
01
Advertisement

Related Manuals for Roland MX-1


Summary of Contents for Roland MX-1
- Page 1 EXTERNAL MIXING Mode When the MX-1’s mixer mode is set to EXTERNAL MIXING mode, the 18 channels of USB audio output are assigned to the faders of the MX-1, allowing you to mix or perform while applying effects. This EXTERNAL MIXING mode is particularly convenient when used with loop-based DAWs. The following explanation of this mode uses Ableton Live (subsequently called Live) as an example.
- Page 2 Performances that Combine Live with the MX-1 In this setup, you can use the MX-1 to mix the output of Live and apply effects to the audio output while you perform. NOT E To prevent high volume from damaging your hearing, check the fader positions of each MX-1 channel before you continue.
Need help?
Do you have a question about the MX-1 and is the answer not in the manual?
Questions and answers