
Related Manuals for Hansgrohe Axor Axor Citterio M 34010 1 Series


Summary of Contents for Hansgrohe Axor Axor Citterio M 34010 1 Series
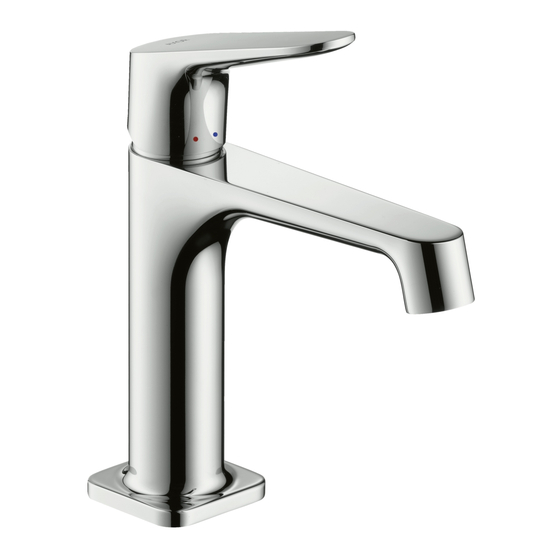
- Page 1 Installation Instructions / Warranty Axor Citterio M 34010xx1 34016xx1 Axor Citterio M 34017xx1 34210xx1 Axor Citterio M 34120xx1 34127xx1...
- Page 2 34010xx1 34017xx1 34120xx1 34127xx1...
- Page 3 34016xx1 34210xx1 Technical Information / Données techniques / Datos tecnicos Recommended water Pression d’eau recommandée Presión recomendada 15 - 75 PSI pressure en servicio Max. water pressure Pression d’eau maximum Presión en servicio max. 145 PSI Recommended hot Température recommandée Temperatura recomen- 120�...
-
Page 4: Installation Considerations
Installation Considerations • For best results, Hansgrohe recommends that no higher than 120°F. In Massachusetts, the this unit be installed by a licensed, profes- maximum output temperature of the shower sional plumber. valve can be no higher than 112°F. • Please read over these instructions thoroughly •... - Page 5 Replacement Parts / Pièces détachées / Repuestos 96762000 94005xx0 34093xx0 98863xx0 98864000 92036xx0 97685000 98865000 23x2 98866000 96923xx0 95382000 98987000 13961000 xx = colors / couleurs / acabados 96321001 18" 00 = chrome 96316001 35" 82 = brushed nickel...
-
Page 6: Installation
English Installation Install the drain pull rod. Place the faucet and sealing ring on the mounting surface. Install the fiber washer, metal washer and mount- ing nut. Tighten the mounting nut by hand. Tighten the tensioning screws using a screwdriver. - Page 7 Français Español Installation Instalación Installez la tirette. Instale el tirador. Placez le robinet et l’anneau d’étanchéité sur la Coloque el grifo y el aro de sellado sobre la surface de montage. superficie de montaje. Installez la rondelle en fibre, la rondelle métal- Instale la arandela de fibra, la arandela metálica lique et l’écrou de montage.
- Page 8 English Connect the supply hoses to the stops. Use two wrenches as shown. Do not allow the hoses to twist. Test the faucet. Check all connections for leaks.
- Page 9 Français Español Connectez les tuyaux d’arrivée d’eau chaude et Conecte las mangueras de suministro de agua d’eau froide aux les butées d’arrêt. caliente y fría a los topes. Utilisez deux clés, tel qu’illustré. Use las dos llaves fijas como se ilustra. Assurez-vous que les tuy- No permita las mangueras aux ne s’entortillent pas.
- Page 10 English Set the High Temperature Limit 3 mm Stop (optional) Use a 3 mm Allen wrench to push the screw cover into the handle. Use the 3mm Allen wrench to loosen the handle screw 2 complete revolutions. Remove the handle. Retrieve the screw cover.
- Page 11 Français Español Réglage de la butée limite Ajuste el tope de límite de alta d’eau chaude (en option) temperatura (opcional) Poussez le cache-vis dans la poignée à l’aide Utilice una llave inglesa de 3 mm Allen para d’une clé hexagonale de 3 mm. empujar la cobertura de tornillo en el mando.
- Page 12 English Install the pop-up drain Remove the plunger. Unscrew the flange from the tee. Unscrew the tailpiece from the tee. Wrap the tailpiece threads with Teflon tape. Install the tailpiece on the tee. Install the sealing gasket on the flange. Rest the flange in the sink outlet.
- Page 13 Français Español Installez l’obturateur à clapet Instale el tapón elevable Retirez le plongeur. Retire el émbolo. Dévissez la collerette du raccord en T. Desenrosque la brida del tubo en “T”. Dévissez la queue du raccord en T. Desenrosque la alcachofa del tubo en “T”. Enveloppez les filets de la queue avec du ruban Envuelva las roscas de la alcachofa con cinta de de Téflon.
- Page 14 User Instructions / Instructions de service / Manejo ouvert fermé abierto cerrar If the flow of water decreases over time, clean the aerator. Si le débit d’eau diminue au fil du temps, retirez l'aérateur et nettoyez-les. Si el caudal de agua disminuye con el tiempo, lave el aireador.
- Page 15 Cleaning Recommendation for Hansgrohe Products Modern bathroom faucets, kitchen faucets and shower products are made from different materials to comply with the needs of the market with regard to design and functionality. To avoid damage to the product, it is necessary to take proper care of it.
- Page 16 Recommandations pour le nettoyage des produits Hansgrohe Les robinetteries modernes de lavabo, de cuisine et de douche utilisent des matériaux très différents pour répondre aux besoins du marché en termes de conception et de fonctionnalité. Certaines règles de base doivent être respectées lors du nettoyage de ces produits afin d’éviter de les endommager ou d’avoir à...
- Page 17 Recomendación de limpieza para los productos de Hansgrohe Hoy en día, las griferías de baño y de cocina así como duchas modernas se componen de materiales muy distintos para satisfacer las exigencias del mercado respecto al diseño y la funcionalidad. Para evitar daños reclamaciones hay que tener en cuenta ciertos aspectos tanto en el uso como en su limpieza posterior.
-
Page 18: Limited Consumer Warranty
Limited Consumer Warranty This product has been manufactured and tested to the highest quality standards by Hansgrohe, Inc. (“Hansgrohe”). This warranty is limited to Hansgrohe products that are purchased by a consumer in the United States or Canada after March 1, 1996, and installed in either in the United States or in Canada. WHO IS COVERED BY THE WARRANTY This warranty extends to the original purchaser only. -
Page 19: Exclusions And Limitations
When warranty service is completed, any repaired or replacement product or part will be returned to you postage prepaid. EXCLUSIONS AND LIMITATIONS REPAIR OR REPLACEMENT (OR, IN LIMITED CIRCUMSTANCES, REFUND OF THE PURCHASE PRICE) AS PROVIDED UNDER THIS WARRANTY IS THE EXCLUSIVE REMEDY OF THE PURCHASER. HANSGROHE NEITHER ASSUMES NOR AUTHORIZES ANY PERSON TO CREATE FOR IT ANY OTHER OBLIGATION OR LIABILITY IN CONNECTION WITH THIS PRODUCT. - Page 20 Hansgrohe, Inc. • 1490 Bluegrass Lakes Parkway • Alpharetta, GA 30004 Tel. 770-360-9880 • Fax 770-360-9887 www.hansgrohe-usa.com...