Advertisement
Table of Contents
Manual Version: 6PW105-20170324
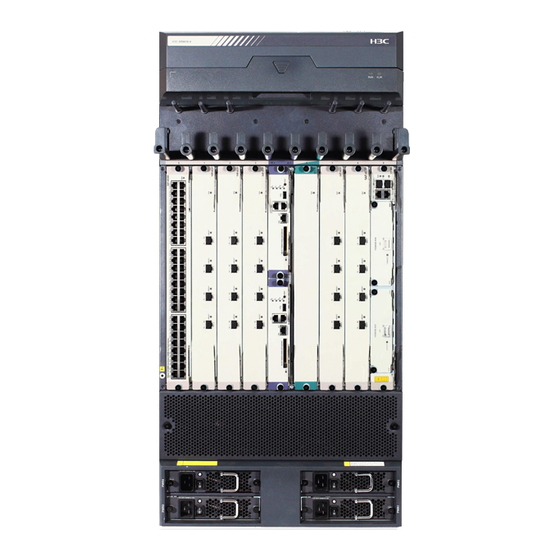
H3C SR6600 Routers Chassis Accessories Installation Guide
1 Introduction
NOTE:
Before installing an RPE-X1/RPE-X3 on the SR6604, SR6608, or SR6616, you need to install a chassis
•
accessory. For an SR6604 or SR6608, you can install the chassis accessory in slot 0 and slot 1; for an
SR6616, you can install the chassis accessory in slot 4 and slot 5.
•
Install a compatible chassis accessory to hold the RPE-X1 and RPE-X3.
•
This installation guide takes the SR6616 for example to illustrate how to install a chassis accessory.
The chassis accessory can bear two MPUs.
Figure 1 Structure of the chassis accessory
(1) Mounting holes
(3) Power connector
(5) Mounting holes (outside the ejector levers)
2 Installing a Chassis Accessory
Face the front panel of the router.
1.
Locate the slot where you will install the MPU (Slot 4 or Slot 5, the figures below illustrate how to
2.
install an MPU to Slot 5)
Remove the plastic bag stuck to the chassis accessory and take out the two mounting screws.
3.
Gently push the chassis accessory (with the components facing left) into Slot 4 or Slot 5 along the
4.
slide rails until the positioning pins on the backplane are seated in the mounting holes at the
bottom of the chassis accessory, then push the ejector levers inward to lock the chassis accessory
in position.
(2) Bus connectors1
(4) Slide rail
(6) Ejector levers
i
BOM:3105A017
Advertisement
Table of Contents

Related Manuals for H3C SR6600 Series


Summary of Contents for H3C SR6600 Series
- Page 1 Manual Version: 6PW105-20170324 BOM:3105A017 H3C SR6600 Routers Chassis Accessories Installation Guide 1 Introduction NOTE: Before installing an RPE-X1/RPE-X3 on the SR6604, SR6608, or SR6616, you need to install a chassis • accessory. For an SR6604 or SR6608, you can install the chassis accessory in slot 0 and slot 1; for an SR6616, you can install the chassis accessory in slot 4 and slot 5.
- Page 2 Manual Version: 6PW105-20170324 BOM:3105A017 Figure 2 Install a chassis accessory Insert the two mounting screws in the mounting holes and fasten them tightly. Figure 3 Fasten the mounting screws...
- Page 3 Manual Version: 6PW105-20170324 BOM:3105A017 Install the MPU after installing the chassis accessory. For how to install an MPU, see H3C SR6616 Router Installation Guide. Copyright © 2008-2017 New H3C Technologies Co., Ltd.
Need help?
Do you have a question about the SR6600 Series and is the answer not in the manual?
Questions and answers