
Related Manuals for LAZBOY Alston E49229


Summary of Contents for LAZBOY Alston E49229
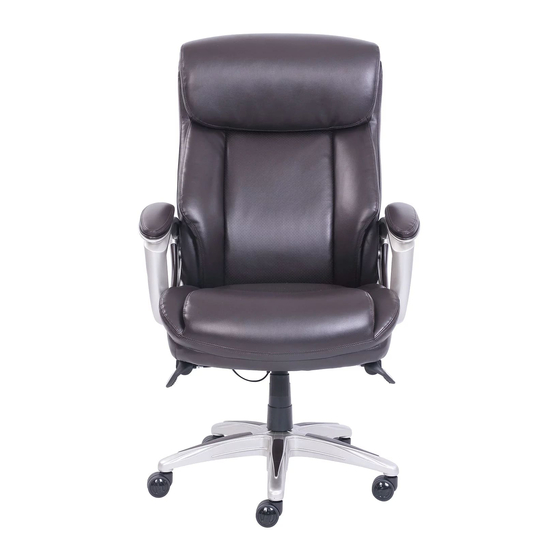
- Page 1 Alston Executive Chair Sillón Ejecutivo Assembly Instructions Instrucciones de Ensamblaje Model Number / Número de modelo : E49229 / E49229EC...
- Page 2 Chair Assembly Instructions Carefully unpack all parts and identify them against the parts list before attempting to assemble. To avoid scratching the components, assemble the chair on a protected surface. Note: The casters sold with this chair are intended for use on carpet and not recommended for use on tile or hard wood floors. Using these casters on tile or wood flooring may cause floor surface damage, so please consider purchasing a chairmat to protect your floor surfaces.
- Page 3 PARTS/PARTES Gas Lift with Telescoping Cover Casters Star Base Cubierta telescópica y elevador Ruedas Base en forma de estrella neumático Quantity/cantidad: 5 Quantity/cantidad: 1 Quantity/cantidad: 1 Seat Plate 7 8" Knobs Seat and Back Cushions with Arms Perillas de 22mm Plancha del asiento Cojines del asiento y respaldo con Quantity/cantidad: 1...
- Page 4 Step 1 Place the base on a protected surface to avoid scratching components when assembling. Place the Base (B) upside down and insert Casters (A) into the bottom of the Base (B). Paso 1 Ponga el base sobre una super cie protegida para evitar rayar los componentes al ensamblarlo. Coloque boca abajo la base (B) en forma de estrella e inserte las ruedas (A) en el fondo de la base (B).
- Page 5 Step 2 Turn the Star Base (B) over and insert the Gas Lift with Telescoping Cover (C) through the center hole on top of Star Base (B). Paso 2 Voltee la base en forma de estrella (B) e inserte el elevador neumático con la cubierta telescópica (C) en el hoyo central de la parte superior de la base (B).
- Page 6 Step 3 Place the Seat and Back Cushions w/ Arms (E) on a protected surface to avoid scratching components when assembling. Attach the Seat Plate (D) to the bottom of the Seat Cushion (E) (with the front of the seat plate facing the front of seat cushion). Align the seat plate so the FRONT on the seat plate matches the FRONT label on the bottom of the seat cushion.
- Page 7 Step 4 Place the pre-assembled Seat and Back Cushions w/ Arms (E) and Seat Plate (D) on top of Gas Lift (C) and press down until fully engaged. Paso 4 Coloque los cojínes preensamblados del asiento y del respaldo con brazos (E) y la plancha del asiento (D) sobre el elevador neumático (C), y presione hacia abajo hasta que queden totalmente enganchados.
- Page 8 Step 5 Standing in front of the chair, push the back cushion into an upright position. Check to make sure both locking pins have locked into the arm holes correctly. Paso 5 Párese frente al sillón y ponga el cojín del respaldo en posición vertical. Cerciórese que las dos clavijas de bloqueo estén aseguradas correctamente en los ori cios de los brazos.
- Page 9 Operating Instructions Instrucciones de Uso Function Instruction - 1 To Adjust Seat Height: While seated, reach under the right side of the arm to find the lever. Lift the lever and raise your body up slightly to allow the chair to rise to the desired height. Once desired height is reached, release lever to lock chair at desired height.
- Page 10 Function Instruction - 2 To Operate Tilt Lockout: While seated, reach under the left side of the chair to find the lever. Push down the lever and lean back to allow the chair to tilt backwards. To lock the chair in the upright or vertical position, sit upright and pull the lever to the up position.
- Page 11 Function Instruction - 3 To Adjust Tension On The Tilt: Reach under the front center of the chair, grasp the round knob (R) and turn it counter- clockwise to stiffen the tilt mechanism for a heavier user. Turn the knob (R) clockwise to loosen the tilt mechanism for a lighter user.
- Page 12 Function Instruction - 4 To Disassemble the Back Cushion: Standing behind the chair, press the button on both sides of the chair armrests to release the locking pins. Both locking pins must be disengaged at the same time. Push the back cushion forward and fold the back cushion on seat cushion down.
-
Page 13: Limited Warranty
Limited Warranty True Innovations seating products are warranted against defects in material and workmanship while owned by the “Original Purchaser”. The term “Original Purchaser” is de ned as that party or entity which purchases True Innovations furniture from an authorized True Innovations retailer as shown by the original sales receipt. This warranty does not apply to “as is” or previously owned seating products. - Page 14 Garantía Limitada Los asientos de True Innovations están garantizados contra defectos de material y mano de obra mientras continúen bajo la propiedad del “comprador original”. El “comprador original” se de ne como la parte o entidad que compra muebles True Innovations de un minorista de True Innovations autorizado, tal como se indique en el recibo de venta original.
- Page 16 YEAR AÑOS Limited Warranty Garantía Limitada La-Z-Boy is a trademark of La-Z-Boy Incorporated and is used under license to LF Products Pte Ltd. La-Z-Boy es una marca de La-Z-Boy Incorporated y es usada con licencia de LF Products Pte Ltd.
Need help?
Do you have a question about the Alston E49229 and is the answer not in the manual?
Questions and answers