Advertisement
1800 Courtney Park Drive East,
Unit 5-7, Mississauga, Ontario L5T 1W1
For further operating, installation, or maintenance assistance:
© 1998, PRINTED IN U.S.A.
Series "HN" and "SN"
Installation/Operation/Parts
Call 1-800-363-PUMP (7867)
OWNER'S MANUAL
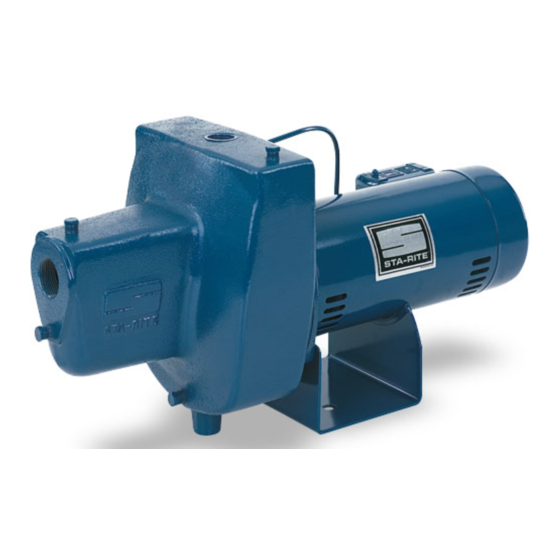
Shallow Well Jet Pumps/
Tank Systems
BE424 (Rev. 6/11/98)
Advertisement
Table of Contents

Summary of Contents for Berkeley HN Series
- Page 1 OWNER’S MANUAL Shallow Well Jet Pumps/ Tank Systems 1800 Courtney Park Drive East, Unit 5-7, Mississauga, Ontario L5T 1W1 Series “HN” and “SN” Installation/Operation/Parts For further operating, installation, or maintenance assistance: Call 1-800-363-PUMP (7867) BE424 (Rev. 6/11/98) © 1998, PRINTED IN U.S.A.
-
Page 2: General Safety
Safety READ AND FOLLOW ELECTRICAL SAFETY SAFETY INSTRUCTIONS! Capacitor voltage may be hazardous. To discharge motor capacitor, hold insulated handle screw- This is the safety alert symbol. When you see this driver BY THE HANDLE and short capacitor terminals symbol on your pump or in this manual, look for together. -
Page 3: Table Of Contents
Requests for service under this warranty shall be made by contacting ranty lasts, so the above limitations or exclusions may not apply to the installing Berkeley/Wicor dealer as soon as possible after the dis- you.This warranty gives you specific legal rights and you may also have covery of any alleged defect. - Page 4 Installation REPLACING AN OLD PUMP To Household Pump Priming Water System Tee and Plug Hazardous voltage. Disconnect power to pump before working on pump or motor. Step 1. Drain and remove the old pump. Check the old pipe for scale, lime, Suction Pipe rust, etc., and replace it if necessary.
-
Page 5: Installation
Installation To Household Pump Priming Step 4. Install a priming tee, priming plug, and suction pipe to the pump Water System Tee and Plug (see Figure 2). Connect the pipe from the well to the pump suction port, using the fewest possible fittings – especially elbows – as fit- tings increase friction in the pipe (however, include a foot valve –... -
Page 6: Connecting Discharge Piping
Discharge Pipe and Pressure Tank Connections PRE-CHARGE TANK CONNECTION (Figure 4) To Household Pump Priming Water System Tee and Plug Step 1. Install two tees in the pump discharge port (see Figure 4). The pipe size must be at least as large as the discharge port. Step 2. -
Page 7: Electrical
Electrical Disconnect power before working on pump, motor, pressure switch, or wiring. Your Motor Terminal Board (under the motor end cover) wiring if line voltage is 230 Volts or if you have a single and Pressure Switch look like one of those shown below. voltage motor. - Page 8 Electrical Connection Procedure: Step 1. Connect the ground wire first as shown in Figure 6. The ground wire must be a solid copper wire at least as large as the power sup- ply wires. Step 2. There must be a solid metal connection between the pressure switch and the motor for motor grounding protection.
-
Page 9: Preparing To Start The Pump
Preparing to Start the Pump PRIMING Never run pump against closed discharge. To do so can boil water inside pump, causing hazardous pressure in unit, risk of explosion and possibly scalding persons handling pump. Fill pump Never run pump dry. Running pump without water may cause and piping pump to overheat, damaging seal and possibly causing burns to persons through... -
Page 10: Repair Parts
Repair Parts Exploded View Models 5SN, 7SN, 5HN Nozzle Cleanout Port AVC Port 2763 0197 REPAIR PARTS LIST Model and Horsepower Part Description Used 1/2 HP 3/4 HP 1/2 HP Motor A100CLL A100DLL A100CHL Hex Capscrew - 3/8” - 16 x 1-1/4” Lg. U30-75ZP U30-75ZP U30-75ZP... -
Page 11: Repair Parts
Repair Parts Exploded View Models 7HN and 10HN Nozzle Cleanout Port AVC Port 2825 0597 REPAIR PARTS LIST Model and Horsepower Part 10HN Description Used 3/4 HP 1 HP Motor - 60 Cycle - 115/230V A100DHL A100EHL #§2 Water Slinger C69-2 C69-2 Seal Plate... -
Page 12: Troubleshooting
Troubleshooting SYMPTOM POSSIBLE CAUSE(S) CORRECTIVE ACTION Motor will not run Disconnect switch is off Be sure switch is on. Fuse is blown or circuit breaker tripped Replace fuse or reset circuit breaker. Starting switch is defective DISCONNECT POWER; Replace starting switch. Wires at motor are loose, Refer to instructions on wiring (Page 8).


Need help?
Do you have a question about the HN Series and is the answer not in the manual?
Questions and answers