Advertisement
Quick Links
Advertisement

Related Manuals for TELETRAC NAVMAN Qtanium 100


Summary of Contents for TELETRAC NAVMAN Qtanium 100
- Page 1 Qtanium 100 installation guide 5/25/2016...
- Page 2 Disclaimer It is the Owner’s sole responsibility to install and use the Qtanium 100 (the Product) in a manner that will not cause accidents, personal injury or property damage. For the purpose of this notice, “Owner”, “you” and “your” means the party (including any person authorized by that party to use and / or install the Product) that has either: (a) purchased the Product;...
-
Page 3: Table Of Contents
Contents Disclaimer Introduction Qtanium 100 Hardware Qtanium 100 Mounting Locations Installation Procedure Maintenance Specifications Technical Support... -
Page 4: Introduction
The choice of mounting location and the mounting method depends upon the type of asset. If the Qtanium 100 is likely to be moved between different assets over time, magnets are the best option. Audience This Installation Manual is written for a professional vehicle technician. -
Page 5: Qtanium 100 Hardware
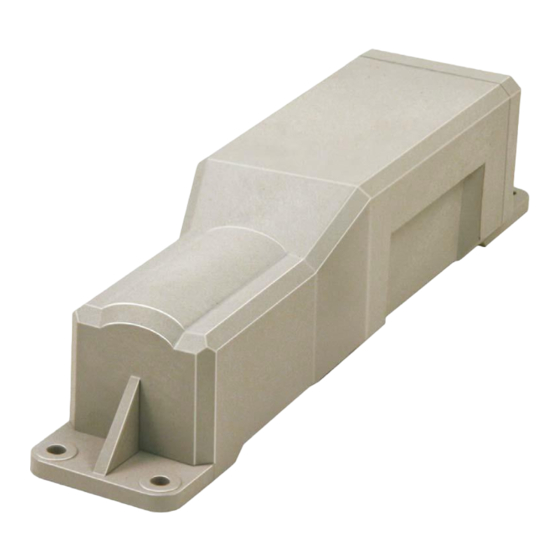
Qtanium 100 Hardware Box Contents The box contains: 1 Qtanium 100 (with the internal battery in place), 8 flat washers, 4 self-tapping mounting screws (Hex washer head), 4 nuts (with Nylock insert), 4 bolts. Optional Components An optional Magnetic Mounting Kit is available. -
Page 6: Qtanium 100 Mounting Locations
operating the asset. Optimal GPS performance will be achieved if the mounting location provides the Qtanium 100 with a clear view of the sky. If the mounting location is on a HORIZONTAL surface, the Qtanium 100 must face UP or DOWN. - Page 7 At one end of the Qtanium 100, position a flat washer over each magnet screw, between each nut and the Qtanium 100 housing. At the other end, position the lanyard tab over the 2 magnet screws then secure using 2 flat washers and 2 nuts. Wrap the lanyard around or through the chassis or a locking rod then attach both end loops to the quick link.
- Page 8 Maintenance – Battery Replacement 1. Use a Phillips screwdriver to remove the four battery cap screws and set aside. 2. Remove the battery cap and set aside. 3. Remove the rubber gasket, being careful to align the gap in the battery pack foam with the power cable.
- Page 9 Maintenance – Battery Replacement continued 5. Slide the battery pack out of the Qtanium 100 6. Insert the replacement battery pack. 7. Replace the rubber gasket, care must be taken to align the gap in the battery pack foam with the power cable.
-
Page 10: Specifications
Qtanium 100 Specifications Certifications Physical - FCC - Weight: 907g (32 oz) - CE - Dimensions: 55 x 55 x 260 mm (2.25 x 2.25 x - IC 10.5”) - PTCRB - Applicable carriers General Specifications -Communication modes: GPRS/EDGE/HSPA and... -
Page 11: Technical Support
Technical Support Hours: Monday – Friday 7am – 7pm (Central Time) Email: us.support@navmanwireless.com Toll Free Phone # 877.778.2478 Local Phone # 847.832.6950...
Need help?
Do you have a question about the Qtanium 100 and is the answer not in the manual?
Questions and answers