Table of Contents
Advertisement
Quick Links
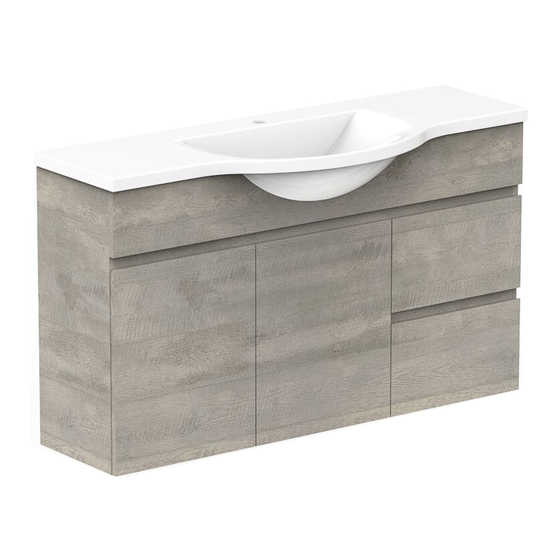
Domaine Semi-Recessed Wall Hung
PRI OR TO I NSTALLATION C HECK LIST
Check Products For Any Damages
1
Within 48 hours of receiving your goods, unpack your ADP
product and check for any possible freight damages or incorrect
items.
Please contact your place of purchase to report damages or
missing parts.
No claims for damages will be recognised after installation.
Please note: fixing screws/bolts are not supplied for installation.
2
Positioning & Ventilation
Planning your bathroom furniture placement is critical.
Furniture must be at least 300mm away from any
wet areas. Materials used in the construction of our
furntiture units are moisture resistant, not water proof.
Do not expose furniture to shower spray.
It is important that your bathroom is adequatley
ventilated to eliminate moisture build up.
High humidity will lead to permanent dampness and
mould resulting in a deterioration of the materials in
your bathroom.
3
Check for Support Beams
Wall hung furniture & basins require fixing to a support
beam fitted between the studs to give a solid wall backing
to attach the vanity to.
If necessary, fix additional support noggins at desired
height for cabinet and basin fixing prior to sheeting the wall.
Ensure total width of support noggin exceeds vanity width.
Plumbers, please ensure a copy of the installation
instructions is left with the end user for future reference
This product must be installed by a qualified tradesperson and we would expect the installation to
be undertaken in a tradesperson like manner and finished to a tradesperson standard. This product
carries a full warranty against faulty workmanship and materials.
Please inspect thoroughly before installation to ensure that the product has not been damaged
and is correct. No claims for damage or incorrect items will be recognised after installation.
IT IS THE RESPONSIBILITY OF THE INSTALLER TO MAKE ANY ADJUSTMENTS
TO DOORS/DRAWERS AFTER INSTALLATION IF REQUIRED.
page 12 of 19
page 1 of 8
Ventilation is
important to
prevent mould
& moisture
build up
300mm
(minimum clearance)
BATH
Advertisement
Table of Contents

Related Manuals for Reece Posh Domaine Semi-Recessed Wall Hung


Summary of Contents for Reece Posh Domaine Semi-Recessed Wall Hung
- Page 1 page 12 of 19 page 1 of 8 Domaine Semi-Recessed Wall Hung PRI OR TO I NSTALLATION C HECK LIST This product must be installed by a qualified tradesperson and we would expect the installation to be undertaken in a tradesperson like manner and finished to a tradesperson standard. This product carries a full warranty against faulty workmanship and materials.
- Page 2 page 13 of 19 page 2 of 8 Domaine Semi-Recessed Wall Hung Check for Plumb Walls & Level Floors Ensure the wall is plumb and straight, ensure floor is level. If you fix the product to a non-plumb wall or floor the following could happen: •...
- Page 3 page 14 of 19 page 3 of 8 Domaine Semi-Recessed Wall Hung VANI TY I NSTALLATION 1. LOCATION 2. PREPARING THE CABINET After completing the Prior to Installation Checklist, mark the position of Remove doors and drawers. Measure correct plumbing loctions and the top of the vanity.
- Page 4 page 15 of 19 page 4 of 8 Domaine Semi-Recessed Wall Hung 7. ADJUST DOORS & DRAWERS 8. CLEANING Clean all building residue from the cabinet. Dry any spillage or leakage Install drawers and doors back onto cabinet and make adjusments to of water on or inside the cabinet during installation.
- Page 5 page 16 of 19 page 5 of 8 Domaine Semi-Recessed Wall Hung P R ESSE D METAL DRAWERS DRAWER HEIGHT ADJUSTMENT Loosen the front screw. Turn the back screw to adjust the height of the When drawer height is aligned, tighten the drawer front.
- Page 6 page 17 of 19 page 6 of 8 Domaine Semi-Recessed Wall Hung P R E M I U M S OL I D S ID E D DR AWE R S REMOVING & INSERTING DRAWER REMOVING INSERTING CLICK! Pull drawer all the way out then lift the front up, Extend drawer runners out and place drawer and connect runners in place.
- Page 7 page 18 of 19 page 7 of 8 Domaine Semi-Recessed Wall Hung D OO R HINGE ALIGNMEN T SIDE ADJUSTMENT DEPTH ADJUSTMENT HEIGHT ADJUSTMENT Use front screw to move door to the left or Use back screw to move door inward or Loosen the top and bottom screw on mount right, or to level each door.
- Page 8 page 19 of 19 page 8 of 8 Domaine Semi-Recessed Wall Hung CARE & M AINTENAN CE If you cannot identify basin, top or cabinet material of your product, contact your merchant or see product information at www.adpaustralia.com.au. T I P S •...
Need help?
Do you have a question about the Posh Domaine Semi-Recessed Wall Hung and is the answer not in the manual?
Questions and answers