
Subscribe to Our Youtube Channel
Related Manuals for Ecotap SLA_K 2


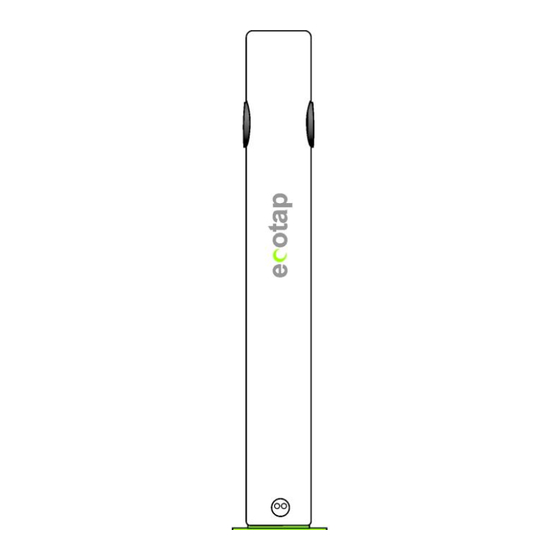
Summary of Contents for Ecotap SLA_K 2
- Page 1 Electric vehicle charging station Manual Model: SLA_K 2. For charging electric vehicles...
-
Page 2: Table Of Contents
MANUAL © 2014 Ecotap® B.V Version 2.01 / 2014 Table of Contents Introduction p. 3 _________________________________________________________________ General p. 4 _______________________________________________________________________ 2.1 Warranty p. 4 2.2 Symbols in this user / installation manual p. 4 Device description p. 5 __________________________________________________________ 3.1 Use p. -
Page 3: Introduction
© Copyright ® No part of this publication may be copied, reproduced or saved in a retrieval system without Ecotap B.V.’s prior written consent. This is an English translation of the original Dutch manual. -
Page 4: General
General 2.1 Warranty ® The Ecotap B.V. General terms and conditions for delivery apply here. Ecotap ® B.V. cannot be held accountable for any injury or damage to goods should the charging station be altered, damaged, refitted or expanded upon with other components, or not used in accordance with the instructions and conditions set out here. -
Page 5: Device Description
3 Device description This charging station is especially designed for public areas. The station can be installed in various environments: in paved areas, in open soil/sand, or in asphalt surfaces. The following environments, however, are not suitable: Any area that could flood during high tide Loading quays Any slopes with an incline of 4% or more Accessories... -
Page 6: Safety
4 Safety Read the following safety regulations carefully before you install and use the charging station. 4.1 Safety regulations Before you install the charging station, you must make sure the location is safe for all bystanders. NEVER allow children onto this worksite. Never allow ANYONE who has nothing to do with the work onto the worksite. -
Page 7: Mandatory Checks Before Initial Use
- Make sure there are no obstacles surrounding the worksite. - Before any voltage is applied to the charging station, make sure to contact Ecotap® B.V. by calling 0031 (0) 411-210210 so that we can activate that particular station’s... -
Page 8: User / Installation Manual
6 User / installation manual 6.1 Mounting the casing on the foundation The foundation must be installed in a hole of 50x50 cm in size and 80 cm deep. The bottom of the hole must be stable and flattened out properly. Place the foundation in the hole and check whether it is level using a level. -
Page 9: Installing The Protective Casing
6.2 Installing the protective casing The protective casing (80cm) is supplied along with the foundation. Once the casing has been mounted on the foundation, the clear plastic protective lid on the bottom of the casing may be removed. Install the casing bottom side-down and fix it in place using the support clamp. (diagram 1.1) 6.3 Feeding the cable and installing it with strain relief Feed the power cable through the protective casing. - Page 10 WARNING: Please note that you may only replace the lock cylinder for which you have the key. The lock cylinder for which you do not have a key may only be accessed by Ecotap’s service team. Unscrew the screws using a 3 mm Allen key.
-
Page 11: Installing The Kwh Meter
6.7 Installing the kWh meter Wiring diagram for type B23-112-10M ABB kWh meter The wiring on the screw terminal has been labelled; connect the kWh meters according to the diagram. - Page 12 Installing the type 112-10M ABB kWh meter Five aspects of the ABB kWh meter must be checked and possibly adjusted: menu default set to Protoc Modbus Modbus Boud 19200 38400 Addres links Addres rechts Parity Even None There is a cap covering the display; open the cap, exposing the button.
-
Page 14: Maintenance
9 In case of malfunctions ® In case the SLA-K charging station is not functioning (properly), please contact the Ecotap 24/7 helpdesk immediately (phone number: 0031 (0) 411-745020) or a licensed mechanic in possession of measuring and testing equipment with auto simulation. -
Page 15: Operation And Use Of Charging Station
This charging station is operated via a charging pass. The charging pass first needs to be registered in the Open Charge Point Protocol (OCPP). ® This necessary registration can be completed by phone by calling Ecotap B.V. at 0031 (0) 411-210210 during office hours. -
Page 16: Technical Specifications
10-year warranty. *) Depending on the area where it is being installed. Ecotap® B.V. reserves the right to change any of the above technical specifications without prior notice as the result of the ongoing innovative development of the machine. Moreover, the technical specifications may differ from country to country.
Need help?
Do you have a question about the SLA_K 2 and is the answer not in the manual?
Questions and answers