Advertisement
Table of Contents
Advertisement
Table of Contents

Related Manuals for Motorola O2


Summary of Contents for Motorola O2
- Page 1 Motorola O2 Digital Cordless Telephone with Answering Machine For: O211, O212, O213 and O214 Handset: Motorola O21-HS Base: Motorola O21-B Charger: Motorola O21-C Quick Start Guide For a full explanation of all features and instructions, please refer to the User Guide.
-
Page 2: What's In The Box
AC power adaptor AC power adaptor for for the base the charger cradle Telephone line Screws and plugs for cord wall mounting Motorola O2 Motorola O2 Digital Cordless Telephone Digital Cordless Telephone with Answering Machine with Answering Machine Handset (Battery pre-installed) - Page 3 If you have purchased an O2 multiple pack you will also have the following additional items: • Handset with battery pre-installed (Motorola O21-HS) • Antenna • Charger cradle (Motorola O21-C) • AC power adaptor for the charger cradle • Screws and plugs for wall mounting...
-
Page 4: Getting Started
The display will show the time and handset number (e.g. 2) to indicate that it is registered to the base. Important Warning! Use only the approved rechargeable Ni-MH battery pack (750mAh Ni-MH rechargeable battery pack) supplied with your O2. - Page 5 Installing the antenna to the handset To fit the antenna screw clockwise with the screen facing you. Unscrew Screw Replacing the handset battery Unscrew the belt clip, then unscrew the 4 screws on the battery cover (the screws will stay attached to the battery compartment door) from the back of the handset and plug in the 750mAh Ni-MH rechargeable battery pack supplied.
-
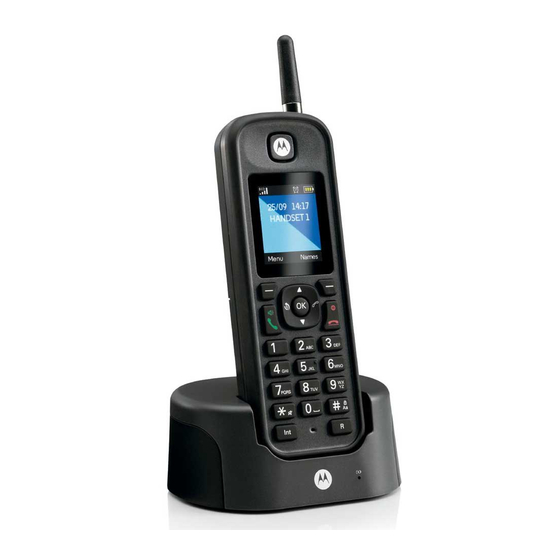
Page 6: Getting To Know Your Phone
Getting to know your phone Overview of your handset A Earpiece B Display See page 8 for an overview of the display icons. C Scroll up / Volume up Scroll up through lists and settings. During a call, press to increase the earpiece and hands-free volume. When the phone is ringing, press to increase the handset ringer volume. - Page 7 H Intercom Press to make an internal call. Antenna Phonebook menu / Clear / Back In standby mode, press to open the phonebook menu. Clear incorrect input during text editing. Return to previous menu. K Calls Lists Open the Calls Lists. End / Exit / Switch handset on/off End a call.
-
Page 8: Handset Display
Handset display The approximate power levels of your battery are indicated as follows: Battery is fully charged Battery is partially charged Battery is running low Battery is empty Using the phone Making a call Enter the phone number and press to dial the phone number entered. -
Page 9: Adding An Entry To The Phonebook
Dialed Calls, Delete Calls) you Answer delay sets the number of want. times the O2 will ring before the answering machine picks up your 3. Press Select. call and starts playing the outgoing 4. Scroll to the entry you message. -
Page 10: Poor Audio Quality
Manufactured, distributed or sold by Meizhou Guo Wei Electronics Co. LTD., official licensee for this product. MOTOROLA and the Stylized M Logo are trademarks or registered trademarks of Motorola Trademark Holdings, LLC. and are used under license. All other trademarks are the property of their respective owners.
Need help?
Do you have a question about the O2 and is the answer not in the manual?
Questions and answers
I cannot get a dial tone. Secrecy is on and I cannot turn it off
To turn off Secrecy on your Motorola O2, press the "Off" button during the call. This will return you to the caller and disable the mute function.
This answer is automatically generated