Advertisement
Installation and Assembly:
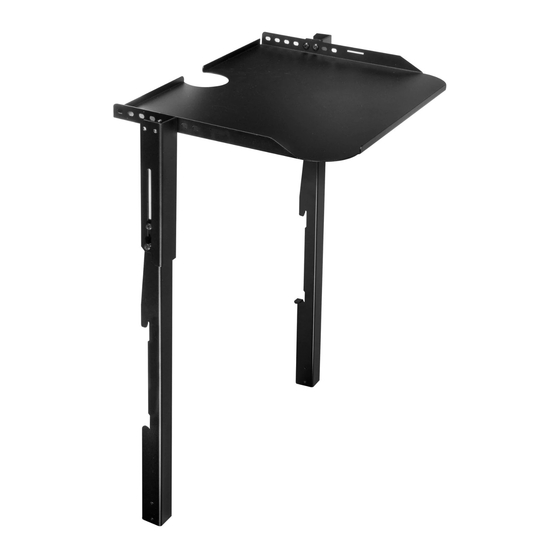
Shelf Bracket for Media Device
Model: DSX200
Parts List
Description
A shelf
B right vertical support
C left vertical support
D adjustment bracket
E M5 x 16 phillips screw
F M5 x 25 mm phillips screw
G 1/4-20 x 1/2 round phillips screw
H safety belt
C
H
Secure two adjustment brackets (D) to shelf (A) using four 1/4-20 x 1/2 round phillips screws (G).
1
A
High Shelf Position
Qty. Part #
1 124-1941
1 124-1944
1 124-1943
2 124-1945
8 520-1189
2 520-9543
4 510-9108
1 170-8039-1
D
USE BACK MOUNTING HOLES
G
D
A
E
F
A
Low Shelf Position
1 of 5
ISSUED: 01-05-10 SHEET #: 125-9094-3 03-01-10
B
G
USE BACK MOUNTING HOLES
G
D
Advertisement
Table of Contents

Subscribe to Our Youtube Channel
Summary of Contents for PEERLESS DSX200
-
Page 1: Parts List
Installation and Assembly: Shelf Bracket for Media Device Model: DSX200 Parts List Description Qty. Part # A shelf 1 124-1941 B right vertical support 1 124-1944 C left vertical support 1 124-1943 D adjustment bracket 2 124-1945 E M5 x 16 phillips screw... - Page 2 Attaching to Wall Plate Hook right and left vertical supports (B and C) onto wall plate (not supplied) and secure using two M5 x 25 mm phillips screws (F). NOTE: Don’t fully tighten M5 x 25 mm phillips screws (F) until after Step 3 Wall Plate (Not supplied) Secure adjustment brackets (D) to right and left vertical supports (B and C) using eight M5 x 16 mm phillips screws (E).
- Page 3 Attaching Safety Belt Select slot in tray as shown in fig 4.1. Remove backing and attach one clear strip through slot and around edge of tray as shown in fig. 4.2. Repeat for other slot on other side of tray. NOTE: This material prevents fraying or cutting of the belt.
- Page 4 Pull end of safety belt (H) out of bottom buckle slot and back down through top buckle slot. NOTE: Do not tighten safety belt (H). Bottom buckle slot Top buckle slot BELT GUIDE BELT GUIDE NOTE: To attach screen to wall plate, spacers may be needed. Refer to wall mount instructions for use of spacers. Tighten safety belt (H) by pulling on loose end of safety belt.
- Page 5 RATCHET HANDLE ATTACHMENT BRACKETS Fig. 7.3 VERTICAL BRACKETS 5 of 5 ISSUED: 01-05-10 SHEET #: 125-9094-3 03-01-10 © 2010, Peerless Industries, Inc. All rights reserved. All other brand and product names are trademarks or registered trademarks of their respective owners.


Need help?
Do you have a question about the DSX200 and is the answer not in the manual?
Questions and answers