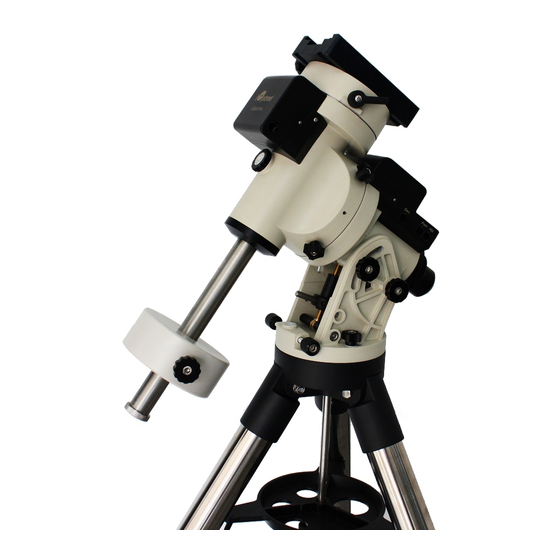
iOptron iEQ45 Step-By-Step Instructions
R.a. worm installation/replacing
Hide thumbs
Also See for iEQ45:
- Instruction manual (53 pages) ,
- Quick setup manual (6 pages) ,
- Adjustment (3 pages)
Advertisement
Quick Links
®
Step-by-Step Instructions for
iEQ45 R.A. Worm Installation/Replacing
September 2013
These instructions serve to explain how to
Replace a R.A. worm;
Adjust a RA worm/wheel meshing;
Inspect and clean a RA worm.
The procedures are similar for the DEC.
Please read the instructions carefully before
working on the mount.
1. Remove iEQ45 main board cover.
2. Remove black R.A. gear box cover by
loosening the two screws.
3. Unscrew four screws on the RA motor drive
board.
4. Next, remove the belt and two pulleys. First,
you will need to turn the wheel so you can insert
a 1.5mm hex wrench and loosen the set screw
on each pulley. It only needs be loosened a little.
See next photo for direction on disengaging gear
to allow the pulleys to turn.
4a. In order to turn the pulleys, you need to
partially disengage the worm gear. Make sure
the power is turned off. While pushing down on
the edge of the RA gear box, turn the RA pulley
to access the set screws with a hex wrench.
If the pulleys are very difficult to turn, you can
connect the power and turn on the mount. Then
turn the pulleys slowly using the hand controller.
Release the set screw on the motor shaft first.
Then remove both wheels at the same time.
iOptron Corporation, Woburn, MA 01801, USA
RA pulley on worm
gear shaft
Hex wrench
1
Advertisement

Summary of Contents for iOptron iEQ45
- Page 1 1.5mm hex wrench and loosen the set screw 1. Remove iEQ45 main board cover. on each pulley. It only needs be loosened a little. See next photo for direction on disengaging gear to allow the pulleys to turn.
- Page 2 Be careful not to lose the two copper washes that go with the hinges. Remove the PE encoder wheel from the RA worm shaft by releasing a set screw on the wheel. iOptron Corporation, Woburn, MA 01801, USA...
- Page 3 Please do not reverse the pulley installation side and PE encoder side when inserting the worm into the house. Pulley side PE encoder side iOptron Corporation, Woburn, MA 01801, USA...
- Page 4 4 screws (3). Use the marks that you put on while dismount the RA house as an initial reference. 17. Insert the hinge shaft into the RA house. Place the copper washers and hinges back onto the shaft. iOptron Corporation, Woburn, MA 01801, USA...
- Page 5 MAX speed. The smaller the reading, the better 21. Remove the set screws from old RA shaft worm and wheel mesh. Secure the RA board pulley and install it onto the new one. Adjust the and replace the cover. iOptron Corporation, Woburn, MA 01801, USA...


Need help?
Do you have a question about the iEQ45 and is the answer not in the manual?
Questions and answers