
Related Manuals for SOUNDMASTER UR200SI


Summary of Contents for SOUNDMASTER UR200SI
- Page 1 ENGLISH Hersteller Wörlein GmbH Tel.: +49 9103/71670 Gewerbestrasse 12 Fax.: +49 9103/716712 D 90556 Cadolzburg Email. info@woerlein.com GERMANY Web: www.woerlein.com UR200SI / UR200WE...
- Page 2 ENVIRONMENTAL PROTECTION Do not dispose of this product with the normal household waste at the end of its life cycle. Return it to a collection point for the recycling of electrical and electronic devices. This is indicated by the symbol on the product, user manual or packaging.
- Page 3 FUNCTION AND CONTROLS ON –OFF / ALARM OFF << / TUNE - / YEAR/MONTH-DAY / TEMPERATURE / C-F / BETWEEN DISPLAY CONTENTS ON-OFF/ SKIP BACK BUTTON >> / TUNE + / SKIP FORWARD / NAP / DST SNOOZE / SLEEP / DIMMER / POWER SAVING TIME SET / MEMORY / MEMORY+ ALARM 1 ON - OFF SET / VOLUME DOWN ALARM 2 ON - OFF SET / VOLUME UP...
-
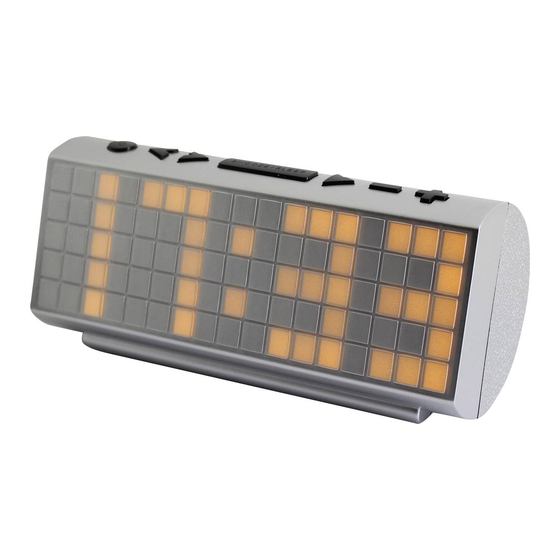
Page 4: Led Display Mode
LED DISPLAY MODE GET STARTED Select a proper place for the device such as a dry, and even non slip area where you can easily operate the device. Inserting the Battery (Backup) INSTALLING/REPLACING THE BACK-UP BATTERY This unit is equipped with a battery back-up system, requiring one DC3V CR2032 lithium battery (not included) to maintain the time/calendar settings and radio presets during AC power outage. -
Page 5: Ac Power Connection
IMPORTANT: Be sure that the battery is installed correctly. Wrong polarity may damage the unit and void the warranty. For best performance and longer operating time, we recommend the use of good quality alkaline battery. AC POWER CONNECTION Plug the AC power cord into a household outlet AC source. SETTING THE CALENDAR AND TIME 1. - Page 6 DIMMER CONTROL In radio off mode, press the DIMMER button (4) allows you to set the brightness of the LED display to high, low 2 levels. 1. The clock display with dimmer low is the default setting. 2. It will consume more power if you set the clock display with dimmer higher. TOGGLE TEMPERATURE DISPLAY BETWEEN °C (CELSIUS) AND °F (FAHRENHEIT) 1.
- Page 7 TO SET/RECALL RADIO STATION PRESETS 1. Press the unit button (2) and (3) select the desired radio station. 2. Press and hold the unit button (5) the next available preset memory number will flash on the LED display. (Note: “P01” will flash in the display if you are programming presets for the first time.) 3.
- Page 8 SETTING THE ALARM 2 (RADIO) Normal Time → AL 2 Hour → AL 2 Minute → AL 2 weekday → AL 2 beeper → AL 2 radio → AL 2 final radio volume → Normal Time. 1. In standby mode, tap the AL1 (or AL2) button to show the preset alarm time. 2.
-
Page 9: Turning Off The Alarm
TURNING OFF THE ALARM When the preset alarm time is reached, the AL1 (or AL2) INDICATOR will flash on the LED DISPLAY and the beeper alarm or radio will sound for 30 minutes unless interrupted by pressing SNOOZE. To stop the alarm immediately, tap the corresponding AL1 (or AL2) button or POWER ON/OFF button. - Page 10 DAYLIGHT SAVING TIME (DST) MODE If daylight saving time (DST) is available in the summer time in your State, you may use this option to adjust to the correct time easily. 1. In standby mode, press and hold the unit DST button (3) for 2 seconds to advance the displayed time by one hour.
-
Page 11: Specifications
RESETTING If the system does not respond or exhibits erratic or intermittent operation, you may have experienced an electrostatic discharge (ESD) or a power surge that triggered the internal microcontroller to shut down automatically. If this occurs, simply disconnect the ac power cord and remove the system backup battery, wait for at least 3 minutes and then setup the unit again as if it is a brand new unit.
Need help?
Do you have a question about the UR200SI and is the answer not in the manual?
Questions and answers