Advertisement
Quick Links
Advertisement

Subscribe to Our Youtube Channel
Related Manuals for LAZBOY 45316A


Summary of Contents for LAZBOY 45316A
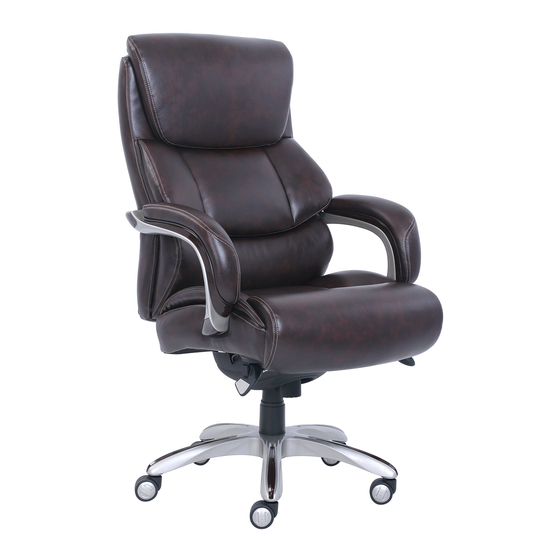
- Page 1 ASSEMBLY Instructions Big & Tall Executive Chair Model: 45316A / 45316B...
- Page 2 Should you prefer to speak with a customer service representative, you may call toll free : 1-855-372-2315 U.S. 6am - 5pm PST, U.K. 2pm - 1am 0-800-051-6775...
- Page 3 Guidelines FAILURE TO FOLLOW THESE WARNINGS WHEN IN USE COULD RESULT IN INJURY Do not stand on the item or use as a step ladder • The piece has been tested and approved for users • weighing up to 350lbs (159 kg) per seat. Do not use this item unless all bolts and screws are •...
- Page 4 Pre-Assembly Preparation: Please read through this instruction booklet before beginning assembly of this item. WARNING : DO NOT LET Two adults are recommended for assembly. CHILDREN PLAY IN OR Clear out the space for assembly and lay out all • AROUND THE UNIT DUE parts on Parts List, extra room will allow you to TO THE POSSIBLE RISK...
-
Page 5: Parts List
Parts List Casters Star Base Gas Lift with Telescoping Cover Seat Plate Left Arm Quantity: 5 Quantity: 1 Quantity: 1 Quantity: 1 Quantity: 1 Right Arm Seat Cushion Back Cushion Plastic Shroud 1” Screws Quantity: 1 Quantity:1 Quantity: 1 Quantity: 1 Quantity: 2 1-3/4”... - Page 6 Step 1 Step 2 Place the Star Base (B) upside down and insert 5 Casters (A) into the holes Turn the Star Base (B) over and insert the Gas Lift with Telescoping Cover on the Star Base (B). (C) through the center hole on top of Star Base (B).
- Page 7 Step 3 Step 4 Attach Seat Plate (D) to the bottom of the Seat Cushion (F) (with the Insert Levers (D1 & D2) of Seat Plate (D) to the pre-attached cable lever front of the seat plate facing the front of seat cushion). Attach by using receivers on the underside of Seat Cushion (F).
- Page 8 Step 5 Step 6 Attach the Back Cushion (G) to the Seat Cushion (F) by positioning the Insert 1-1/4" Screws with Spring Washers (L) into arm holes attaching back support plate over the Seat Plate (D) with 1-1/4” Screws (K). Arms (E1 &...
- Page 9 Step 7 Step 8 Put the Plastic Shroud (H) over the Seat Plate (D) (with the front of Position the assembled chair upright with the seat plate facing down. plastic shroud facing the front of seat cushion). Align shroud posts to Insert the Gas Lift with Telescoping Cover (C) into the center hole of the holes on bottom of Seat Cushion (F) and press into position.
- Page 10 Step 9 Once all screws have been tightened, place the Arm Inserts (M1 & M2 & N1 & N2) into arm grooves.
-
Page 11: Function Instruction
Operating Instructions Function Instruction - 1 Function Instruction - 2 To Adjust Seat Height: To Operate Tilt Lockout: While seated, lean forward and reach under the right side of the chair to While seated, reach under the left side of the chair to find the lever. Push findthe lever. - Page 12 Function Instruction - 3 Function Instruction - 4 To Adjust Tension on the Tilt: 360˚ Swivel: 360˚ seat swivel. Reach under the front center of the chair, grasp the round knob (R) and turn it counter- clockwise to stiffen the tilt mechanism for a heavier user. Turn the knob (R) clockwise to loosen the tilt mechanism for a lighter user.
-
Page 13: Limited Warranty
Limited Warranty The exceptions or exclusions to this warranty are: • Upholstery material and foam cushion material is The product you have purchased is warranted against warranted against defects in material and workmanship defects in material and workmanship while owned by for a period of one year, beginning on the date of the “Original Purchaser”.
Need help?
Do you have a question about the 45316A and is the answer not in the manual?
Questions and answers