Promise Technology FastTrak SX4000 Quick Start Manual
Hide thumbs
Also See for FastTrak SX4000:
- Quick start manual (11 pages) ,
- User manual (78 pages) ,
- User manual (53 pages)
Advertisement
Advertisement
Table of Contents

Related Manuals for Promise Technology FastTrak SX4000


Summary of Contents for Promise Technology FastTrak SX4000
- Page 1 FastTrak SX4000 Quick Start Guide Version 2.0...
-
Page 2: Table Of Contents
You should back up all data before installing any drive controller or storage peripheral. Promise Technology is not responsible for any loss of data resulting from the use, disuse or misuse of this or any other Promise Technology product. Notice... -
Page 3: Step 1: Unpack Your Fasttrak
If any of the items are missing or appear damaged, please contact your dealer or distributor immediately. Attention The FastTrak SX4000 controller card, like many other parts of your PC, is sensitive to static electricity. Be sure that you are properly grounded (Promise recommends that you wear an... -
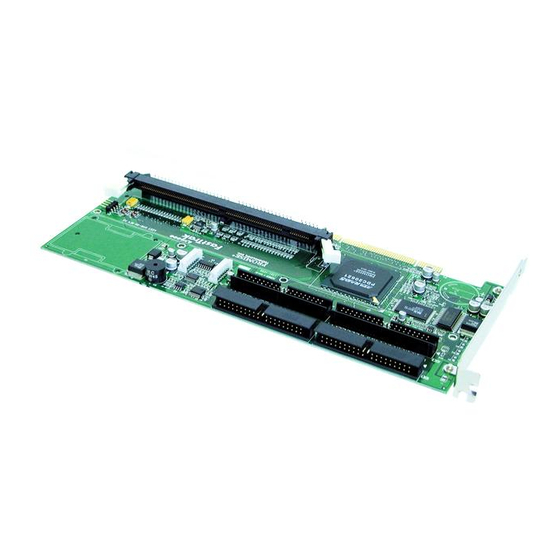
Page 4: Step 2: Fasttrak Card Installation
FastTrak SX4000 Step 2: FastTrak Card Installation FastTrak SX4000 controller card Figure 1. 1. Install a DIMM memory chip into the slot at DIMM1. The minimum memory requirement is 64 MB. You may use up to 256 MB ECC or non- ECC, unbuffered 168-pin PC100 or higher SDRAM. -
Page 5: Step 3: Connect The Hard Drives
5. Connect the blue end of the Ultra ATA cable to any available ATA channel on the FastTrak SX4000. Note Device support for drives is provided by the FastTrak SX4000 system. No changes are necessary in the motherboard CMOS/BIOS Setup for resources or drive types regarding... -
Page 6: Step 4: Create An Array
Appendix A of the FastTrak SX4000 User’s Manual contains an explanation of RAID Levels. If you are new to RAID, you may wish to read about it before creating your first array. 1. Boot your computer and watch for the Promise FastTrak SX4000 BIOS to appear (below). FastTrak BIOS Screen. - Page 7 Promise recommends keeping the default values for Stripe Block and Gigabyte Boundary unless you have specific reasons for changing them. The FastTrak SX4000 User’s Manual contains an explanation of these features. 6. Press Ctrl-Y to save your selection. The Define Array Menu (Figure 5) reappears.
-
Page 8: Step 5: Driver Installation
FastTrak SX4000 Step 5: Driver Installation This section details the FastTrak SX4000 driver installation when used with various operating systems. The software includes the driver necessary to identify FastTrak SX4000 to the operating system. Installing Driver During New Windows XP Installation 1. - Page 9 If you plan to move the boot drive containing the existing Windows XP operating system to the FastTrak SX4000 card, you MUST load the FastTrak SX4000 driver to the boot drive while it is still attached to your existing hard drive controller.
Need help?
Do you have a question about the FastTrak SX4000 and is the answer not in the manual?
Questions and answers