
Subscribe to Our Youtube Channel
Related Manuals for Amprobe TMD-51


Summary of Contents for Amprobe TMD-51
-
Page 1: Users Manual
TMD-51 Thermocouple Thermometer K/J Type with Memory Users Manual For detailed specifications and ordering info go to www.TestEquipmentDepot.com... - Page 2 TMD-51 Thermocouple Thermometer K/J Type with Memory Users Manual June 2010, Rev.1 ©2010 Amprobe Test Tools. All rights reserved. Printed in Taiwan...
- Page 3 Limited Warranty and Limitation of Liability Your Amprobe product will be free from defects in material and workmanship for 1 year from the date of purchase. This warranty does not cover fuses, disposable batteries or damage from accident, neglect, misuse, alteration, contamination, or abnormal conditions of operation or handling.
- Page 4 Non-Warranty Repairs and Replacement – US and Canada Non-warranty repairs in the United States and Canada should be sent to a Amprobe® Test Tools Service Center. Call Amprobe® Test Tools or inquire at your point of purchase for current repair and...
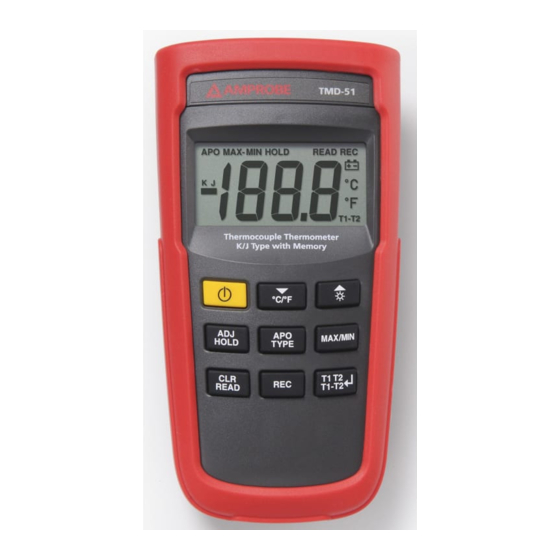
- Page 5 TMD-51 1) “ ” Power Button 7) “CLR/READ” Button 2) “q/°C /°F” Button 8) “REC” Button 3) “p/ ” Button 9) “T1 T2/T1-T2/ ” Button 4) “ADJ/HOLD” Button 10) LCD Display 5) “APO/TYPE” Button 11) T1/T2 Input 6) “MAX/MIN” Button...
-
Page 6: Screen Display
Screen Display 1) Temperature display 6) Review the data you recorded 2) Type of T/C thermocouple “K” or “J” 7) Record the data 3) Auto power off 8) Degrees °C /°F 4) MAX/MIN/MAX-MIN 9) T1/T2 thermocouple reading or T1-T2 differential 5) Measurement reading stop... -
Page 7: Table Of Contents
CONTENTS SYMBOLS ................2 UNPACKING AND INSPECTION .......... 2 INTRODUCTION ..............3 Features ................3 OPERATION INSTRUCTIONS ..........3 “ “ Power Button ............3 “q / °C / °F” Button ............3 “p / ” Button ............4 “ADJ/HOLD” Button ............4 “APO/TYPE”... -
Page 8: Symbols
• Repeated sharp flexing can break the thermocouple leads. To prolong lead life, avoid sharp bends in the leads, especially near the connector. UNPACKING AND INSPECTION Your shipping carton should include: TMD-51 Meter Manual K type Thermocouple AAA Batteries Plain white box... -
Page 9: Introduction
INTRODUCTION This instrument is a portable 3½ digit, compact-sized digital thermometer designed to use external K-type and J-type thermocouple as temperature sensor. It also has the feature that sensor offset can be adjusted for in the field. There are 2 sets of sockets for thermocouple plugs at the top of instrument marked with T1 and T2. -
Page 10: P / " Button
“ ” Button Press the “ ” key to trigger on the Back-Light. Press the “ ” key again to make the Back-Light lighter and press “ ” key once more to cancel the Back- Light function. Back-Light on lighter Back-Light off. -
Page 11: Clr/Read" Button
holding down the “MAX/MIN” key for 2 seconds to exit and erased recorded reading. “CLR/READ” Button Press “READ” key to enter READ Mode, the “READ” annunciator is displayed at upper-right corner. Press “p” or “q” key to review the data you recorded. The LCD automatically scrolls data and index. -
Page 12: Adjust Thermocouple Offset
ADJUST THERMOCOUPLE OFFSET 1. Insert the thermocouple into a known temperature (T) until the display equal to known temperature (T). ex: ice point at 0°C / boiling water at 100°C 2. Press “p” or “q” to add or subtract the value. 3. - Page 13 Input 24V dc or 24V ac rms maximum input Protection Voltage on any combination of input pins. Input Accepts standard miniature Connector thermocouple Connectors (flat blades spaced 7.9mm, center to center). Environmental Ambient 0°C to 50°C (32°F to 122°F) <80% R.H. Operating Ranges Storage...
-
Page 14: Maintenance
Supplied Wire 4 feet type “K” thermocouple bead wire (Teflon tape insulated). Maximum insulation temperature 200 °C (392°F). Wire accuracy ±2.2°C or ±0.75% of reading (whichever is greater) from 0°C to 800°C. � - EMC: Conforms to EN61326-1. This product complies with requirements of the following European Community Directives: 89/ 336/ EEC (Electromagnetic Compatibility) and 73/ 23/ EEC (Low Voltage) as amended by 93/ 68/ EEC (CE Marking). - Page 15 Installing and Replacing Battery A. Screw B. Battery Cover C. Battery 1. Power is supplied by 4pcs 1.5V (SIZE AAA) UM-4 R03. 2. The “ ” appears on the LCD display when replacement is needed. To replace battery remove screw from back of meter and lift off the battery cover.
Need help?
Do you have a question about the TMD-51 and is the answer not in the manual?
Questions and answers