
Related Manuals for Amprobe TMD-52


Summary of Contents for Amprobe TMD-52
- Page 1 TMD-52 Thermocouple Thermometer K/J/T/E type Users Manual • Mode d’emploi • Bedienungshandbuch • Manual d’Uso • Manual de uso...
- Page 3 TMD-52 Thermocouple Thermometer K/J/T/E type Users Manual June 2010, Rev.1 ©2010 Amprobe Test Tools. All rights reserved. Printed in Taiwan...
- Page 4 Please check the “Where to Buy” section on www.amprobe.com for a list of distributors near you. Additionally, in the United States and Canada In-Warranty repair and replacement units can also be sent to a Amprobe® Test Tools Service Center (see address below).
- Page 5 Non-Warranty Repairs and Replacement – US and Canada Non-warranty repairs in the United States and Canada should be sent to a Amprobe® Test Tools Service Center. Call Amprobe® Test Tools or inquire at your point of purchase for current repair and replacement rates.
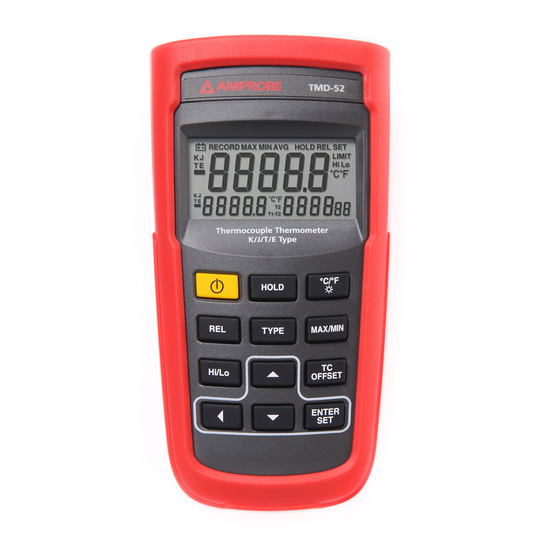
- Page 6 TMD-52 TMD-52 Thermocouple Thermometer K/J/T/E Type 8) “p” Button 1) “ ” Power Button 9) “TC OFFSET” Button 2) “HOLD” Button 10) “” Button 3) “ /°C/°F” Button 11) “q” Button 4) “REL” Button 12) “SET” Button 5) “Type” Button 13) LCD Display 6) “MAX/MIN”...
-
Page 7: Screen Display
Screen Display 1) T1 Temperature display 6) MAX/MIN reading 2) T2 Temperature display 7) Data HOLD mode 3) T1-T2 differential 8) Relative mode 4) Type of T/C thermocouple 9) SET mode 5) Low BATT display 10) Degrees °C /°F... -
Page 8: Table Of Contents
CONTENTS SYMBOLS ................2 UNPACKING AND INSPECTION .......... 2 INTRODUCTION ..............3 Features ................3 OPERATION INSTRUCTIONS ..........3 “ “ Power Button ............3 “HOLD” Button .............. 3 “ /°C/°F” Button ............4 “REL” Button ..............4 “Type” Button: K/J/T/E Input Thermocouple Type ..4 “MAX/MIN”... -
Page 9: Symbols
• Repeated sharp flexing can break the thermocouple leads. To prolong lead life, avoid sharp bends in the leads, especially near the connector. UNPACKING AND INSPECTION Your shipping carton should include: TMD-52 meter Manual Thermocouple AAA Batteries Plain white box... -
Page 10: Introduction
INTRODUCTION This instrument is a portable 4½ digit, compact-sized digital thermometer designed to use external K/J/T/E- type thermocouple as temperature sensor. It also has the feature that sensor offset can be adjusted for in the field. There are 2 sets of sockets for thermocouple plugs at the top of instrument marked with T1 and T2. -
Page 11: C/°F" Button
MAX/MIN recording mode, press “HOLD” key to stop the recording. Press “HOLD” key again to resume recording. (Previously recorded readings are not erased.) “ /°C/°F” Button Press “ ” button to turn on or off backlight. The backlight will switch-off automatically after 30 seconds. Readings is displayed in either degrees Celsius (°C) or degrees Fahrenheit (°F). -
Page 12: Max/Min" Button: Record Mode
“MAX/MIN” Button: Record mode Press “MAX/MIN” key to enter the MAX/MIN Recording mode, (Displays the Maximum reading, Minimum reading, “MAX-MIN” reading and Average reading stored in record mode). In this mode the automatic power-off feature is disabled and “ ” key and all function key are disabled. -
Page 13: Button
“” Button The “” key changes setting digit. (See “SET mode” later in this manual.) “ ” Button The “q” key decreases the setting value. (See “SET mode” later in this manual.) “SET” Button Relative value set, Hi/Lo Limits value set and Cool Junction Compensation value set. -
Page 14: Specification
not be ±1999.9 counts. If this value more than ±1999.9 counts, “Err” displayed and re-input. Set Cool Junction Compensation (TC Offset) Press SET key to enter SET mode, then press TC OFFSET button to set TC OFFSET value. First, “CJC” displayed on LCD and wait for one second to enter SET TC OFFSET mode. - Page 15 Auto Range 0.1°C/1°C, 0.1°F/1°F Accuracy Accuracy is specified for operating temperatures over the range of 18°C to 28°C (64°F to 82°F), for 1 year, not including thermocouple error. ±(0.1%rdg+1°C) on -60°C to 1372°C ±(0.1%rdg+2°C) on -60°C to -220°C ±(0.1%rdg+2°F) on -76°F to 2501°F ±(0.1%rdg+4°F) on -76°F to -364°F Environmental Ambient...
-
Page 16: Maintenance
Measurement 1 times/second. Rate Accuracy Stated accuracy at 23°C±5°C, <75% R.H. Dimensions 160 mm (H) x 83 mm (W) x 38 mm (D); 6.3 in (H) x 3.3 in (W) x 1.5 in (D). Weight Approx. 265 g (0.6 lb) including batteries. - Page 17 Installing and Replacing Battery A. Screw B. Battery Cover C. Battery 1. Power is supplied by 4pcs 1.5V (SIZE AAA) UM-4 R03. 2. The “ ” appears on the LCD display when replacement is needed. To replace battery remove screw from back of meter and lift off the battery cover.
Need help?
Do you have a question about the TMD-52 and is the answer not in the manual?
Questions and answers