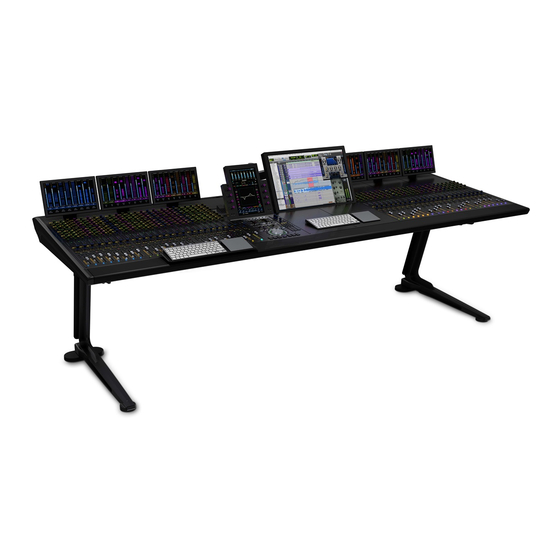
Avid Technology S6 Networking Manual
Networking setups for various s6 configurations
Hide thumbs
Also See for S6:
- Installation manual (92 pages) ,
- Assembling/disassembling (34 pages) ,
- User manual (20 pages)
Advertisement
S6 Networking Guidelines
Networking Setups for Various S6 configurations
This guide assumes you have a basic understanding of networking and its settings on both Mac and
PC. You need to understand the difference between static IP addresses and automatically assigned
addresses (DHCP), and how to change these. If not, please seek help with making these changes.
Contents
Connecting a Dual Operator Console and the Master Modules to a WAN for IHSE KVM
Eddie Jones / Mike Freitas
Page 1 of 11
9329-65762-00 REV A 09/16
Avid©2016
Advertisement
Table of Contents

Summary of Contents for Avid Technology S6
-
Page 1: Table Of Contents
Single S6 Consoles Dual Operator S6 Consoles Dual Operator S6 Consoles with Multiple Master Post Modules Using Both Ethernet Ports on the Master Module Connecting a Dual Operator Console and the Master Modules to a WAN for IHSE KVM ... -
Page 2: Introduction
IP addresses to a large number of modules is that the Master Module takes longer to connect to all the modules on S6 system power up (for example, modules staying red for a long time on the Surface > Settings page). This can also lead to firmware update errors or, at the extreme, a damaged module. -
Page 3: S6 Network Configurations
Switch to port 1 on the Master Module, but be sure to read the earlier Note about Default Routes. Most Routers don’t allow you to disable the Default Route, so if running two networks (S6 EUCON and WAN/Internet) you may have to configure the router to reserve some static IP addresses... -
Page 4: Dual Operator S6 Consoles
The Master Modules’ internal DHCP Server will work and has been tested with Dual Operator S6 systems but it has some disadvantages. Setup is similar to a single S6 but on the 2nd console you connect the Master Module port 1 to its resident network switch, then connect that switch to the switch in the 1st console. -
Page 5: Dual Operator S6 Consoles With Multiple Master Post Modules
If using multiple MPMs on a dual-operator or larger system with only one recorder, all MPMs must be connected to the S6 that has the recorder attached. The 2nd or 3rd MPM can be placed in the 2nd or 3rd S6 by connecting Ethernet cables from the 1st S6 to each MPM in the 2nd or 3rd S6 system. - Page 6 IP addresses and set the network Adapters in the Workstations with these. More on this later. Please see the information in the S6 Guide about connecting two S6’s on the same network, each have to have a different Desk ID.
-
Page 7: Using Both Ethernet Ports On The Master Module
Modules to a WAN/Intranet/Internet. We will show how to connect an IHSE Ethernet KVM to this network. We will assume that the WAN has a DHCP server on it giving out IP addresses and the S6 network has a Router attached (Linksys EA6500v2 in this demo). In this configuration, the S6 EUCON network will require changes to its settings to remove the second default route. - Page 8 1. Make sure you have the latest S6 software installed and all modules (firmware) are up-to-date. 2. Shut down all Workstations. 3. On the second S6 go to Settings > Surface, open its Local Options screen (gear icon) and set its Desk ID to 2.
- Page 9 Then reserve a pool of IP address equal to the number of Workstations you have plus two, starting at the address 192.168.3.1. Do not turn off DHCP as this is needed by the S6 Modules. c. Restart the Router if it hasn’t already.
- Page 10 8. In the window that appears, configure the settings as shown in the image on the right below and press OK. Close all the other windows. 9. On the second S6 Master Module, follow steps 4 to 8 above to set its port 2 to IP manual address to 192.168.3.2 subnet 255.255.255.0.
-
Page 11: Advanced Guide To The S6 Master Module Dhcp Server
Advanced Guide to the S6 Master Module DHCP Server From v3.5 on we have simplified changing the Master Modules internal DHCP server subnet range. You do not need to edit the dhcpsvr.ini file anymore. Simply changing the IP address and Subnet on the Master Module Ethernet Port settings will also change the DHCP servers range.


Need help?
Do you have a question about the S6 and is the answer not in the manual?
Questions and answers