Sign In
Upload
Download
Table of Contents
Contents
Add to my manuals
Delete from my manuals
Share
URL of this page:
HTML Link:
Bookmark this page
Add
Manual will be automatically added to "My Manuals"
Print this page
×
Bookmark added
×
Added to my manuals
Manuals
Brands
Williams Sound Manuals
Hearing Aid
FM+ Series
User manual
Williams Sound FM+ Series User Manual
Assistive listening system
Hide thumbs
1
Table Of Contents
2
3
4
5
6
7
8
9
10
11
12
13
14
15
16
17
18
19
20
21
22
23
24
25
26
page
of
26
Go
/
26
Contents
Table of Contents
Troubleshooting
Bookmarks
Table of Contents
Table of Contents
Safety Warnings and Instructions
Recycling Instructions
System Overview
Quick Setup Instructions
Wi-Fi Network May be Required
Router and Network Equipment Selection
Wiring and Connections
Ethernet and Dante RJ-45 Connection
Audio Source Connections
Multi-Channel Sources
Connecting Additional Sound Systems
Avoiding Hum in the Audio (as a Result of a Ground Loop)
Selecting an Audio Source Appropriate for Hearing Impaired Listeners
Installing the ANT 025 Whip Antenna
Connecting to Other Devices
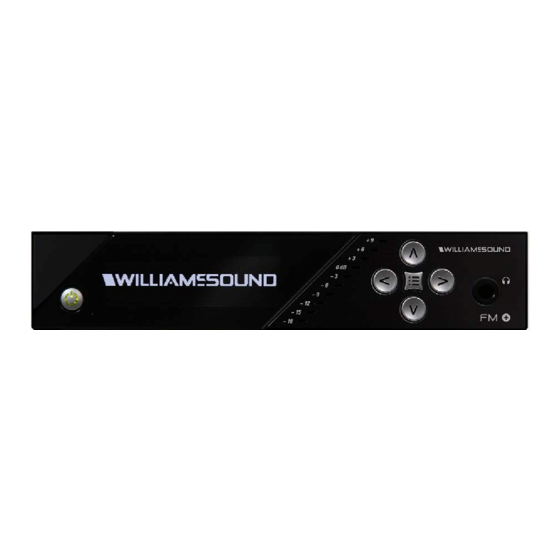
Controls and Features
System Settings
Audio Settings
Audio Source
Audio Input Gain
Audio Presets
High-Pass Filter
Low-Pass Filter
Compression
Headphone Volume
FM Output Power
Time-Out
Screen Lock
User-Entered Transmitter Description
Channel
Restore Defaults
Network Settings
Adjusting Network Settings
Dante Settings
Web Control Interface
Wavecast App with FM
Connecting the App to the Channel
Listening Via the App
Wavecast Receiver
FM Receivers
Troubleshooting
Website Problems
Audio Problems
Wi-Fi Reception Difficulties
FM Reception Difficulties
Remote Control Is Not Working over the Hardwired Ethernet Network
Remote Control Is Not Working over Wi-Fi
FM Plus Specifications
Regulatory Statements
United States - FCC
Canada IC
2-Year Warranty
Advertisement
Quick Links
1
Quick Setup Instructions
Download this manual
FM +
Assistive Listening System FM T55
USER MANUAL
MAN 245A
Table of
Contents
Previous
Page
Next
Page
1
2
3
4
5
Advertisement
Table of Contents
Need help?
Do you have a question about the FM+ Series and is the answer not in the manual?
Ask a question
Questions and answers
Related Manuals for Williams Sound FM+ Series
Hearing Aid Williams Sound FM T55 User Manual
Assistive listening system (26 pages)
Hearing Aid Williams Sound Sound Plus WIR TX925 Installation Manual & User Manual
Infrared listening system two/four-channel listening system (20 pages)
Hearing Aid Williams Sound Hearing Helper PERSONAL FM System PFM 300 Set Up Manual & User Manual
Wireless fm listening system (20 pages)
Hearing Aid Williams Sound PPA T27 Manual And User Manual
Wide-band fm wireless listening system (28 pages)
Hearing Aid Williams Sound PPA 250 User Manual
Wireless fm listening system (27 pages)
Hearing Aid Williams Sound Personal PA Tour Guide System Manual And User Manual
Personal pa tour guide system, wireless, portable fm listening system (20 pages)
Hearing Aid Williams Sound Neckloop Instructions For Use Manual
Telecoil coupler (6 pages)
Hearing Aid Williams Sound NKL 001 Instructions For Use Manual
Neckloop telecoil coupler (6 pages)
Hearing Aid Williams Sound HEARING HELPER TGS PRO 720 Manual And User Manual
Tour guide system wireless, portable fm listening system (24 pages)
Hearing Aid Williams Sound Transmitter T36 User Manual
Personal wireless fm listening system (18 pages)
Hearing Aid Williams Sound SoundPlus WIR 238 User Manual
Tv infrared system (24 pages)
Hearing Aid Williams Sound HEARING HELPER PFM 300 User Manual
Personal fm system wireless fm listening system (21 pages)
Hearing Aid Williams Sound Hearing Helper PFM R32 Specifications
Hearing helper personal fm receiver (3 pages)
Hearing Aid Williams Sound TGS 100 Manual And User Manual
One 2 one tour guide system wireless, portable fm listening system (20 pages)
Hearing Aid Williams Sound Pocketalker PKT Manual
Personal amplifier (2 pages)
This manual is also suitable for:
Fm t55
Table of Contents
Print
Rename the bookmark
Delete bookmark?
Delete from my manuals?
Login
Sign In
OR
Sign in with Facebook
Sign in with Google
Upload manual
Upload from disk
Upload from URL


Need help?
Do you have a question about the FM+ Series and is the answer not in the manual?
Questions and answers